Motorcycle steering bearings, although often overlooked, serve as the unassuming custodians of your ride’s stability and agility. Imagine them as the invisible threads weaving through the fabric of your motorcycle’s performance, subtly anchoring the front end while allowing it to pivot smoothly like a dancer gliding across a stage. As the stewards of your motorcycle’s steering system, maintaining these bearings is crucial for a safe and enjoyable ride. Here’s how to adjust motorcycle steering bearings effectively, transforming routine maintenance into an artful symphony of precision and care.
Understanding Steering Bearings: The Unsung Heroes
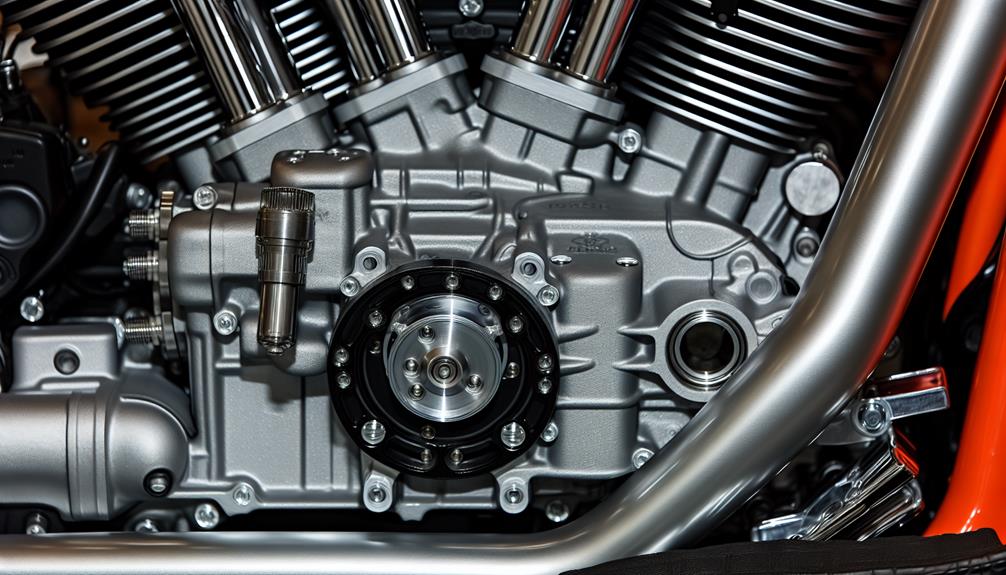
Before delving into the adjustment process, let’s familiarize ourselves with the steering bearings themselves. Located within the headstock of your motorcycle, these ball or tapered roller bearings facilitate the rotation of the front fork precisely. Think of them as the delicate gears in a finely-tuned clock, enabling seamless motion while simultaneously supporting the weight of the bike and rider. Over time, however, these components can wear down, leading to loose or overly tight steering – a scenario akin to a car wheel pulling to one side or the other.
Gathering Your Tools: Ensure Preparedness
Embarking on the journey of adjusting your motorcycle steering bearings requires more than just knowledge; it demands the right tools. Equip yourself with the following:
- Socket set: A versatile socket set assists in loosening and tightening various bolts.
- Torque wrench: This helps ensure bolts are tightened to the manufacturer’s specifications.
- Screwdrivers: A set of Phillips and flat-head screwdrivers will be necessary for various components.
- Bearings grease: Keep your bearings lubricated for optimal performance.
- Service manual: Reference your bike’s specific manual for any unique specifications.
- Rags and a cleaning agent: Cleanliness is next to smoothness; keep your working area tidy.
Preparation: Lifting the Motorcycle
First and foremost, securing your motorcycle is paramount. Position the bike on a stable stand or lift, ensuring it’s level and secure. This vital step not only provides a safe workspace but also allows for accurate adjustments. It’s similar to setting the canvas before an artist begins painting; a well-prepared environment fosters creativity and precision.
Accessing the Steering Bearings: The Inside Look
To adjust the steering bearings, you must first access them by removing the headlamp and front fairing, if applicable. Carefully detach any mounting hardware, and set these components aside in a safe location. Once revealed, locate the steering stem nut at the top of the headstock and the lock nut that secures the adjustment mechanism. This process is much like peeling layers from an onion, revealing the core of your machine where the real work begins.
Inspection: Look for Tell-Tale Signs
Examine the existing bearings for any signs of damage, such as pitting, corrosion, or excessive wear. Rotate the fork assembly to feel for binding or notchiness. These sensations act as warning flags, indicating that your bearings need attention. A smooth, grease-laden operation is what you’re striving for – akin to a well-oiled engine humming in harmony.
Adjusting the Steering Bearings: The Art of Balance
The adjustment itself requires a deft touch. Begin by loosening the top steering stem nut, but avoid complete removal. This action allows you to manipulate the bearings without disassembling the entire system. Gently turn the adjustment nut beneath the steering stem, ideally with your hands or a suitable tool, to achieve the desired tension. The goal here is elusive yet crucial: find that sweet spot where the steering feels taut yet responsive, much like the taut tension of a finely-strung instrument.
Once you have adjusted the bearings, retighten the top steering stem nut while checking that the fork can rotate freely and smoothly without play. It requires a delicate balance – too tight, and the steering feels heavy; too loose, and control is compromised. With patience and practice, you can master this adjustment as a skilled artisan tunes their craft.
Final Steps: Securing and Testing
After achieving the optimal adjustment, secure all components back in their rightful places. Reattach the headlamp and fairing, ensuring each bolt is tightened to the manufacturer’s specifications using a torque wrench. This is akin to practicing the final strokes of a painting, with each bolt representing a stroke that contributes to the overall picture of your motorcycle’s performance.
Finally, take your bike for a test ride to ensure that everything feels just right. Pay attention to how the motorcycle steers and responds at various speeds. A test ride is not just an end to your task, but an affirmation of your work – a full-circle moment where maintenance transforms into a new riding experience.
Conclusion: The Craft of Motorcycle Maintenance
Adjusting motorcycle steering bearings is a blend of art and science, requiring both technical skill and an intuitive understanding of your machine. Much like a conductor leading an orchestra, your careful adjustments lead to a harmonious performance on the road. With routine maintenance, including proper bearing adjustments, you ensure your motorcycle remains a reliable companion, ready to traverse both familiar roads and new adventures. Embrace the journey of motorcycle maintenance, where every turn and adjustment deepens your connection to the open road.