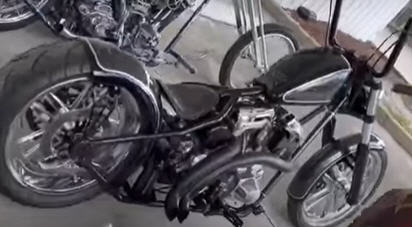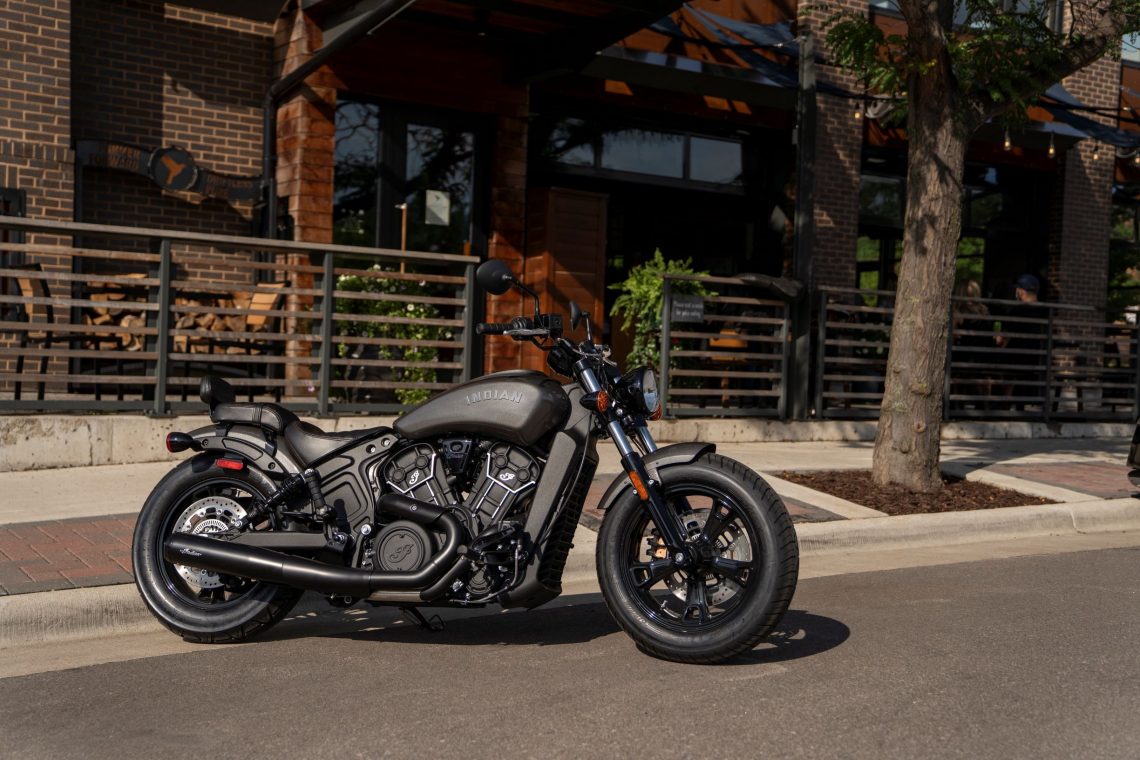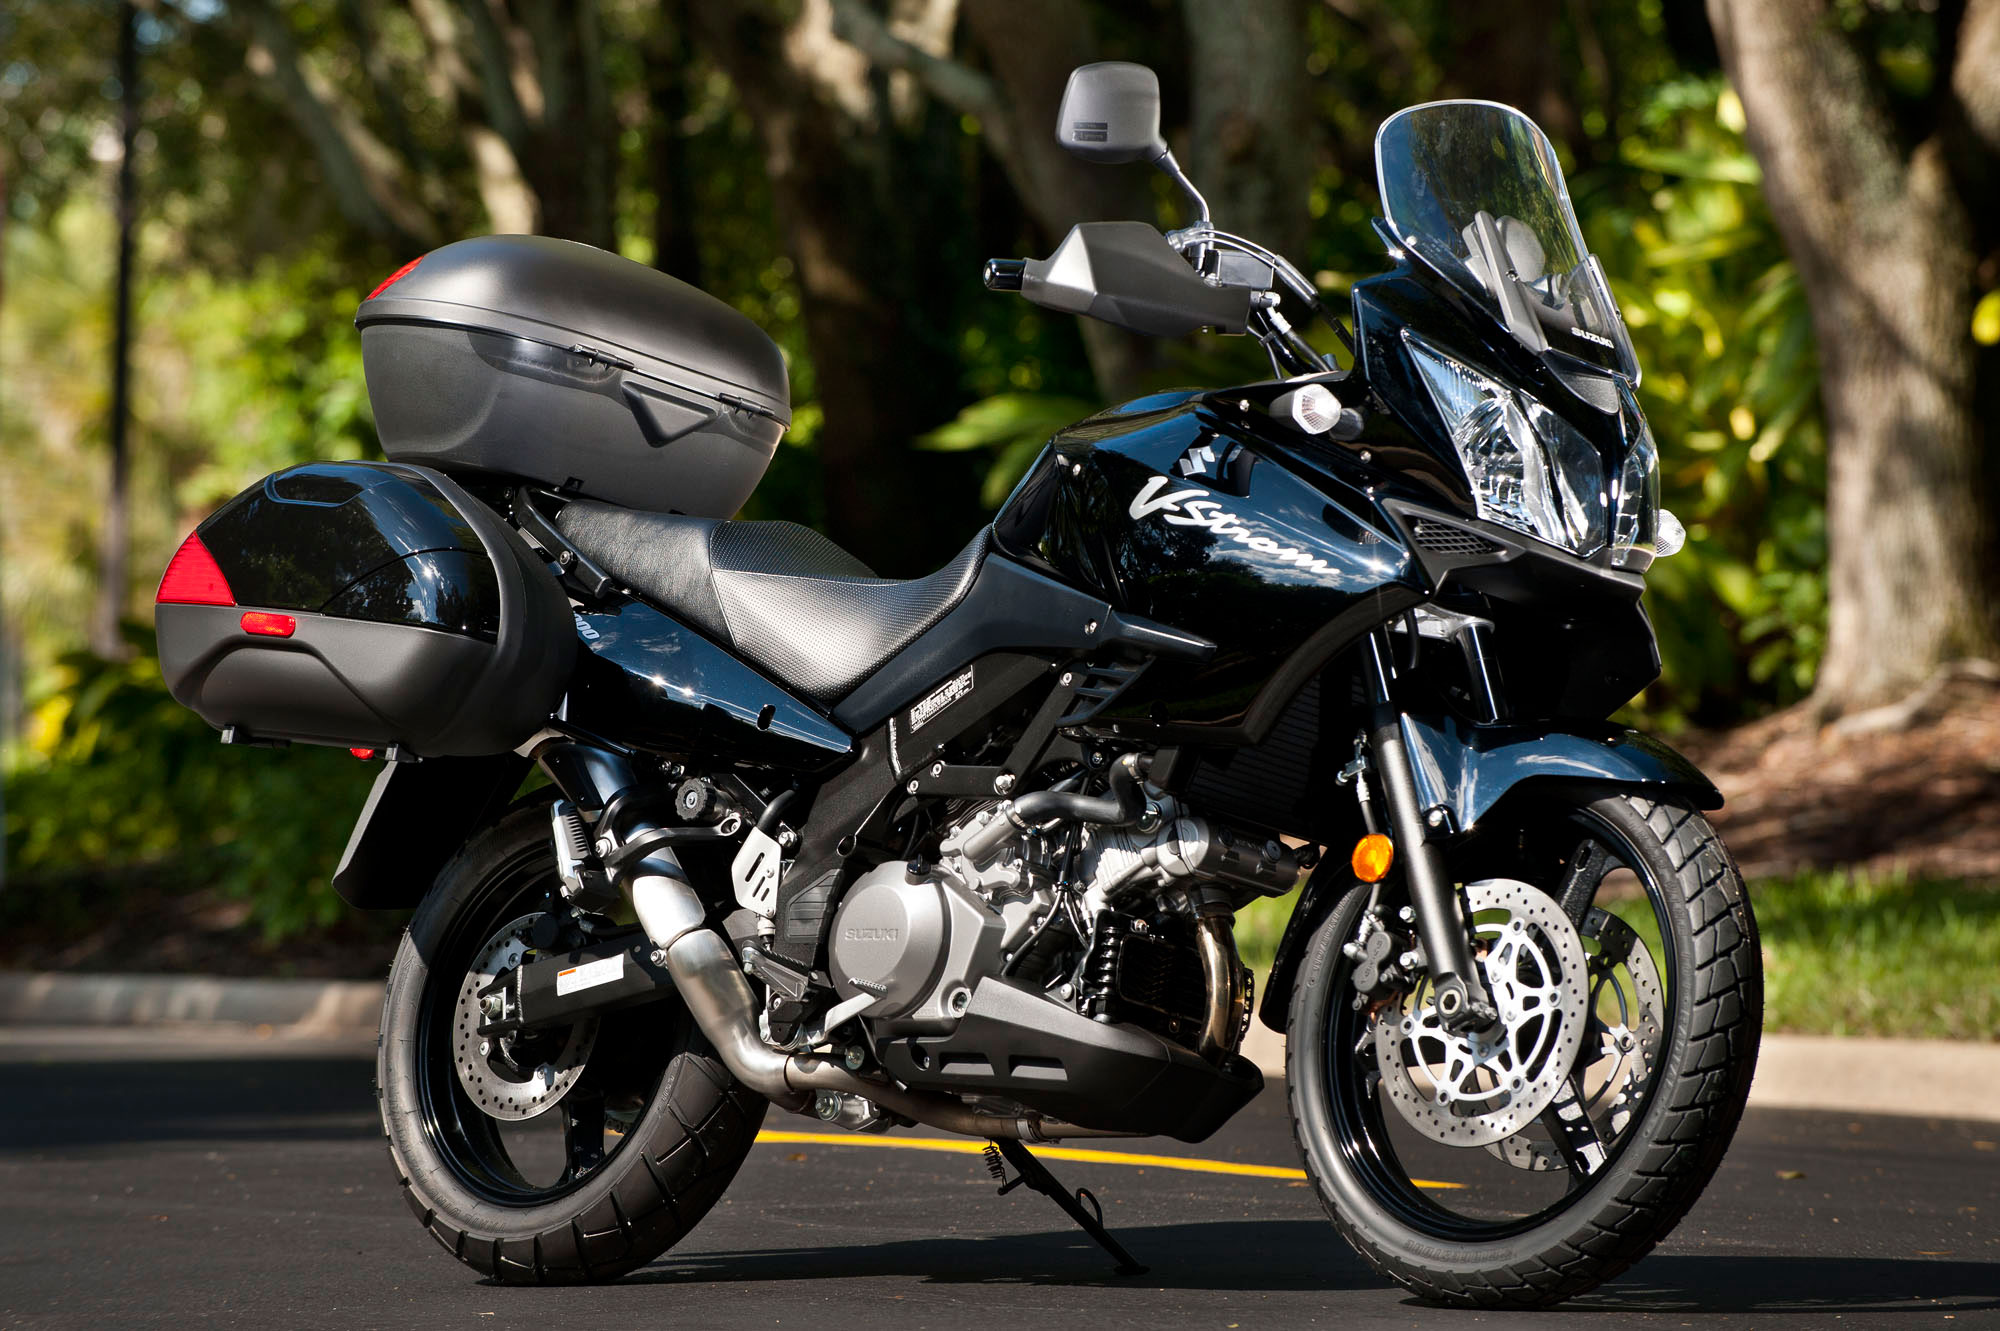
The heart of a chopper bike isn’t just in its chrome-plated engine or its sleek, elongated frame—it’s in the tank. That gleaming, sculpted reservoir of power, where fuel sloshes like liquid ambition, is the soul of the machine. But what happens when time, moisture, and neglect conspire to turn that gleaming vessel into a rusted relic? The battle against corrosion isn’t just about aesthetics; it’s a crusade to resurrect the machine’s former glory. Removing rust from a chopper bike’s gas tank isn’t merely a chore—it’s an art form, a dance between patience and precision, where every step is a brushstroke in the restoration of mechanical poetry.
The Alchemy of Rust: Understanding the Enemy
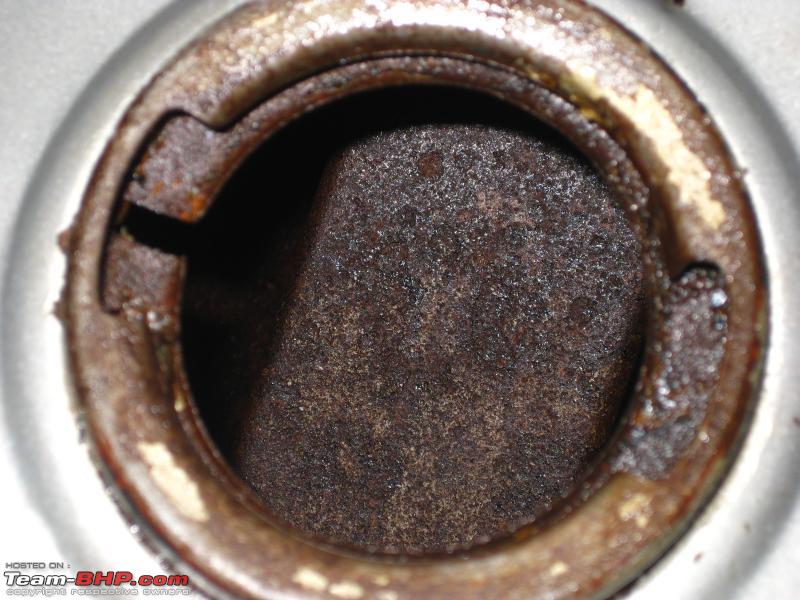
Rust isn’t just an unsightly blemish—it’s the slow, inevitable decay of iron’s truce with oxygen. When moisture infiltrates the tank, it sets off a chemical symphony, oxidizing the metal into a brittle, flaky foe. The longer it festers, the deeper it burrows, transforming the tank’s interior into a labyrinth of corrosion. But here’s the twist: rust isn’t uniform. It clings to crevices like a stubborn shadow, lurking in corners where even the most diligent scrubbing might miss. To conquer it, you must first understand its nature—its texture, its color, its insidious spread. A light dusting of orange can be scraped away with ease, but a thick, layered crust demands a more strategic approach.

The Arsenal: Tools and Tactics for the Restoration Warrior
Before waging war on rust, arm yourself with the right weapons. A magnetic tank brush is your first line of defense, its bristles designed to navigate the tank’s contours like a miner’s pickaxe. For stubborn patches, a drill-mounted wire wheel can grind away at the corrosion with surgical precision. But beware—brute force is the enemy of subtlety. A high-speed grinder can warp thin metal, turning a minor repair into a costly mistake. Instead, opt for a slower, more deliberate approach. Phosphoric acid, a rust converter, can transform the iron oxide into a stable, paintable surface, while vinegar’s acetic acid offers a gentler, DIY alternative. And don’t forget the humble baking soda—a neutralizing agent to wash away the remnants of your battle.
The Ritual of Disassembly: Stripping the Tank to Its Core
To truly vanquish rust, you must first strip the tank of its defenses. Drain the old fuel, remove the petcock, and disconnect any hoses that tether the tank to the bike’s circulatory system. This isn’t just about access—it’s about respect. The tank is a sacred vessel, and its restoration begins with reverence. Lay it on a clean, flat surface, and inspect it under bright light. Shadows reveal secrets; a flashlight angled just right can expose rust in the deepest recesses. If the tank is welded shut, consider cutting it open—sometimes, the only way to win is to rewrite the rules of engagement.

The Siege: Mechanical and Chemical Assault
With the tank stripped bare, the siege begins. Start with the mechanical onslaught—scrape away loose rust with a screwdriver or a putty knife, then unleash the tank brush in a frenzy of circular motions. The sound of bristles against metal is the soundtrack of your labor, a rhythmic cadence that echoes the heartbeat of the machine. For the most tenacious rust, a chemical barrage is necessary. Soak the tank in a bath of vinegar or a commercial rust remover, letting the acid dissolve the corrosion from within. The longer the soak, the deeper the penetration—but patience is key. Rushing this step is like pouring gasoline on a fire; it only makes the problem worse.
The Resurrection: Neutralizing and Sealing the Victory
Once the rust is vanquished, the tank must be purged of its chemical scars. Rinse it thoroughly with water, then neutralize any remaining acid with a baking soda solution. This isn’t just about cleanliness—it’s about ensuring no trace of the battle lingers. After drying, apply a rust converter to any residual spots, then seal the tank’s fate with a coat of epoxy primer. This isn’t merely a protective layer; it’s a shield, a barrier against the elements that once sought to claim the tank as their own. Let it cure completely before proceeding to the final act—painting.
The Final Flourish: Painting and Rebirth
A chopper’s tank isn’t just a functional component—it’s a statement. The paint you choose should reflect the bike’s personality, whether it’s the deep, glossy black of a midnight ride or the fiery red of a machine built for speed. Use a high-quality automotive paint, applied in thin, even coats to avoid runs and drips. Sand lightly between layers, smoothing the surface into a mirror-like finish. And don’t forget the clear coat—a final veil of protection that ensures your labor of love will endure for years to come. When you reattach the tank to the bike, it won’t just look new; it will feel new, as if the machine itself has been reborn.

The Triumph: A Tank Reclaimed
Restoring a chopper bike’s gas tank isn’t just about removing rust—it’s about reclaiming a piece of history. Every scratch, every scrape, every layer of paint tells a story. When you look at the finished product, you’re not just seeing a tank; you’re seeing the culmination of sweat, patience, and passion. The next time you fire up your chopper, listen closely. You’ll hear it—the whisper of the engine, the hum of the fuel flowing through veins of gleaming metal. That’s the sound of victory.