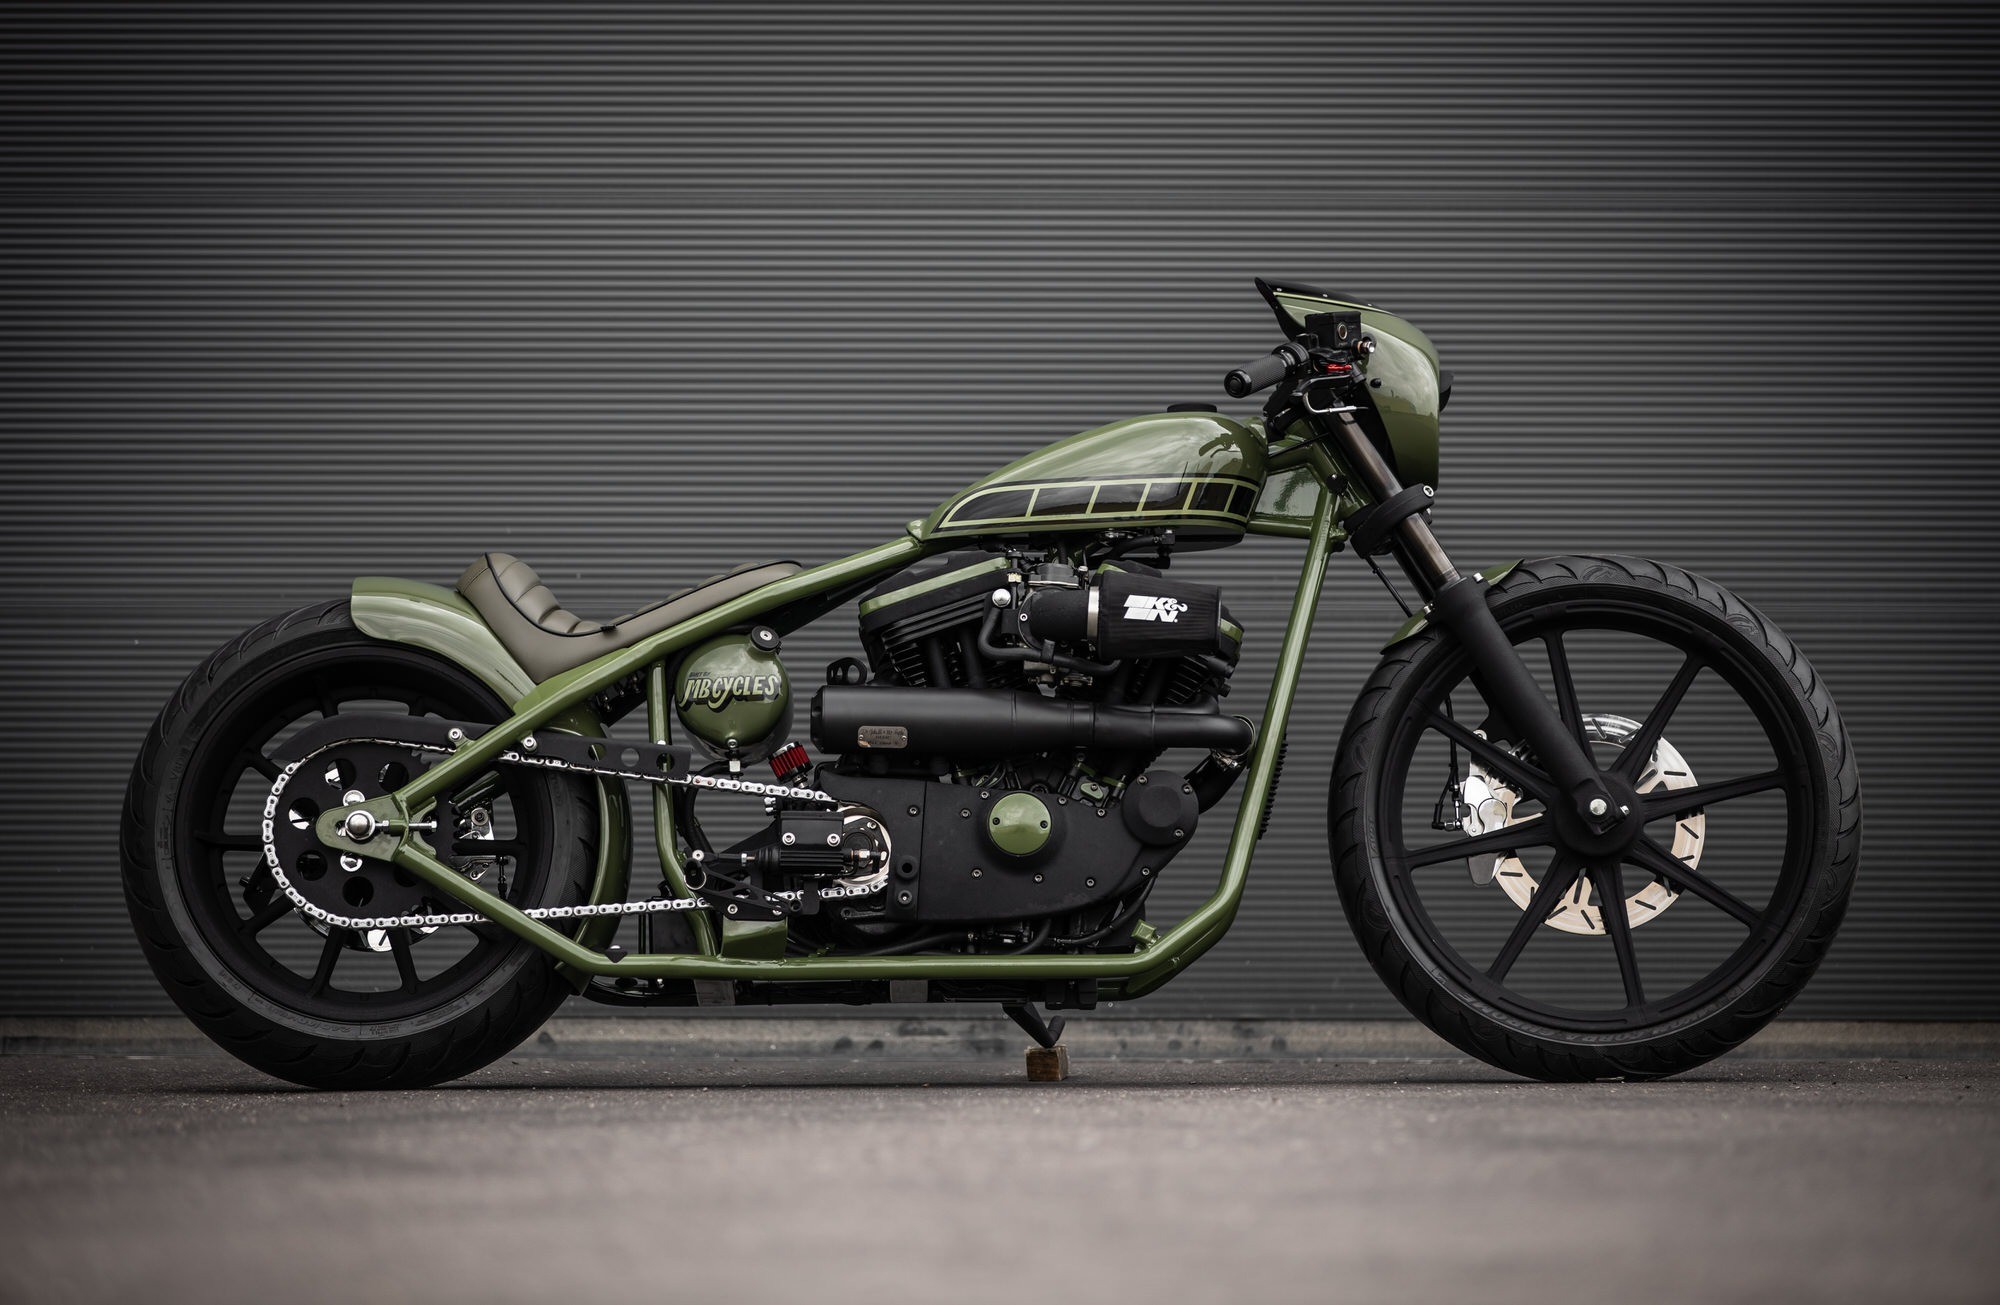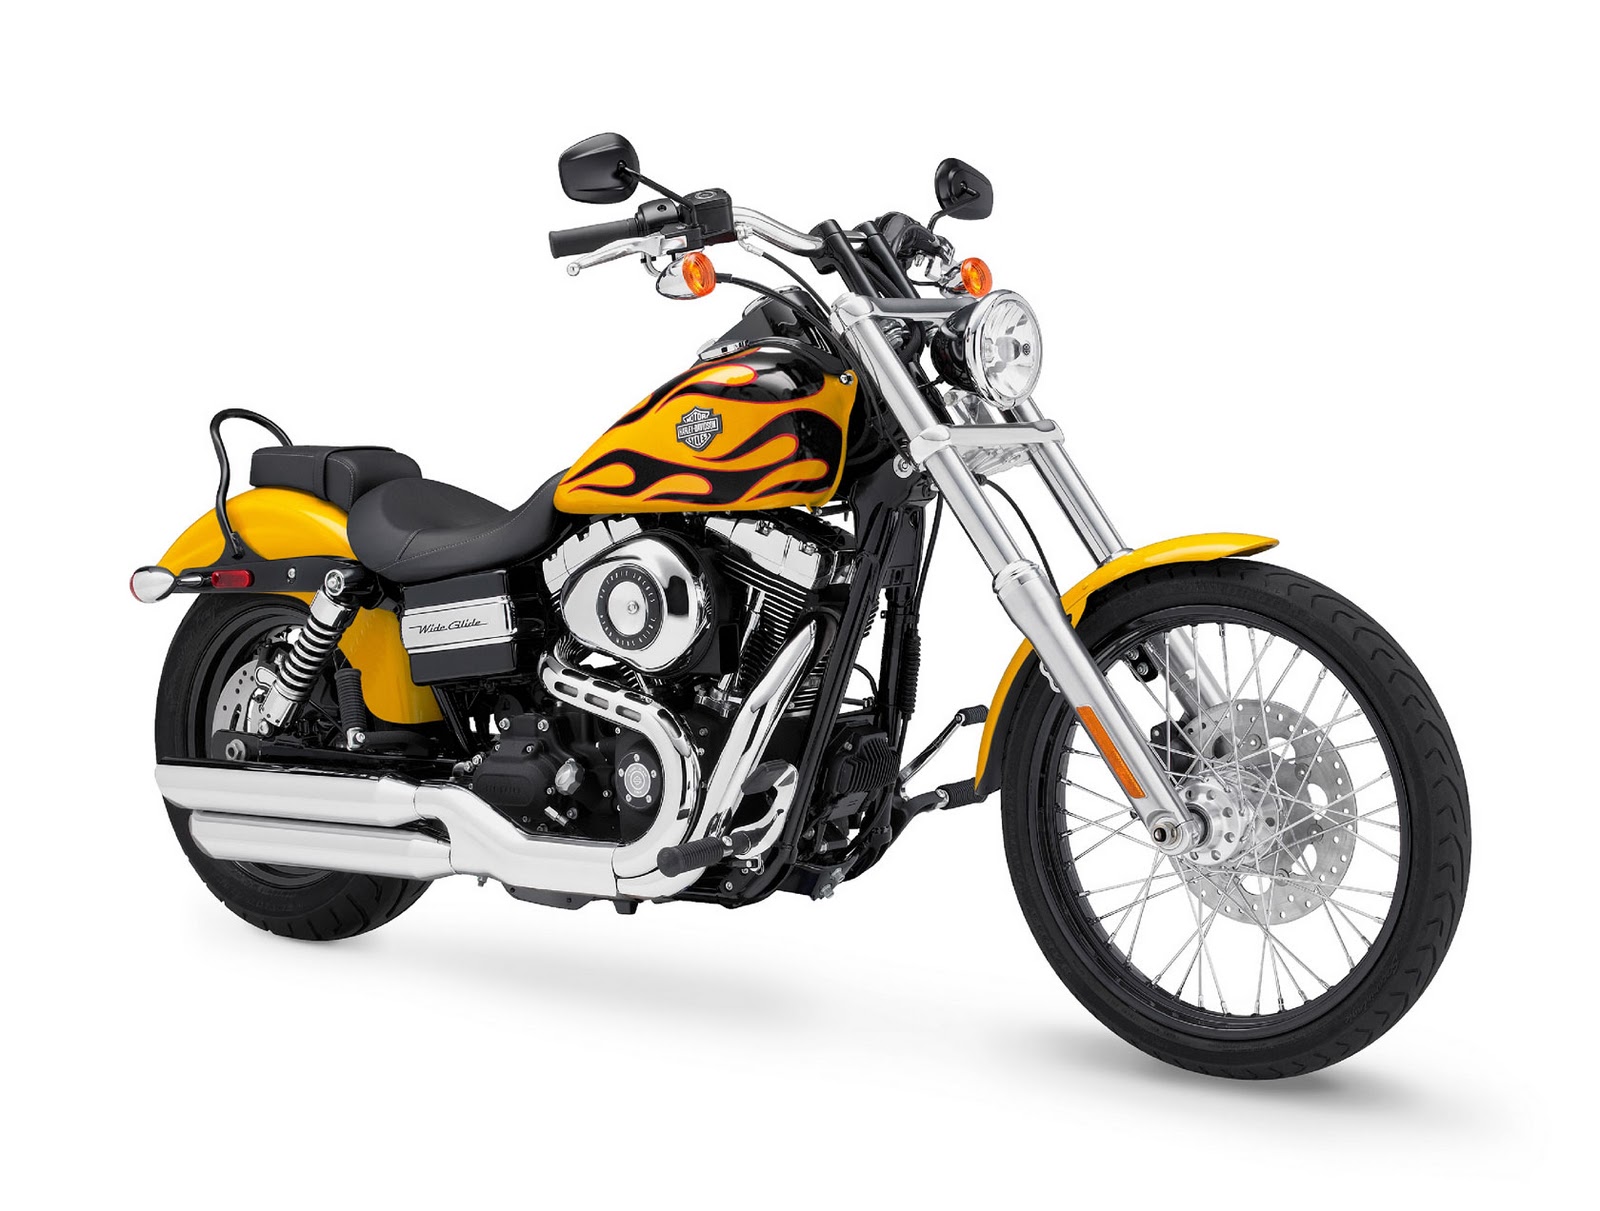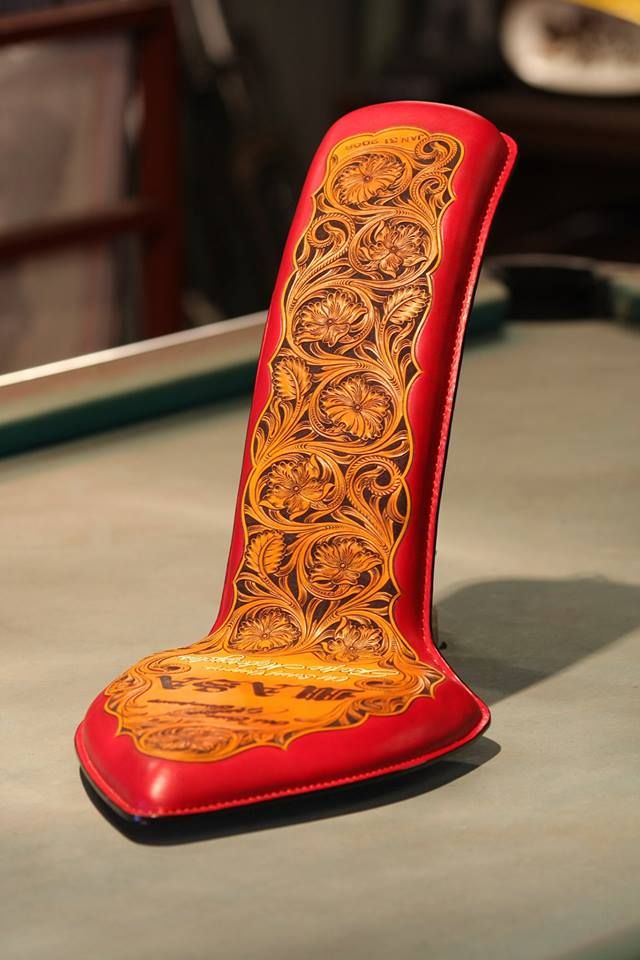
The art of crafting a diamond-tufted leather seat for a chopper bike is akin to sculpting a piece of the open road itself—each stitch a whisper of motion, each tuck a silent promise of adventure. It’s not merely about fashioning a seat; it’s about forging a throne for the rider, a saddle that cradles the spirit of the machine and the soul of the journey. This is where leather meets metal, where raw hide is coaxed into submission with needle and thread, and where the road’s endless hum finds its echo in the rhythmic pulse of a well-tufted seat.
The Allure of the Diamond-Tuck: Why This Style Captivates the Soul
There’s something hypnotic about the diamond-tufted leather seat—its geometric precision a stark contrast to the organic flow of a chopper’s curves. Each tuck is a deliberate act of rebellion against the ordinary, a declaration that this machine is no mere assembly of parts but a work of art. The diamond pattern isn’t just a design choice; it’s a signature, a fingerprint of the rider’s taste, etched into the very flesh of the seat. It speaks of long rides under the scorching sun, of leather that molds to the body like a second skin, and of a bike that doesn’t just carry its rider—it becomes an extension of them.
The appeal lies in the tension between structure and fluidity. The tucks create a lattice of support, a skeletal framework that holds the leather taut, while the spaces between them allow for breathability, for the give-and-take of a rider’s movements. It’s a paradox: rigid yet supple, controlled yet free. This duality is what makes the diamond-tuck seat a timeless choice, a blend of tradition and innovation that refuses to fade into the background.
Choosing the Right Leather: The Foundation of Your Masterpiece
Not all leather is born equal, and the success of your diamond-tufted seat hinges on selecting the right hide. Full-grain leather, with its unblemished surface and natural grain, is the gold standard—durable, luxurious, and capable of developing a rich patina over time. But it demands respect; it’s a material that rewards patience and punishes haste. Then there’s top-grain leather, slightly more forgiving but still a worthy contender, its surface sanded to remove imperfections while retaining strength.
Avoid bonded leather or splits, the cheap imitations that fray and crack under the stress of stitching and use. The leather should be thick enough to hold a tuck without tearing—typically between 4 to 6 ounces (1.6 to 2.4 mm). But thickness alone isn’t enough; the leather must also be supple, able to bend without resisting, to conform to the contours of the seat frame without losing its shape. Run your fingers over the hide before committing. Does it feel alive? Does it whisper of distant tanneries and sun-baked hides? If so, you’ve found your canvas.
Preparing the Seat Frame: The Skeleton Beneath the Skin
The frame is the unsung hero of the diamond-tufted seat, the silent partner in this dance of leather and metal. It must be sturdy, yet not so rigid that it stifles the leather’s natural give. Steel is the traditional choice, bent and welded into a shape that cradles the rider’s form, but aluminum offers a lighter alternative without sacrificing strength. The key is in the padding—high-density foam or horsehair, layered to create a cushion that’s both supportive and inviting. Too soft, and the tucks will lose their definition; too firm, and the seat becomes a slab of discomfort.
Before attaching the leather, the frame must be sanded smooth, its edges rounded to prevent the hide from fraying. A light coat of primer or shellac can seal the wood or metal, ensuring the leather doesn’t stick or stain over time. And don’t forget the underlay—a thin layer of burlap or muslin between the padding and the leather can add a touch of vintage charm while preventing the tucks from pulling too tightly.

Marking the Diamond Pattern: Precision as Poetry
This is where the magic begins—the moment you transform a blank canvas into a symphony of tucks and stitches. The diamond pattern isn’t just measured; it’s choreographed. Start by marking the centerline of the seat, then use a ruler and a fine-tipped pen or chalk to map out the diamonds. The size of each diamond depends on your preference—smaller tucks create a tighter, more intricate look, while larger ones offer a bolder, more dramatic statement. A common approach is to space the diamonds about 1.5 to 2 inches apart, but let your eye guide you. This is art, after all.
Use a straightedge to ensure your lines are crisp, and double-check your measurements before committing. A misplaced tuck can throw off the entire pattern, turning what should be a masterpiece into a jumbled mess. If you’re working with a curved seat, the diamonds will naturally distort at the edges, but that’s part of the charm—it adds a sense of organic flow to an otherwise rigid design.
Stitching the Tucks: The Dance of Needle and Thread
Now comes the moment of truth: the stitching. This is where the seat truly comes to life, where the leather is coaxed into submission with nothing but a needle, thread, and the steady rhythm of your hands. Start at the center and work outward, pulling each tuck tight to create a uniform tension. The thread should be strong—waxed polyester or nylon is ideal, as it resists fraying and holds up to the elements. A saddle stitch, the strongest hand-stitching method, is the gold standard here, its interlocking loops ensuring the tucks stay put for years to come.
But stitching isn’t just about function; it’s about finesse. The spacing between stitches should be even, the tension consistent. Too loose, and the tucks will gape; too tight, and the leather will pucker. And don’t rush. This is a meditative process, a conversation between you and the material. Let the leather guide you. If it resists, ease up. If it’s too loose, tighten the tuck. The goal isn’t perfection—it’s harmony.

Finishing Touches: The Art of the Final Flourish
The stitching is done, the tucks are set, but the seat isn’t quite finished. This is where you add the flourishes that elevate it from good to extraordinary. Burnish the edges with a piece of canvas or a burnishing tool to smooth the leather, then apply a leather finish—beeswax, mink oil, or a high-quality acrylic—to protect it from the elements and enhance its natural luster. For a vintage look, consider distressing the leather slightly with a wire brush or sandpaper, adding character where there was none before.
Don’t forget the hardware. The rivets, studs, or conchos you choose should complement the seat’s design, whether they’re sleek and modern or ornate and retro. And if you’re feeling adventurous, add a touch of embroidery or tooling to the leather before stitching—initials, a skull, a flame—something that makes the seat unmistakably yours.
Riding Into the Sunset: The Seat’s True Test
All the planning, stitching, and finishing come down to this: the first ride. As you settle onto the seat, feel the give of the leather, the support of the tucks, the way the bike responds to your weight. A well-crafted diamond-tufted seat isn’t just a place to sit—it’s a throne from which to command the road. It should cradle you, mold to your form, and whisper of the miles ahead.
And when the sun sets and you pull over to rest, take a moment to admire your handiwork. Run your fingers over the tucks, feel the stitches beneath your touch. This seat is more than leather and thread—it’s a testament to patience, skill, and passion. It’s a piece of the road, crafted by your hands, ready to carry you into the next adventure.