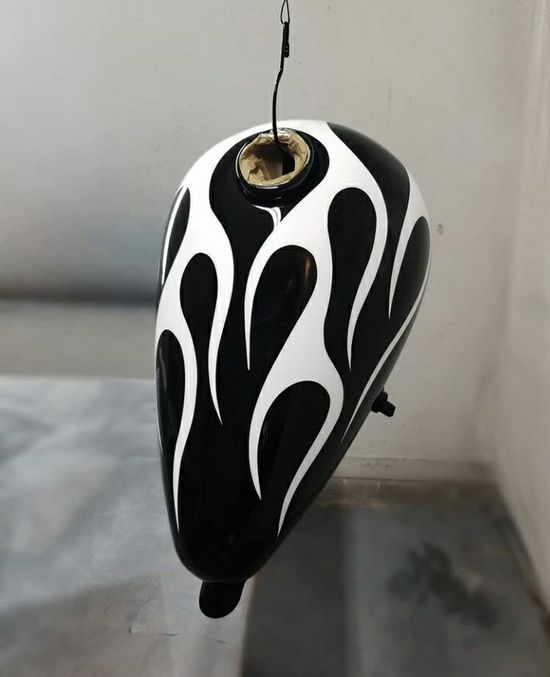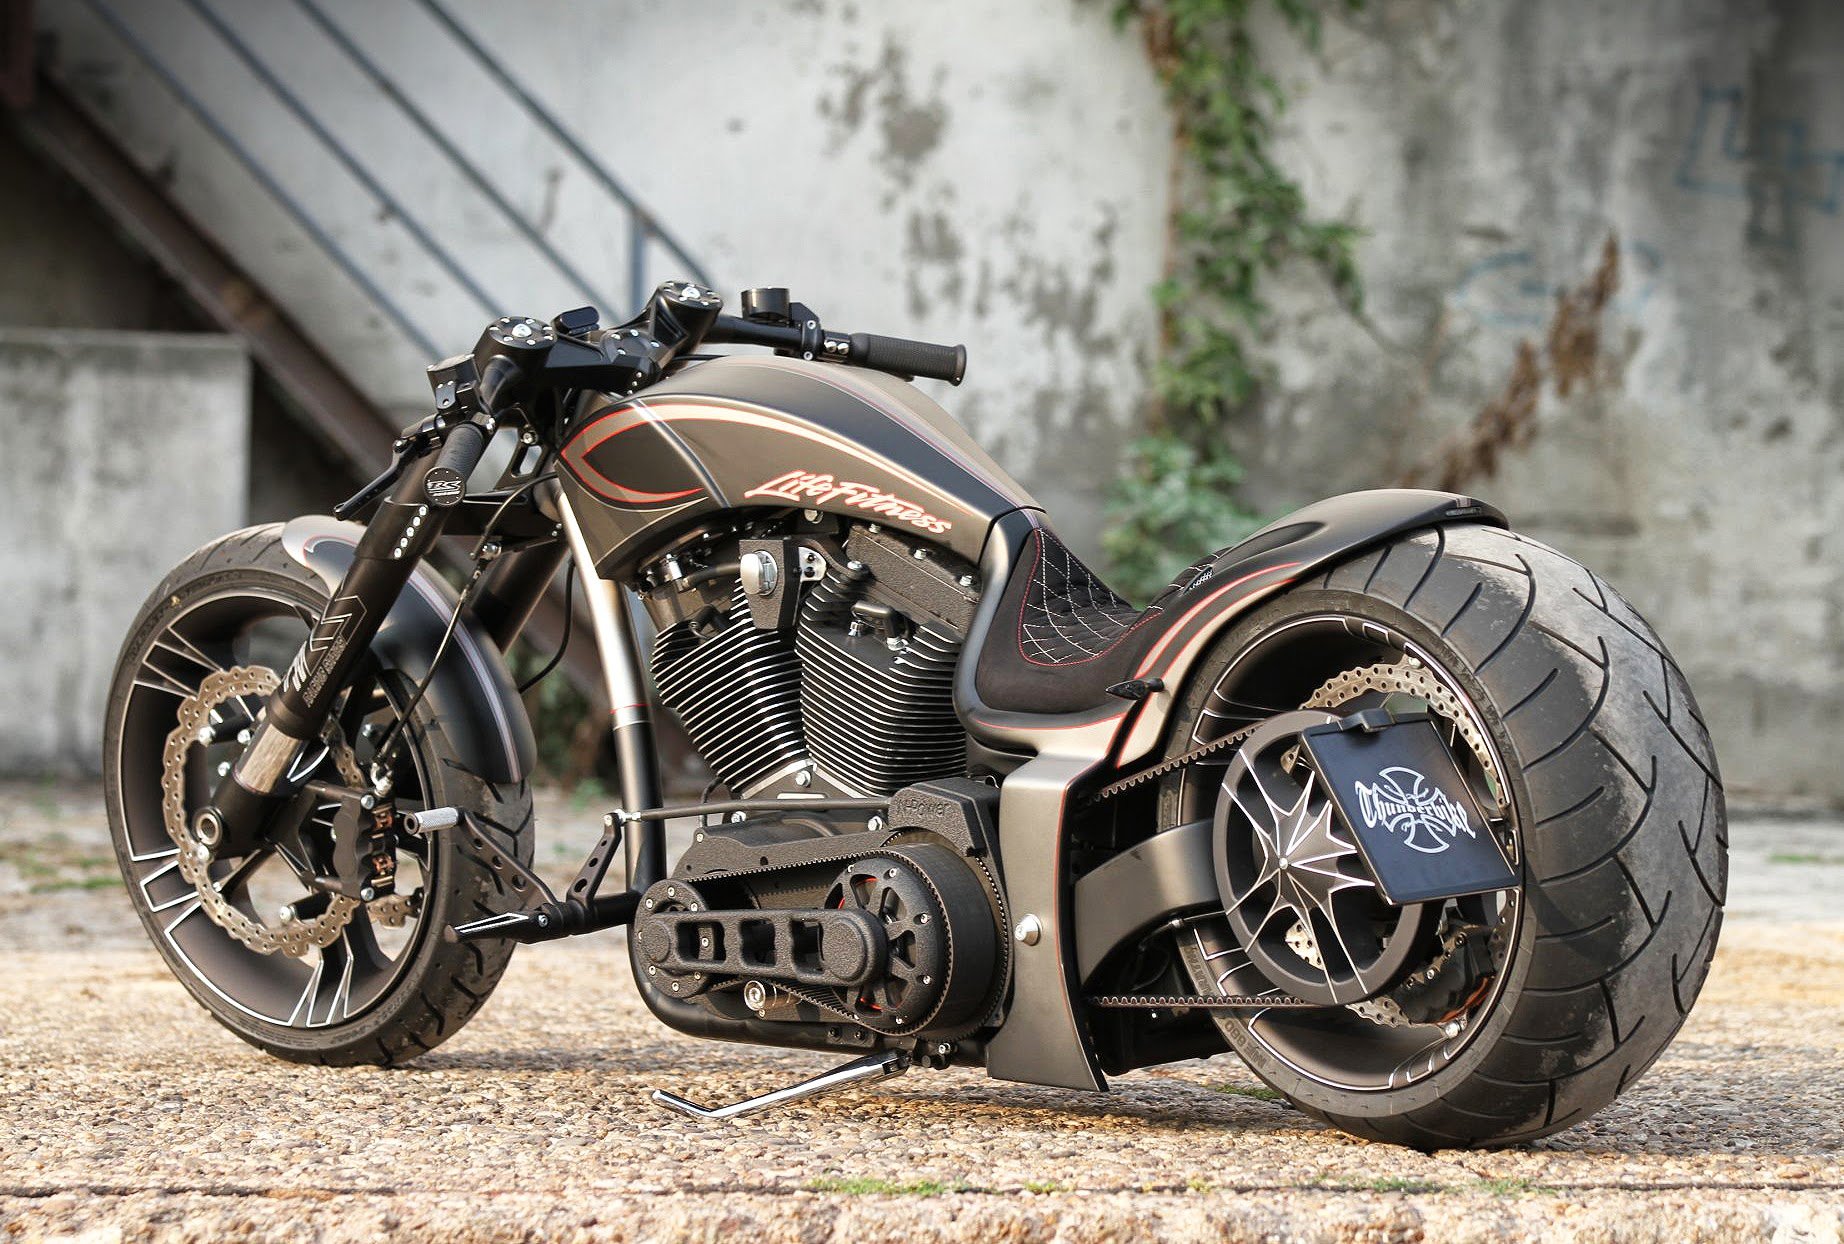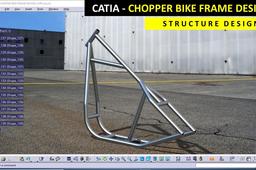
Designing a chopper frame using CAD software is a thrilling blend of engineering precision and artistic expression. Whether you’re a seasoned motorcycle enthusiast or a budding designer, mastering the art of digital frame construction unlocks endless possibilities for customization and innovation. This guide will walk you through the essential steps, tools, and creative considerations to bring your chopper frame vision to life with finesse.
The Foundation: Understanding Chopper Frame Design Principles
Before diving into CAD, it’s crucial to grasp the core principles that define a chopper frame. Unlike conventional motorcycle frames, choppers prioritize aesthetics, ergonomics, and radical geometry over mass production constraints. Key elements include the rake angle, trail, wheelbase, and triangulation—each influencing handling, stability, and style. CAD software allows you to manipulate these parameters with surgical precision, enabling you to experiment with radical designs that defy traditional norms. For instance, a stretched-out frame with an aggressive rake might look stunning but demands careful consideration of steering dynamics to avoid instability at high speeds.
Moreover, material selection plays a pivotal role. CAD tools let you simulate stress points and material fatigue, ensuring your frame can withstand the rigors of the road. Whether you opt for steel, aluminum, or titanium, digital modeling helps visualize how each material behaves under load, guiding your decisions toward durability and performance.
Choosing the Right CAD Software: Tools for the Trade
The market brims with CAD software tailored to different skill levels and budgets. For beginners, user-friendly platforms like SketchUp or Fusion 360 offer intuitive interfaces and robust libraries of pre-built components, making it easy to draft frame designs without a steep learning curve. Intermediate designers might gravitate toward SolidWorks, which excels in parametric modeling and simulation, allowing for real-time adjustments and stress analysis.
For the purists who demand unparalleled control, AutoCAD remains the gold standard, offering unmatched precision and customization. Meanwhile, open-source alternatives like FreeCAD provide a cost-effective entry point for those willing to invest time in learning. Each software has its strengths, but the best choice ultimately depends on your project’s complexity, your proficiency, and the level of detail required.
Sketching Your Vision: From Concept to Digital Blueprint
The journey from a rough sketch to a polished CAD model begins with ideation. Start by doodling your frame’s silhouette on paper, focusing on the overall aesthetic—whether it’s a sleek, minimalist design or a bold, angular masterpiece. Pay attention to proportions, symmetry, and the interplay of curves and lines. Once satisfied, transfer your sketch into the CAD software, using it as a reference to create a digital wireframe. This initial model serves as the skeleton of your design, allowing you to refine dimensions and angles before adding intricate details.
Don’t shy away from iteration. CAD software enables you to tweak and refine your frame’s geometry effortlessly. Experiment with different rake angles, seat heights, and swingarm lengths to achieve the perfect balance between form and function. Remember, the most iconic chopper frames often emerge from a series of revisions, where each adjustment brings you closer to your ideal vision.
Mastering the Art of Parametric Modeling
Parametric modeling is the backbone of efficient CAD design, allowing you to establish relationships between different components of your frame. By defining parameters such as tube diameters, wall thicknesses, and joint angles, you can make global changes that automatically propagate through your model. For example, adjusting the rake angle could instantly recalculate the trail and wheelbase, ensuring consistency across your design.
This approach not only saves time but also minimizes errors. If you decide to resize a critical component, the software will alert you to any conflicts or interferences, preventing costly mistakes down the line. Parametric modeling is particularly invaluable for choppers, where even minor adjustments can dramatically alter the frame’s character. Embrace this technique to streamline your workflow and elevate the precision of your designs.
Incorporating Real-World Constraints: Ergonomics and Compatibility
A chopper frame isn’t just a work of art—it must also accommodate the rider’s anatomy and the bike’s mechanical components. CAD software allows you to overlay human models (mannequins) to assess ergonomics, ensuring the seat height, handlebar position, and footpeg placement align with the rider’s comfort. This step is critical for avoiding discomfort or strain during long rides.
Compatibility is another vital consideration. Your frame must seamlessly integrate with the engine, suspension, and wheels you plan to use. CAD tools enable you to import component models from manufacturers or create custom mounts, ensuring a snug fit. For instance, if you’re using a Harley-Davidson engine, you’ll need to design the frame’s backbone to align with the motor’s mounting points, avoiding costly fabrication errors.
Stress Analysis and Simulation: Ensuring Structural Integrity
No chopper frame is complete without rigorous stress testing. CAD software equipped with finite element analysis (FEA) capabilities lets you simulate real-world conditions, such as load distribution, vibration, and impact resistance. By applying forces to critical areas—like the steering head or swingarm pivot—you can identify weak points and reinforce them before fabrication.
For example, a stretched frame with a high rake angle may experience increased torsional stress, necessitating thicker tubing or additional gussets. FEA tools provide visual heat maps that highlight stress concentrations, guiding your material choices and structural reinforcements. This data-driven approach ensures your frame isn’t just visually striking but also built to last.
From Digital to Physical: Preparing for Fabrication
Once your CAD model is perfected, the next step is translating it into a physical reality. Most fabrication shops require detailed drawings, including dimensioned views, material specifications, and welding annotations. CAD software simplifies this process by generating precise blueprints, complete with tolerances and annotations for the welder or machinist.
Additionally, consider creating a 3D-printed scale model to visualize the frame’s proportions and aesthetics. This tactile prototype can reveal subtle flaws that aren’t apparent in a digital model, allowing for last-minute adjustments. When you’re ready to cut metal, ensure your CAD files are exported in a format compatible with CNC machines or plasma cutters, such as STEP or DXF files.
Innovative Techniques: Blending Art and Engineering
The world of chopper frame design thrives on innovation. CAD software empowers you to push boundaries with unconventional techniques, such as topology optimization, which uses algorithms to generate lightweight, high-strength structures by removing unnecessary material. Alternatively, you might explore generative design, where AI suggests multiple frame configurations based on your input parameters, inspiring solutions you might never have considered.
Another trend is the integration of modular components, allowing riders to swap out frame sections for different riding styles. CAD makes it easy to design interchangeable mounts or sub-frames, turning a single chopper into a versatile machine. Whether you’re aiming for a retro café racer look or a futuristic street tracker, these advanced techniques ensure your frame stands out in a crowded field.
Final Touches: Rendering and Presentation
A stunning chopper frame deserves a presentation that does it justice. CAD software often includes rendering tools that simulate lighting, textures, and even environmental contexts, bringing your design to life. Use these features to create photorealistic images that showcase your frame from every angle, highlighting its unique features and craftsmanship.
For a competitive edge, consider animating your frame to demonstrate its articulation or suspension travel. This dynamic presentation can captivate clients, investors, or fellow enthusiasts, proving that your design isn’t just functional but also a work of art. Whether you’re sharing your work on social media, pitching to a manufacturer, or simply admiring your creation, high-quality renders elevate your project from concept to masterpiece.