The symphony of a Harley-Davidson chopper isn’t just in the throaty growl of its engine—it’s in the whispers of oil seeping where it shouldn’t, the telltale drip-drip of a leaking rocker box. This isn’t just a mechanical hiccup; it’s a betrayal of the machine’s soul, a breach in the sacred covenant between rider and ride. When the lifeblood of your chopper begins to escape through the seams of its rocker box, it’s not merely a repair job—it’s a restoration of harmony. The problem is as old as the V-twin itself, yet each leak carries its own story, a narrative of wear, neglect, or the relentless pursuit of performance. To fix it is to listen—to the engine’s rhythm, to the sigh of escaping oil, to the unspoken plea for care. This guide isn’t just about tightening bolts or replacing gaskets; it’s about reclaiming the quiet confidence that comes when every part of your chopper sings in unison.
The Anatomy of a Leak: Why Your Rocker Box Betrays You
The rocker box isn’t just a metal housing—it’s the guardian of the valvetrain, the sentinel that keeps oil where it belongs and chaos at bay. When it leaks, the reasons run deeper than a loose bolt or a cracked gasket. Over time, the relentless heat of a high-performance engine cooks the gasket material, turning it brittle and prone to failure. Vibrations, the constant thrum of the road, can loosen fasteners until they’re little more than decorative. And then there’s the oil itself—thick, gritty, laden with the detritus of combustion—accelerating wear in ways you’d never expect. A leak isn’t just a symptom; it’s a symptom of a machine that’s been pushed, pulled, and ridden hard. Ignore it, and you’re not just risking a mess on your garage floor—you’re inviting catastrophic failure. The deeper truth? Your chopper isn’t just leaking oil; it’s leaking time, and the longer you wait, the more it will cost.
Tools of the Trade: What You’ll Need to Wage War on the Leak
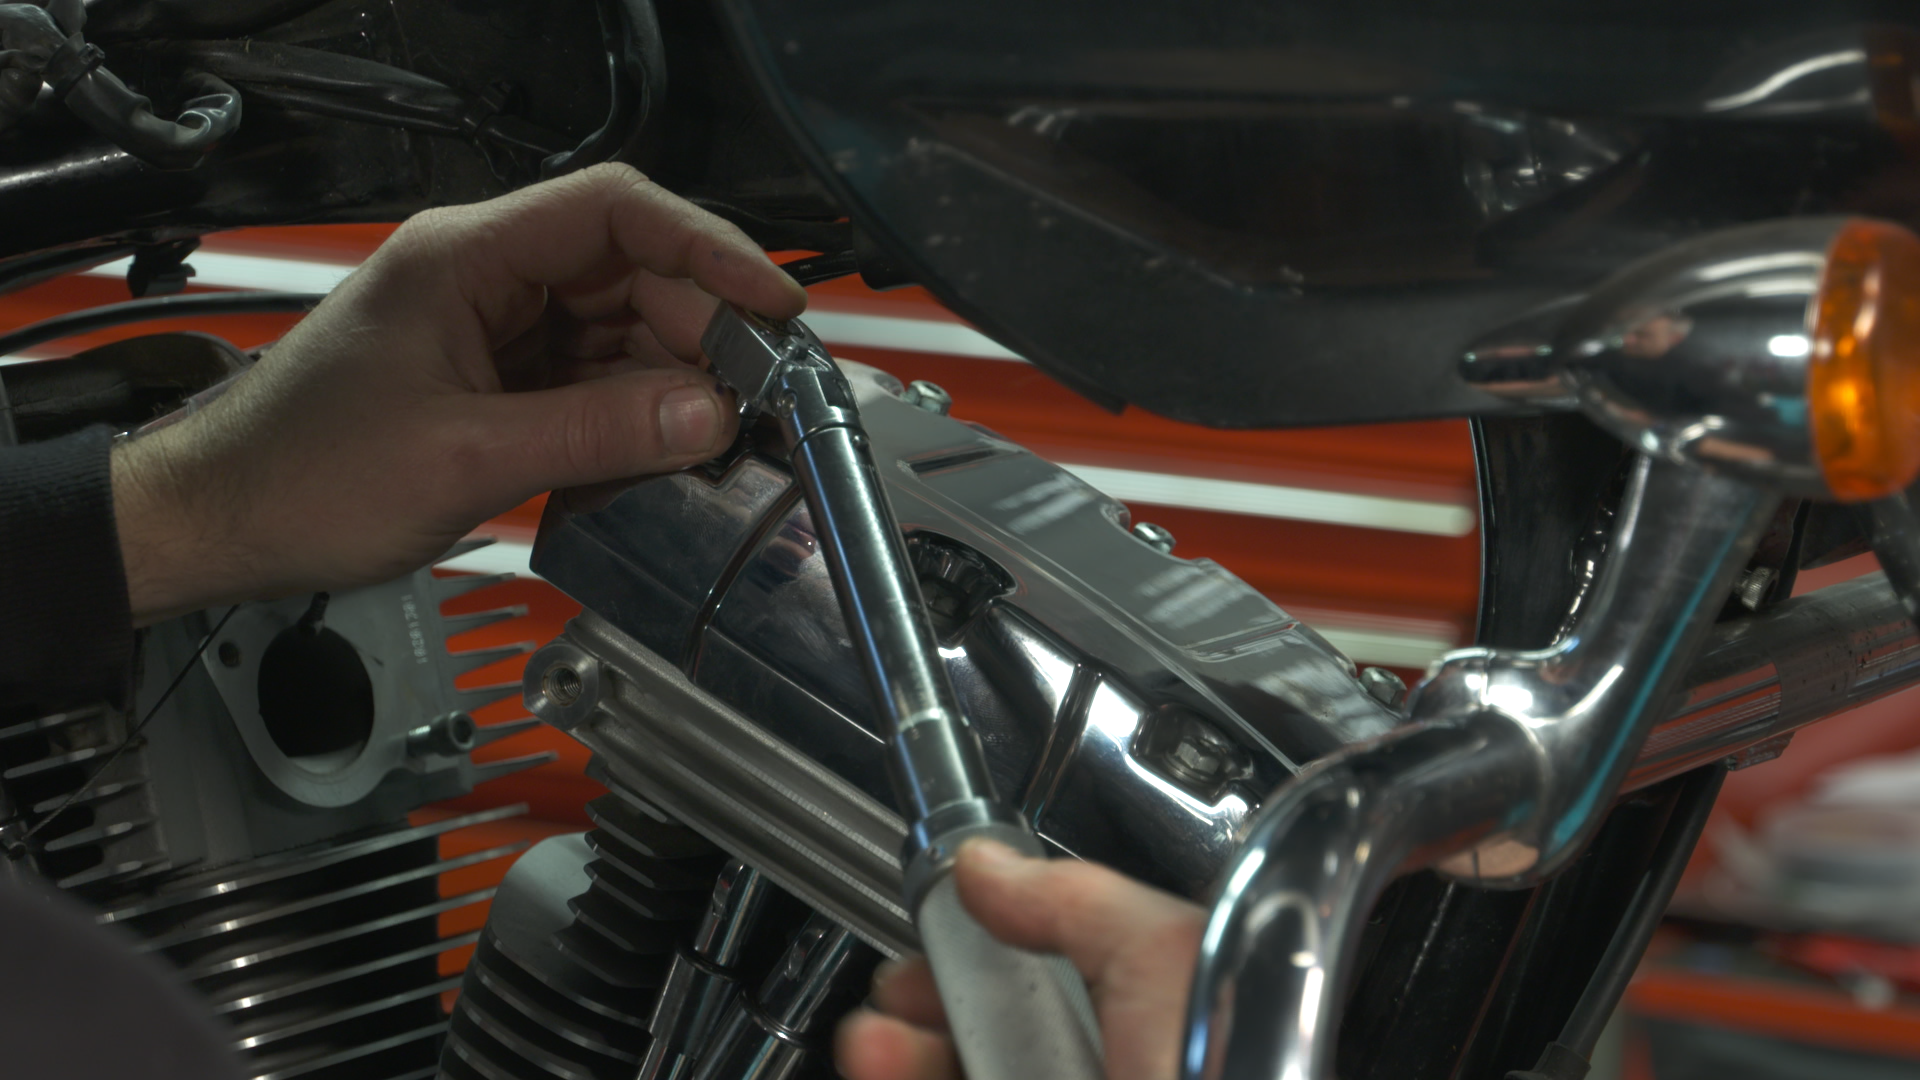
You wouldn’t bring a butter knife to a sword fight, and you shouldn’t bring a wrench set to a rocker box repair. This isn’t a job for half-measures. Start with a torque wrench—precision is non-negotiable. A gasket scraper, preferably one with a flexible blade, will save you from gouging the mating surfaces. Don’t forget a magnetic tray to catch the tiny metal shavings that inevitably fall. A can of brake cleaner or contact cleaner will degrease the area faster than soap and water ever could. And if you’re dealing with a stubborn leak, a tube of high-temperature RTV silicone might be your secret weapon. Oh, and gloves—lots of them. This isn’t a job for delicate hands. The right tools don’t just make the job easier; they turn a frustrating ordeal into a methodical, almost meditative process. With the right gear, even the messiest leak becomes a puzzle waiting to be solved.
Disassembly: Peeling Back the Layers of the Problem
Before you can fix what’s broken, you have to see it. That means removing the rocker box cover, a task that’s deceptively simple until you’re wrestling with seized fasteners or a gasket that’s fused itself to the engine like a barnacle to a hull. Start by draining the oil—no sense making a bigger mess than necessary. Then, carefully remove the bolts in a crisscross pattern to avoid warping the cover. If a bolt won’t budge, don’t force it. A penetrating oil like PB Blaster or Kroil can work wonders over time. Once the cover is off, resist the urge to wipe away the oil immediately. Study the gasket surface first. Are there deep grooves? Scratches? Those aren’t just cosmetic flaws—they’re the fingerprints of a problem that’s been festering for miles. The disassembly isn’t just about access; it’s about diagnosis. Every scratch tells a story, and it’s up to you to read it.

Inspection: The Forensic Work Behind the Fix
Now comes the detective work. Run your fingers along the gasket surface. Feel for irregularities—raised edges, pockmarks, or areas where the metal feels softer than it should. These are signs of warping, a common culprit in persistent leaks. Check the gasket itself. Is it cracked? Brittle? Swollen? A gasket that’s been in place too long will often harden and lose its ability to seal. Don’t overlook the bolts either. Are they corroded? Stripped? A single damaged bolt can undo all your hard work. And then there’s the oil passage—is it clogged with sludge? A restricted passage can cause pressure to build, forcing oil out through the weakest point. This isn’t just about replacing parts; it’s about understanding why they failed in the first place. The best repairs aren’t just fixes—they’re preventative measures in disguise.
Cleaning and Prepping: The Unsung Hero of the Repair
You can’t slap a new gasket onto a dirty surface and expect it to hold. The mating surfaces must be pristine. Use your gasket scraper to remove every trace of the old gasket, but be gentle—you’re not excavating a fossil. Follow up with a razor blade or a plastic scraper to get into the tight spots. Then, degrease the area with brake cleaner, wiping it down until the rag comes away clean. If you’re using RTV silicone, apply a thin bead along the gasket line, but don’t overdo it—too much can clog oil passages. For metal surfaces that are slightly warped, a sheet of sandpaper (around 400-grit) can help restore flatness, but only if the warping is minimal. This step is where most DIYers cut corners, and it’s why so many “fixed” leaks return with a vengeance. Cleanliness isn’t just next to godliness—it’s the difference between a repair that lasts and one that’s doomed to fail.
Reassembly: The Art of Putting It All Back Together
With the surfaces clean and the new gasket in place, it’s time to reassemble. Start by hand-tightening the bolts in the same crisscross pattern you used for removal. This ensures even pressure distribution. Then, using your torque wrench, tighten each bolt to the manufacturer’s specification—usually around 8-12 ft-lbs for most Harley rocker box covers. Resist the urge to overtighten. Over-torquing can crush the gasket, creating new leak paths. Once everything is snug, double-check for gaps. If the cover sits unevenly, you’ll need to investigate further—perhaps a warped surface or a misaligned gasket. And don’t forget to refill the oil to the correct level. Too much oil can cause pressure buildup; too little leaves your engine vulnerable. The reassembly isn’t just about putting parts back—it’s about restoring balance, ensuring every component works in harmony once more.
Testing and Troubleshooting: Did You Really Fix It?
Start the engine and let it idle. Listen for unusual noises—a hissing or whistling could indicate a leak that’s still present. Watch for oil seeping from the edges of the rocker box. If you see even a hint of moisture, shut it down immediately. The problem might be a warped cover, a damaged gasket, or a bolt that wasn’t tightened enough. Let the engine run for a few minutes, then shut it off and check the oil level. A sudden drop means the leak is still there, lurking in the shadows. If all looks well, take the chopper for a short ride, then recheck the rocker box. Sometimes leaks only appear under load. And if you’re still seeing oil? Don’t panic. The first fix isn’t always the last. Sometimes, it takes a second pass to truly banish the leak for good.
The Deeper Fix: Preventing Leaks Before They Start
A leak isn’t just a repair—it’s a lesson. The next time you ride, pay attention to how your chopper feels. Is the engine running hotter than usual? Are there new vibrations? These could be early warnings of a problem brewing beneath the surface. Regularly inspect your gaskets and fasteners, especially after long rides or high-stress conditions. Consider upgrading to a high-performance gasket material, like composite or multi-layer steel, if you’re pushing your engine hard. And don’t neglect the oil—change it religiously, using a high-quality oil designed for air-cooled V-twins. The best way to avoid a leak isn’t just to fix it when it happens; it’s to ensure it never has the chance to start. Because in the end, the most satisfying rides aren’t just about power and speed—they’re about the quiet confidence that comes from knowing your machine is as well-cared-for as it is well-built.