The heart of a custom chopper isn’t just in its gleaming chrome or the thunderous growl of its engine—it’s in the silent, unyielding precision of its suspension. Fork seals, those unassuming yet critical components, are the unsung guardians of ride quality, ensuring your bike glides over imperfections with the grace of a panther stalking its prey. When they wear thin, the symphony of control turns into a cacophony of leaks and instability. Replacing them isn’t just maintenance; it’s a rite of passage for the chopper enthusiast, a test of patience and skill that separates the grease-stained hobbyist from the true artisan. This isn’t merely about fixing a leak—it’s about reclaiming the soul of your machine.
The Anatomy of a Fork Seal: Why These Tiny Rings Hold Your Ride’s Fate
Fork seals are deceptively simple: a rubber ring nestled within a metal housing, designed to keep fork oil where it belongs—inside the slider tube. But their role is anything but trivial. As your chopper carves through corners or absorbs the relentless assault of potholes, the seals endure a brutal ballet of friction and pressure. Over time, dirt infiltrates, oil degrades, and the rubber hardens, leading to the dreaded weep of fluid. Ignore it, and you’re not just risking a sluggish ride; you’re inviting corrosion, uneven damping, and the kind of instability that turns a Sunday cruise into a white-knuckle nightmare. The deeper truth? Fork seals are the first line of defense against the chaos of the road, and their failure is a whisper of entropy that, left unchecked, will erode the very essence of your bike’s character.

Gathering Your Arsenal: Tools and Supplies for the Ritual of Rebirth
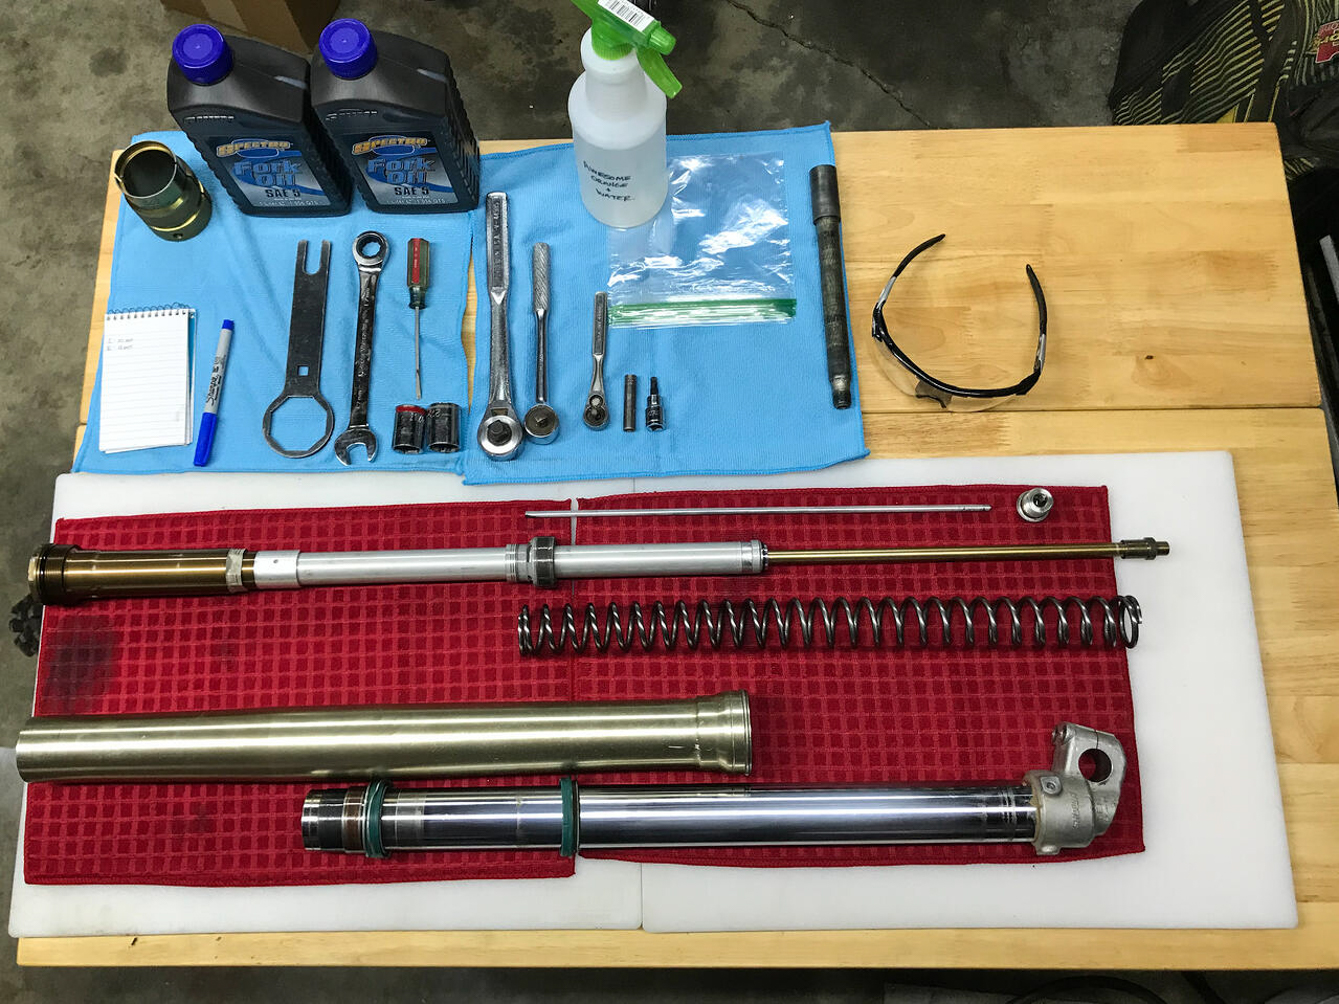
This isn’t a job for half-measures. You’ll need a surgical precision of tools: a seal pick to coax the old seal from its lair, a vise to steady the fork legs, and a torque wrench to ensure every bolt is snug, not suffocated. Don’t skimp on the fork oil—use the manufacturer’s recommended viscosity, or risk a ride that feels like it’s wading through molasses. A clean workspace, free of the detritus of past projects, is non-negotiable. Even the scent of fresh oil in the air becomes part of the ritual, a sensory cue that this isn’t just maintenance—it’s rebirth. And yes, gloves. Because no one wants to explain to their significant other why their hands smell like a refinery.
Disassembly: Peeling Back the Layers of Time
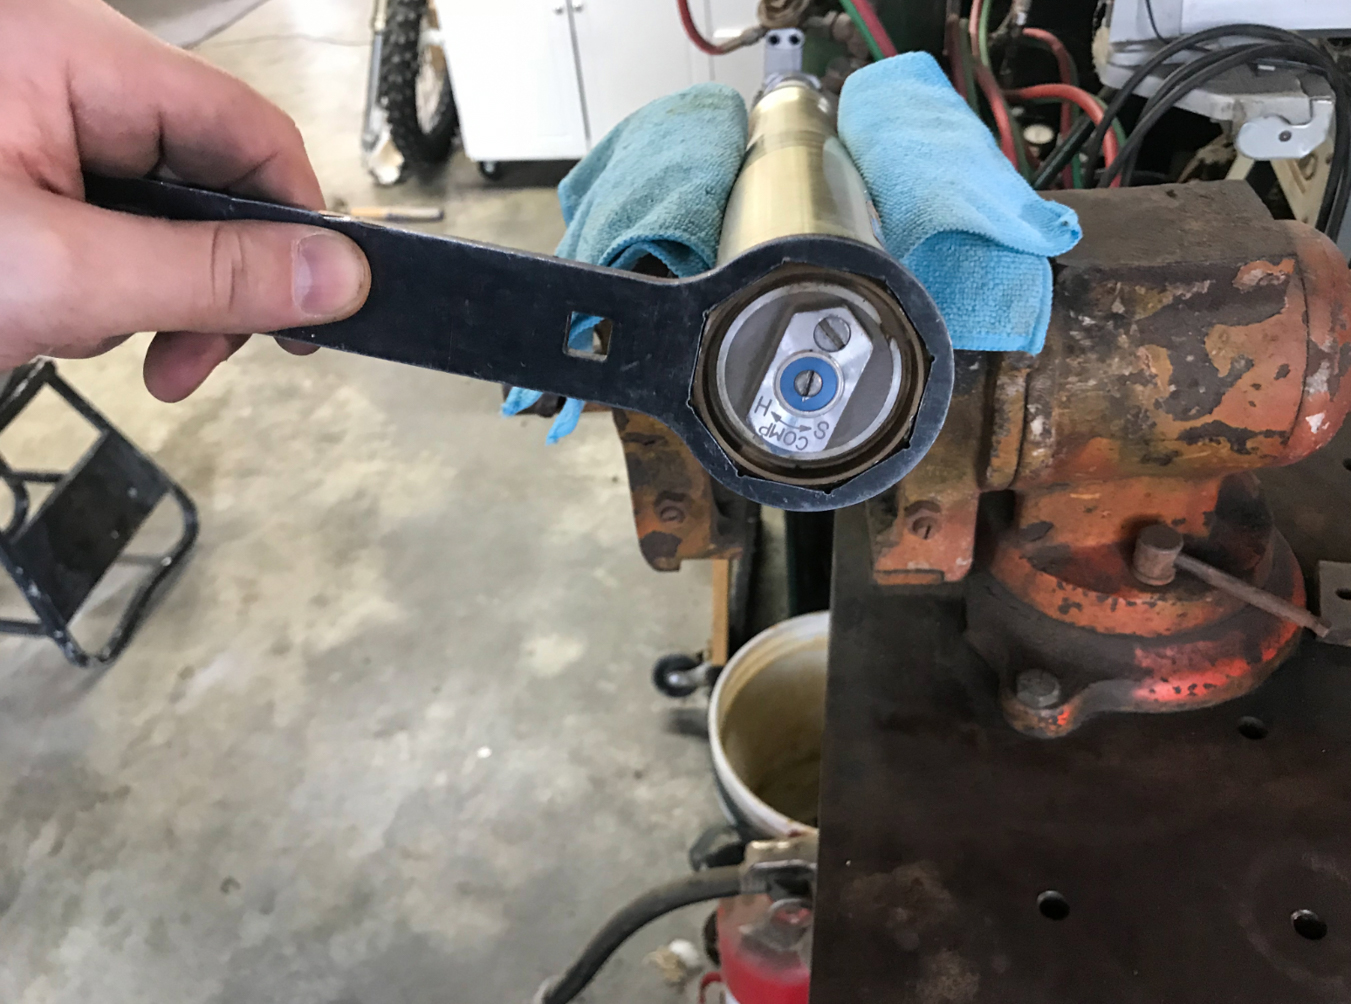
The first step is always the hardest. Removing the fork legs from the triple clamps is like performing surgery—one wrong move, and you’re left with a mess of stripped bolts or bent tubes. Use penetrating oil on stubborn fasteners, and if all else fails, a heat gun can work wonders. Once free, drain the old oil into a catch pan; the color and consistency will tell you a story. Black, gritty fluid? Your seals have been working overtime. Once drained, secure the fork in a vise, but pad the jaws with soft metal or wood to avoid marring the chrome. The old seal is next—gently pry it out with your pick, taking care not to scratch the slider tube. This is where the real work begins.

Cleaning the Canvas: Preparing for the New Seal’s Arrival
With the old seal evicted, the slider tube must be immaculate. Any residual oil, dirt, or metal shavings will compromise the new seal’s integrity. Use a lint-free cloth and isopropyl alcohol to scrub the tube, then inspect it under a bright light. Scratches or pitting? You’ll need to address them now, or risk a slow leak that will haunt you like a ghost. A fresh coat of fork oil on the tube before installation isn’t just lubrication—it’s a blessing, ensuring the new seal slides into place with the ease of a key turning in a well-oiled lock.
Installing the New Seal: The Moment of Truth
Here’s where the magic happens. Slide the new seal over the slider tube, ensuring it’s oriented correctly—most have a lip that faces inward, toward the oil. A seal driver (or a perfectly sized socket) will help seat it evenly. Tap it into place with a mallet, but don’t brute-force it; the seal should glide in with minimal resistance. Once seated, reinstall the dust seal (if your fork has one) and the retaining clip. This isn’t just about slapping parts back together—it’s about restoring the fork’s harmony, ensuring every component works in concert like a well-rehearsed band.
Reassembly and the First Ride: When the Machine Speaks Again
Reattach the fork legs to the triple clamps, torqueing the bolts to spec—over-tighten, and you’ll warp the tubes; under-tighten, and you’ll invite disaster. Refill the forks with fresh oil, using a graduated syringe for precision. Pump the forks a few times to distribute the oil, then check the sag—your bike should sit at the right height, neither sagging like a defeated warrior nor perched like a show pony. The first ride after a fork seal replacement isn’t just a test of the repair; it’s a communion with your machine. Listen for the hum of the suspension, the way it responds to your inputs. If it feels alive again, you’ve done more than fix a leak—you’ve rekindled the spirit of your chopper.
The Deeper Allure: Why Fork Seals Captivate the Soul of the Builder
There’s a reason this task feels so personal. Fork seals aren’t just about function; they’re about legacy. Every custom chopper is a reflection of its builder’s patience, skill, and respect for the machine. When you replace those seals, you’re not just tightening a bolt—you’re honoring the lineage of builders who came before you, from the grease-stained legends of the ‘60s to the modern artisans pushing the boundaries of two-wheeled art. The fascination runs deeper than mechanics; it’s about the tactile joy of creation, the way a well-executed repair elevates a bike from mere transportation to a rolling testament to craftsmanship. And when you roll out after the job is done, the road ahead isn’t just a path—it’s a canvas, waiting for your machine to paint its masterpiece.