Ever stared down the gleaming beast of your Harley chopper, only to notice the primary chain sagging like a tired hound after a long ride? Or perhaps it’s too tight, whining in protest like a banshee with a grudge? Adjusting the primary chain on a Harley chopper isn’t just maintenance—it’s an art form, a dance between precision and passion. Get it wrong, and you risk a symphony of mechanical dissonance. Get it right, and your bike purrs like a contented lion. So, are you ready to tame the beast—or will your chopper’s chain remain a loose cannon?
The Heartbeat of Your Harley: Why the Primary Chain Matters
The primary chain is the lifeblood of your Harley chopper’s drivetrain, a silent sentinel translating the raw power of your engine into forward motion. Unlike the secondary chain, which whispers to the rear wheel, the primary chain roars in the shadows, hidden beneath the primary cover. Its tension isn’t just about smooth operation—it’s about longevity. Too loose, and it’ll slap against the inner primary cover like a rebellious teenager. Too tight, and it’ll drag your engine down like an anchor in murky waters. The sweet spot? A tension that’s just right, where the chain hums in harmony with your bike’s rhythm.
But here’s the twist: your chopper’s primary chain isn’t just a mechanical component. It’s a storyteller. Every mile it covers, every adjustment you make, writes a new chapter in your bike’s legacy. Ignore it, and you’re not just neglecting maintenance—you’re silencing a part of your chopper’s soul.

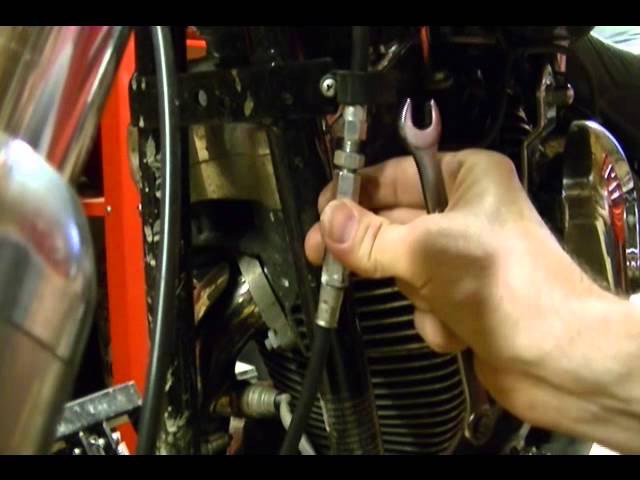
The Tools of the Trade: Gearing Up for the Battle
Before you dive into the fray, arm yourself with the right tools. This isn’t a job for duct tape and hope. You’ll need:
- A chain tensioner tool—your primary ally in this mechanical crusade.
- A ruler or caliper—precision is your best friend here.
- A socket wrench set—because brute force is sometimes necessary.
- A flashlight—hidden nooks and crannies demand illumination.
- A clean rag—because grease is the enemy of clarity.
Pro tip: If your chopper’s primary cover is stubborn, a rubber mallet can coax it into submission. Just don’t get too enthusiastic—you’re not demolishing a building, you’re courting a machine.
Peeling Back the Layers: Removing the Primary Cover
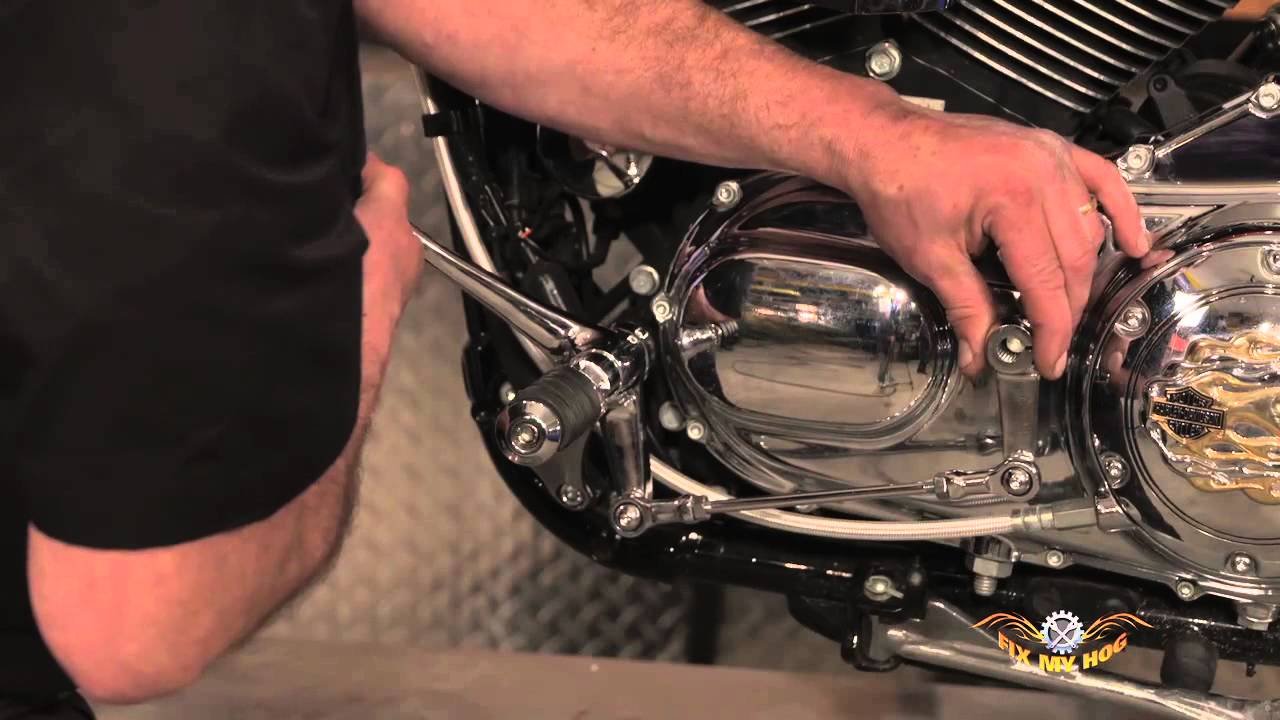
The primary cover is your chopper’s armor, shielding the chain from the elements and prying eyes. Removing it is like lifting the lid on a treasure chest—except the treasure is a tangle of gears and a chain that might need a little TLC. Start by disconnecting the battery to avoid any accidental sparks. Then, loosen the bolts holding the cover in place. If they’re seized, a penetrating oil and patience will save you from stripped threads.
Once the bolts are free, gently pry the cover away. Listen closely. If it protests with a metallic groan, you might need to tap it with your mallet. Be firm but gentle—this isn’t a demolition derby.

The Tension Tango: Finding the Perfect Balance
Now, the moment of truth. How do you know if your primary chain is too loose or too tight? The answer lies in the sag. With the bike in neutral and the rear wheel off the ground, gently push the chain downward. It should deflect about 1/2 to 3/4 of an inch. Any more, and it’s a slacker. Any less, and it’s a tyrant.
Adjusting the tension is a game of give and take. Loosen the adjuster bolts on the primary cover, then use the tensioner tool to nudge the chain into compliance. Tighten the bolts incrementally, checking the sag after each adjustment. It’s a slow dance, one where impatience is the enemy.
But here’s the kicker: your chopper’s chain tension isn’t static. Heat, wear, and even the phase of the moon can affect it. Check it after every long ride, and you’ll avoid the heartbreak of a snapped chain mid-highway.
The Silent Killer: Signs Your Primary Chain is in Distress
Your chopper speaks to you—if you know how to listen. A primary chain in distress doesn’t always announce itself with a dramatic snap. Sometimes, it whispers in riddles:
- Whining or grinding noises—like a banshee with a sore throat.
- Excessive vibration—your bike shouldn’t feel like it’s auditioning for a rock band.
- Uneven wear on the sprockets—a chain that’s too tight or too loose will chew through teeth like a starving rodent.
- Oil leaks—a chain that’s too tight can force oil past the seals, leaving a slick mess in its wake.
If you spot any of these red flags, don’t wait for the chain to fail. Address it now, or risk a breakdown that’ll leave you stranded like a cowboy without a horse.
Lubrication: The Unsung Hero of Chain Longevity
A well-adjusted chain is a happy chain, but even the happiest chain needs a drink. Primary chain lubrication isn’t just about slathering on grease like a kid frosting a cake. It’s about choosing the right lube and applying it with precision.
Start by cleaning the chain with a degreaser—grit and grime are the enemies of smooth operation. Once it’s sparkling, apply a high-quality motorcycle chain lube. Avoid automotive grease; it’s too thick and will gum up your chain like peanut butter in a hairbrush. Instead, opt for a dry or wet lube, depending on your riding conditions. Dry lube is perfect for dusty trails, while wet lube thrives in rain-soaked adventures.
Apply the lube sparingly, letting it penetrate the rollers without creating a slippery mess. Wipe off any excess, and you’re golden.
When to Call in the Cavalry: Professional Help
Not every battle is meant to be fought alone. If your primary chain adjustment feels like trying to solve a Rubik’s Cube blindfolded, it might be time to call a professional. A skilled mechanic can spot issues you might miss, like worn sprockets or a misaligned engine. Plus, they’ve got the tools and experience to get the job done right the first time.
But here’s the thing: even if you hand over the reins, stay involved. Ask questions. Learn. The more you understand your chopper, the better rider you’ll become.
The Final Ride: Testing Your Work
You’ve adjusted the tension, lubed the chain, and reassembled the primary cover. Now, the moment of reckoning. Start your chopper and let it idle. Listen. Does it hum like a contented cat, or does it growl like a disgruntled bear? Take it for a short ride, paying close attention to how the chain behaves. If it’s still singing off-key, you might need to tweak the tension further.
Remember, adjusting the primary chain isn’t a one-and-done deal. It’s an ongoing conversation between you and your bike. Treat it with respect, and it’ll reward you with years of smooth, reliable performance.
So, are you ready to take the reins? Your chopper is waiting, and the road is calling. Adjust that chain, listen to your bike, and let the adventure begin.