Ever cruised down a moonlit highway, only to realize your chopper’s headlight is flickering like a dying firefly? Or worse—it’s gone out entirely, leaving you squinting at the road like a nocturnal mole? Before you resign yourself to the shadows, consider this: replacing your chopper’s headlight bulb isn’t just a chore—it’s a rite of passage. And with an LED upgrade, you’re not just fixing a problem; you’re illuminating the future of your ride. But beware: this isn’t your grandpa’s headlight swap. Modern LED bulbs demand precision, patience, and a dash of mechanical intuition. Ready to banish the darkness? Let’s dive in.
The Prelude: Why Upgrade to LED?
Picture this: you’re parked at a biker’s meetup, your chopper gleaming under the neon glow of the night. Your stock halogen bulb casts a feeble, yellowish beam that barely cuts through the fog. Meanwhile, the chopper next to you? Its LED headlight slices through the gloom like a laser-guided katana, revealing every pothole, pebble, and stray raccoon with surgical clarity. That’s the power of an LED upgrade.
LEDs aren’t just brighter; they’re smarter. They sip power like a fine whiskey instead of guzzling it like cheap beer, extending your battery’s life. They’re cooler to the touch, reducing the risk of melting your precious handlebar wiring. And let’s not forget the aesthetic coup—those crisp, white beams scream “I didn’t just buy this chopper; I *engineered* it.” But here’s the catch: not all LEDs play nice with your bike’s electrical system. Some flicker like a horror movie strobe light. Others refuse to light up at all, leaving you stranded in the dark with a $50 bulb and a bruised ego. The key? Compatibility.
Gear Up: Tools and Tactics
Before you pry open the abyss that is your chopper’s headlight assembly, arm yourself with the right arsenal. You’ll need:
- A socket wrench set—because some bolts are tighter than a drum solo at a punk concert.
- A flathead screwdriver (or a trusty butter knife in a pinch; no judgment).
- Tweezers—for those pesky wire clips that love to play hide-and-seek.
- A multimeter—to verify voltage and avoid frying your new LED like an overzealous sous chef.
- Dielectric grease—to keep corrosion at bay and your connections slicker than a greased pig at a county fair.
- A torque wrench—because overtightening is the fast track to a stripped housing.
Pro tip: Lay out your tools like a surgeon preparing for a heart transplant. Organization isn’t just for neat freaks; it’s your lifeline when your fingers are numb from the cold or your patience is thinner than a biker’s wallet after a gas station burrito.
The Grand Unveiling: Accessing the Headlight Assembly
Now, the moment of truth. Pop the seat, and if your chopper’s headlight is stubbornly fused to the frame like a bad tattoo, you might need to remove the front fairing. This is where the real fun begins. Some bikes have a single bolt holding the fairing in place; others require the patience of a monk sanding grains of rice. Gently pry the clips (they’re usually plastic, so don’t go full Hulk on them) and set the fairing aside like a fragile relic.
With the fairing out of the way, you’ll see the headlight assembly—a gleaming chrome or black behemoth staring back at you. Some models have a single bulb; others pack dual beams like a sci-fi spaceship. Locate the bulb socket, which is typically secured by a metal clamp or a twist-lock mechanism. Here’s where the plot thickens: if your chopper’s wiring harness is as tangled as a politician’s promises, you might need to loosen a few screws or unclip a few connectors to free up some slack. Take photos before you disconnect anything—your future self will thank you when you’re not left scratching your head over a spaghetti junction of wires.

The Main Event: Removing the Old Bulb
Take a deep breath. This is where mistakes happen. The old bulb is likely held in place by a spring clip or a bayonet mount. If it’s a bayonet, twist counterclockwise while pulling gently—imagine unscrewing a stubborn jar lid, but with more finesse. If it’s a clip, squeeze it open and slide the bulb out like a shy guest leaving a party.
Here’s the kicker: halogen bulbs are fragile. One wrong move, and you’re holding a handful of glass shards and regret. Wear gloves to avoid transferring oils from your skin to the bulb, which can shorten its lifespan. And whatever you do, don’t touch the glass with your bare fingers. If you do, clean the bulb with rubbing alcohol before installation—oils are the enemy of clarity.
Once the old bulb is free, inspect the socket for corrosion or burnt contacts. If the socket looks like it’s been through a warzone, clean it with a wire brush or replace it entirely. A corroded socket is like a bad relationship—it’ll keep causing problems until you cut ties.
The Upgrade: Installing the LED Bulb
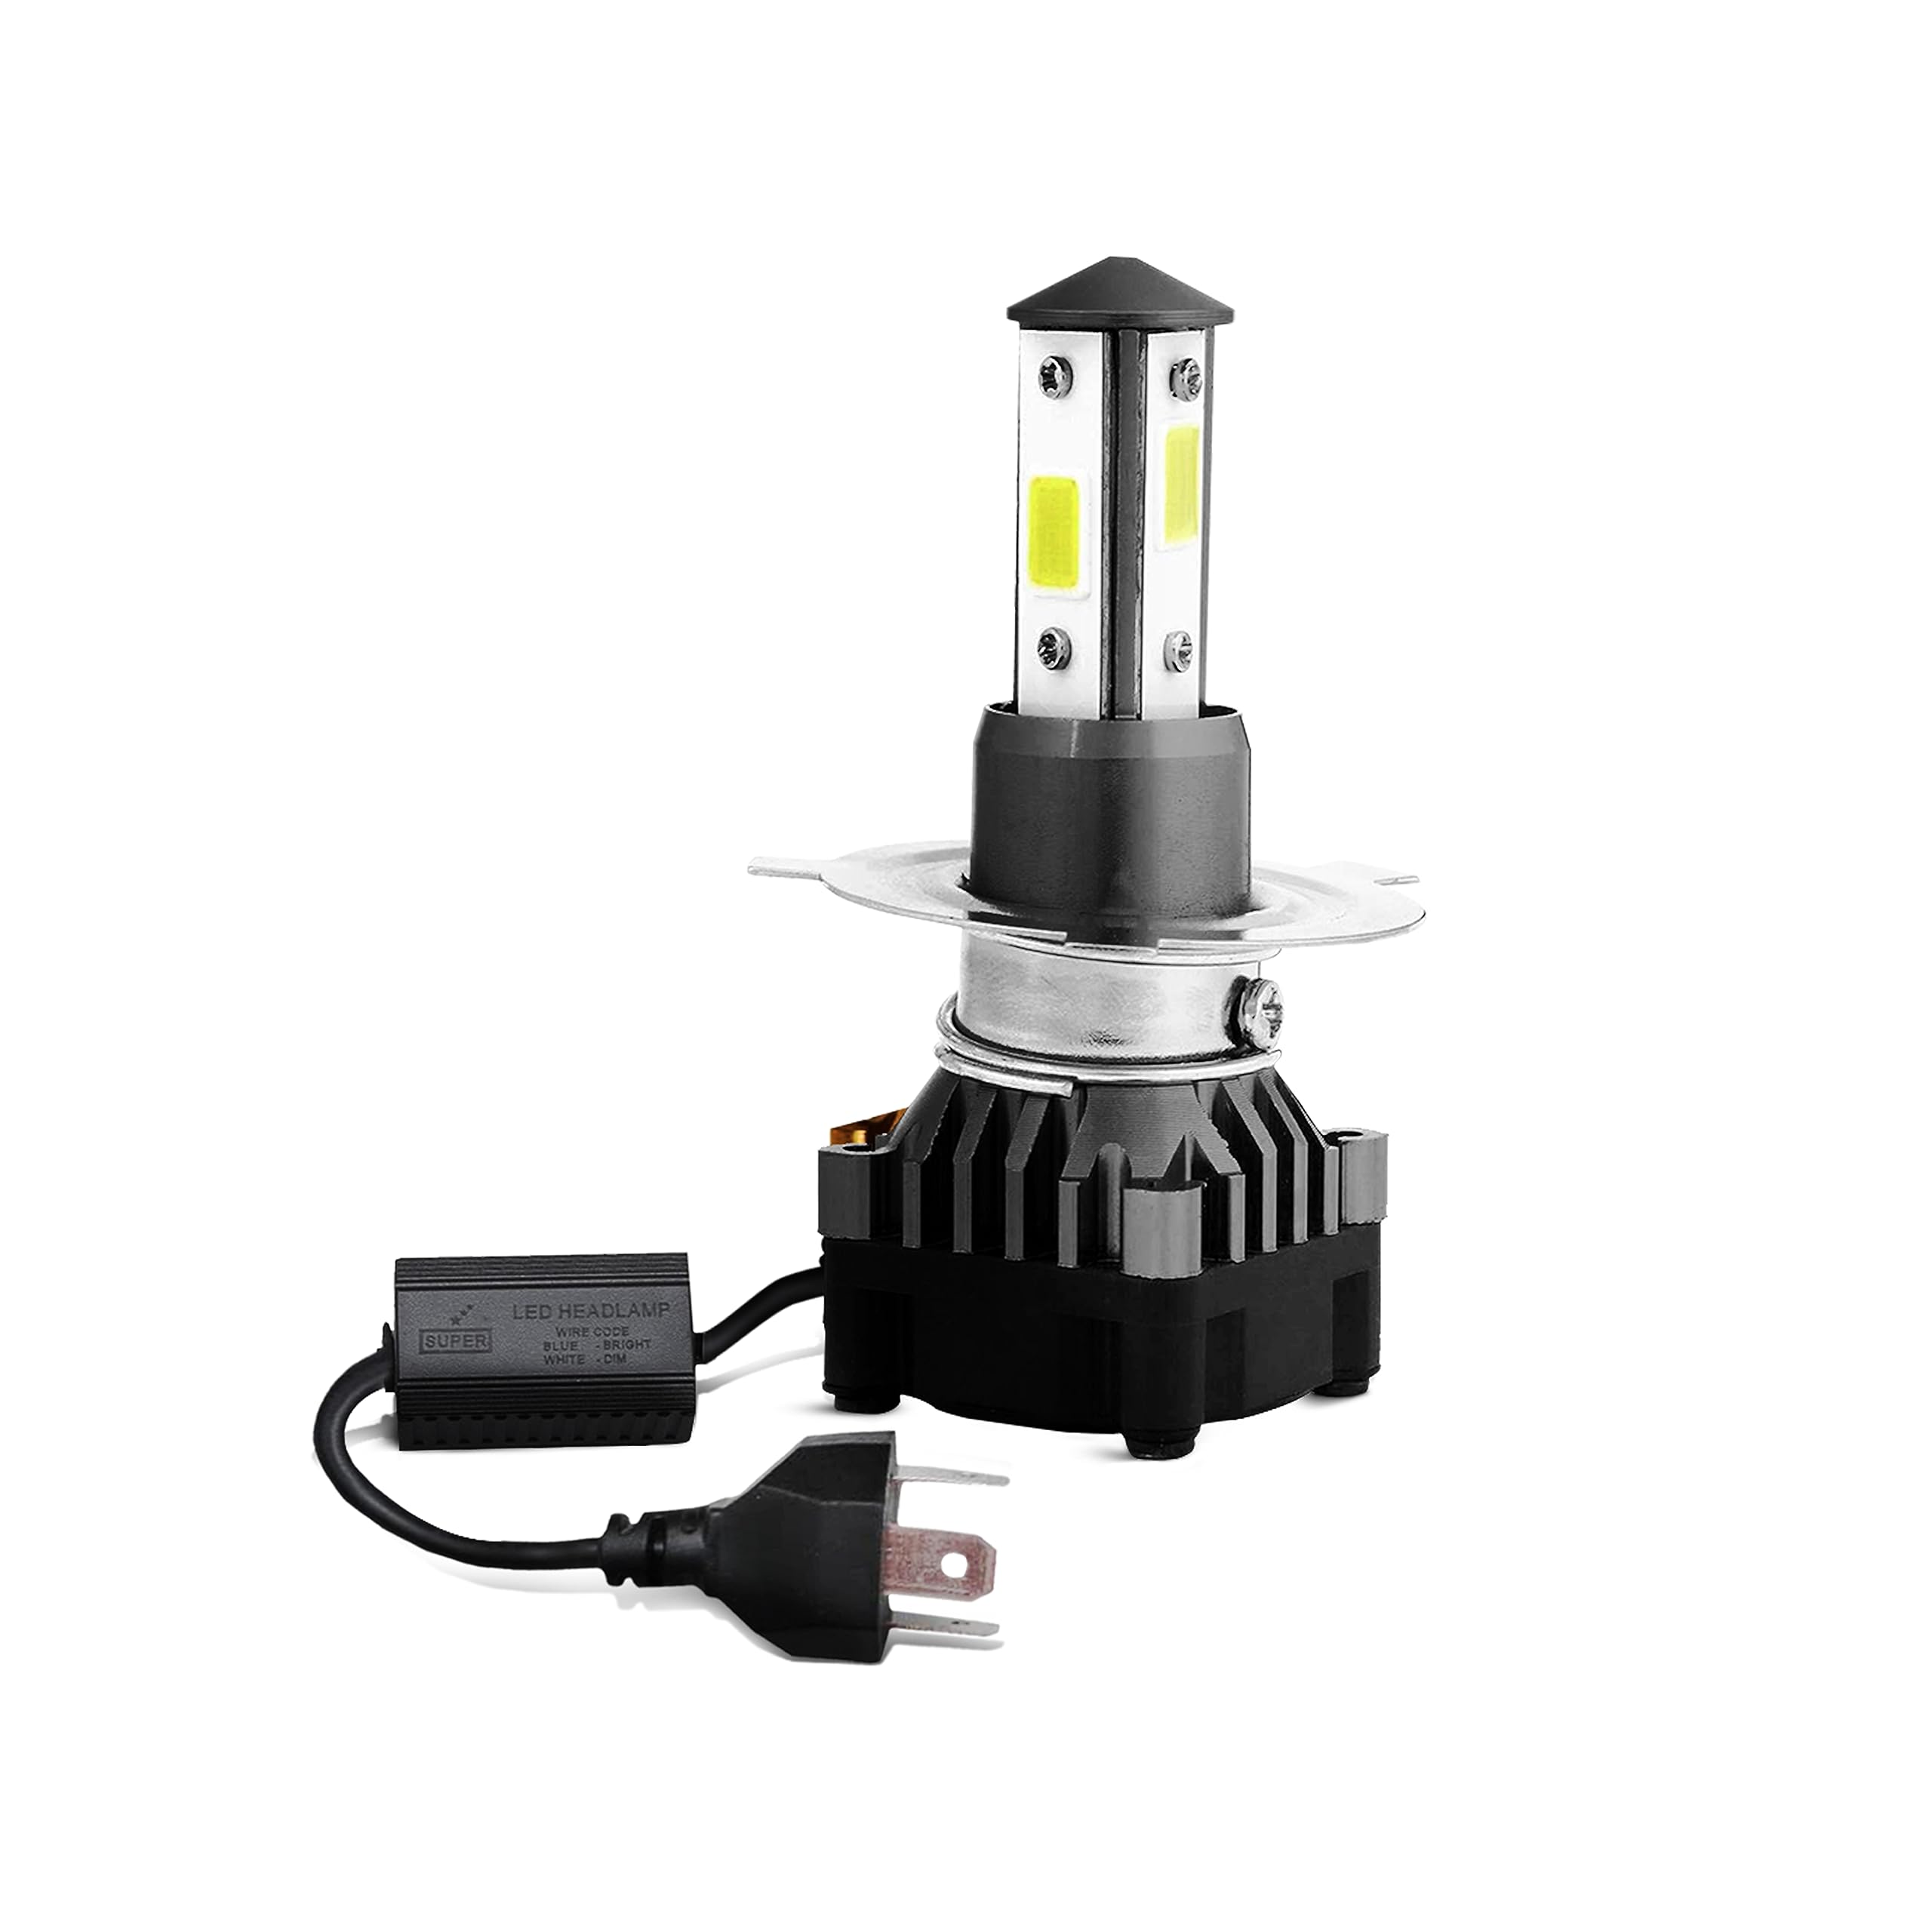
Now, the moment you’ve been waiting for. Unbox your new LED bulb like it’s the last slice of pizza at a biker’s potluck. Compare it to the old bulb—are the bases identical? Are the connectors in the same spots? If not, you might need an adapter harness. Some LED kits come with everything you need; others leave you to fend for yourself in the wilds of Amazon reviews.
Gently insert the LED bulb into the socket, aligning the pins or bayonet tabs with their respective slots. If it’s a tight fit, don’t force it. LEDs are more delicate than their halogen ancestors. Once seated, secure the bulb with the spring clip or twist-lock mechanism. Give it a gentle tug to ensure it’s locked in place—no one wants a loose bulb rattling around like a pebble in a tin can.
Before you button everything back up, test the bulb. Turn on your chopper’s ignition and flip the headlight switch. If the LED lights up like a Christmas tree, congratulations—you’ve just performed open-heart surgery on your bike. If it flickers, dims, or refuses to light up entirely, don’t panic. The issue could be as simple as a loose connection or as complex as a voltage mismatch. Grab your multimeter and check the power supply. Is the voltage within the LED’s operating range? If not, you might need a resistor or a CAN-bus decoder to smooth out the electrical hiccups.

The Grand Finale: Reassembly and Fine-Tuning
With the LED bulb glowing like a miniature sun, it’s time to reverse-engineer your disassembly. Reattach the fairing, ensuring all clips and bolts are snug but not over-torqued. A loose fairing is like a noisy exhaust—it’s only a matter of time before it becomes a nuisance.
Now, the real test: the road. Take your chopper for a spin in low light. Does the beam cut through the darkness like a hot knife through butter? If so, you’ve not only upgraded your headlight—you’ve elevated your entire riding experience. If not, revisit your connections or consult the LED kit’s manual. Some bulbs require a specific orientation or additional cooling to perform at their peak.
And there you have it. You’ve transformed your chopper from a shadow-dwelling relic to a beacon of modernity. The next time you cruise under the stars, you’ll do so with the confidence of a rider who knows their machine inside and out. Just remember: with great illumination comes great responsibility. Don’t blind oncoming traffic, and always keep a spare bulb in your saddlebag. The road is dark, but you’re no longer afraid of the dark.