Ever stared down the gleaming, chrome-plated beast of your late-model chopper, only to realize the electric starter has betrayed you—again? The silence of a dead battery on a Sunday morning is the ultimate buzzkill, isn’t it? What if you could bypass the whims of modern electronics and reclaim the raw, mechanical poetry of a kickstarter? Imagine the satisfaction of a single, well-placed heel sending your engine roaring to life, no keys, no fuss—just pure, unfiltered power. But here’s the kicker: installing a kickstarter isn’t as simple as bolting on a new exhaust pipe. It’s a dance of precision, patience, and a touch of mechanical intuition. Ready to dive in? Let’s get your chopper’s heartbeat syncing with the rhythm of your boots.
The Allure of the Kickstarter: Why Bother in a Digital Age?
In an era where touchscreens and keyless ignitions reign supreme, the kickstarter stands as a defiant relic—a mechanical marvel that demands respect. There’s something primal about the act of kicking a lever to coax life into a 1,200cc engine. It’s not just about redundancy; it’s about connection. The kickstarter is a conversation between rider and machine, a tactile dialogue that electric starters can never replicate. Plus, let’s be honest: there’s an undeniable cool factor to watching a chopper fire up with a single, confident stomp. But before you start dreaming of vintage aesthetics, consider the practicalities. Late-model choppers weren’t designed with kickstarters in mind. The engine cases, transmission mounts, and even the frame geometry might need subtle (or not-so-subtle) modifications to accommodate your new mechanical ally.
Gearing Up: Tools and Parts You’ll Need to Conquer the Challenge
This isn’t a job for a butter knife and duct tape. To install a kickstarter on a late-model chopper, you’ll need an arsenal of tools and parts tailored to your bike’s quirks. Start with the basics: a sturdy socket set, Allen wrenches, a torque wrench (because guessing is for amateurs), and a breaker bar for those stubborn bolts. You’ll also need a kickstarter assembly—either a brand-new OEM part or a high-quality aftermarket kit designed for your engine’s make and model. Don’t forget a gasket scraper, thread locker, and a healthy dose of patience. If your chopper has a belt drive or a heavily modified transmission, you might also need a chain tensioner or a custom adapter plate. And here’s a pro tip: invest in a repair manual for your specific engine. The devil, as they say, is in the details—and those details are written in the fine print of your bike’s schematics.
Peeling Back the Layers: Removing the Side Cover and Accessing the Engine
The first step is always the most intimidating. You’ll need to remove the side cover to access the engine’s inner sanctum. This isn’t just about unscrewing a few bolts; it’s about navigating a labyrinth of wiring, hoses, and carefully placed gaskets. Start by draining the engine oil—because spilling it inside the case is a rookie mistake. Then, remove the bolts securing the side cover, but don’t yank it off just yet. Gently pry it free, using a plastic pry tool to avoid damaging the mating surfaces. Once the cover is off, take a moment to marvel at the gleaming gears and shafts inside. This is your engine’s heart, and you’re about to give it a new pulse. But be warned: if your chopper has a hydraulic clutch or a complex ignition system, you might need to disconnect a few more wires before you proceed. Take photos as you go—future you will thank present you.

Making Room: Modifying the Engine Case for the Kickstarter
Here’s where things get interesting. Late-model chopper engines weren’t built with kickstarters in mind, so you’ll likely need to modify the engine case to make room for the new lever. This could mean enlarging an existing hole, adding a reinforcing plate, or even machining a custom mount. If you’re not a machinist, this is the point where you’ll either need to enlist a professional or invest in a pre-modified aftermarket case. But if you’re feeling adventurous, a vertical mill and a steady hand can turn a block of aluminum into a custom-fit kickstarter mount. Just remember: measure twice, cut once. And for the love of all things holy, don’t rush this step. A misaligned kickstarter can chew through gears like a starving bulldog.
Aligning the Stars: Installing the Kickstarter Shaft and Gears
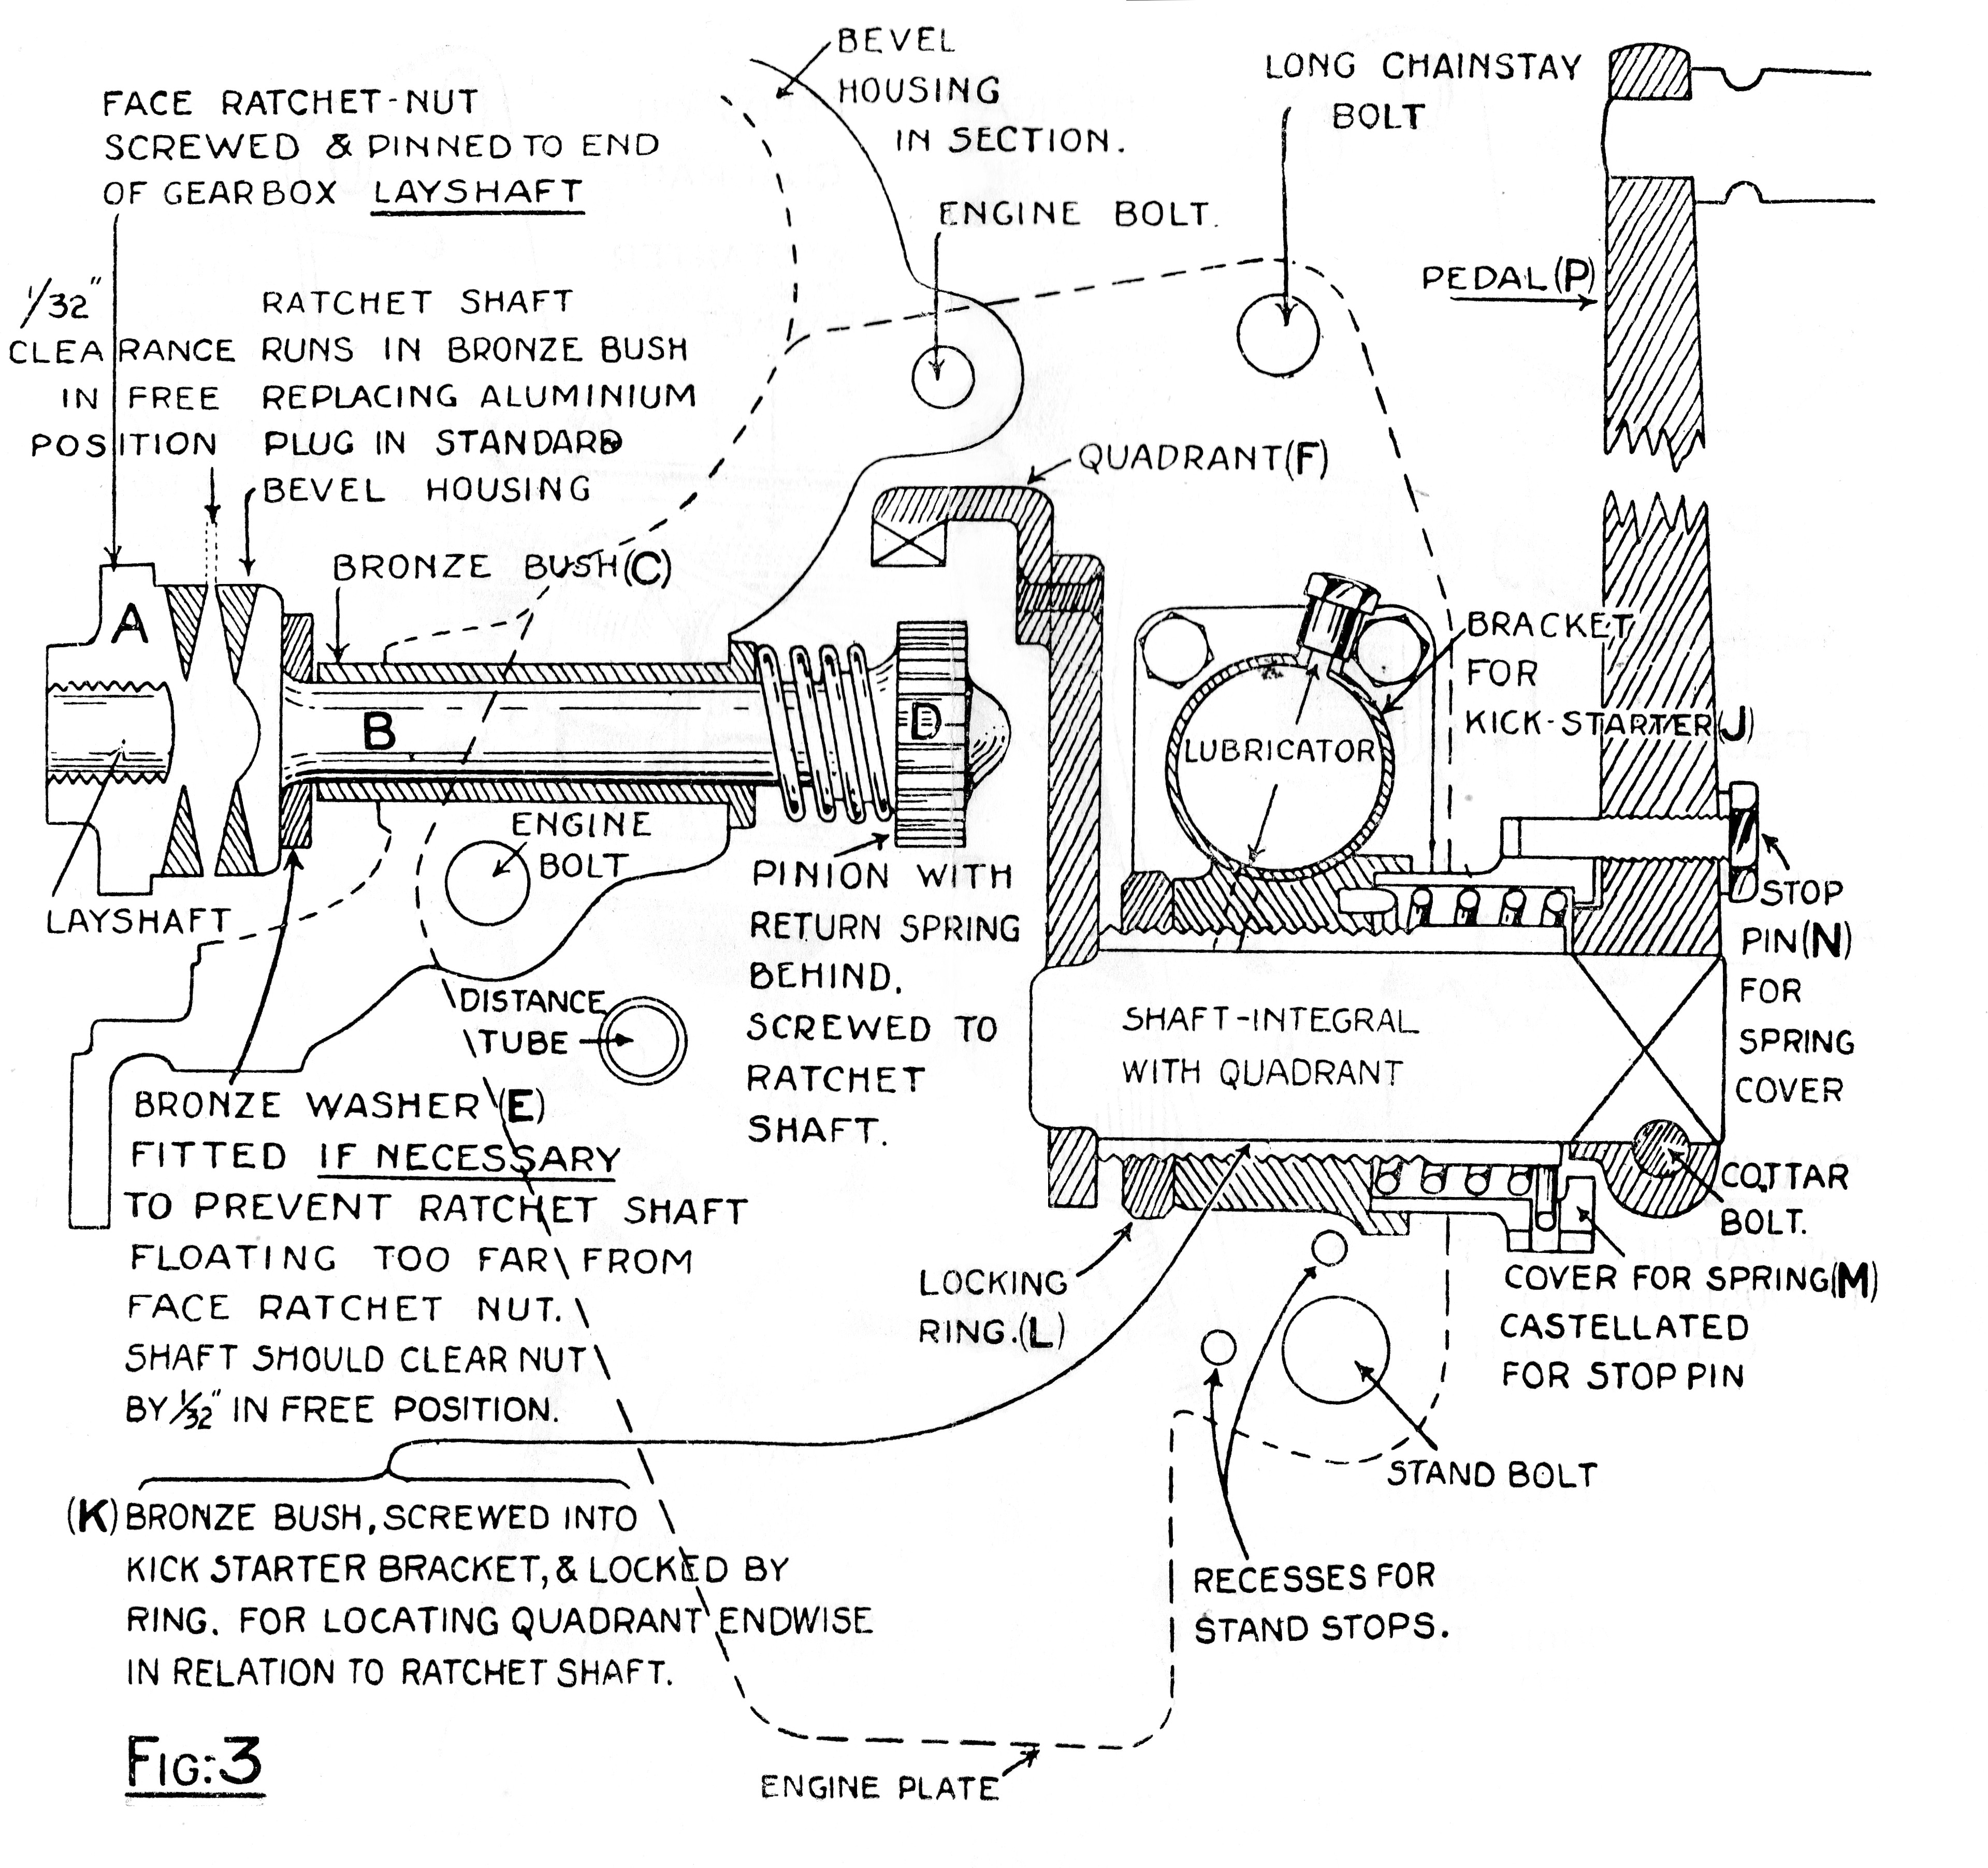
With the case modified, it’s time to install the kickstarter shaft and its accompanying gears. This is where precision meets brute force. The kickstarter shaft needs to mesh perfectly with the engine’s primary gears, or you’ll end up with a symphony of grinding metal instead of a smooth start. Start by inserting the shaft into the case, ensuring it slides in without resistance. Then, carefully align the kickstarter’s pinion gear with the engine’s mainshaft gear. This might require adjusting the shaft’s position or adding shims to achieve the perfect mesh. Once aligned, secure the shaft with its retaining plate and bolts, but don’t tighten them fully yet. You’ll need to test the alignment before finalizing the installation.
The Moment of Truth: Testing and Fine-Tuning Your Mechanical Masterpiece
Now comes the nerve-wracking part: testing your work. Before you bolt everything back together, give the kickstarter a few experimental kicks. Listen for any unusual noises—grinding, whining, or metallic screeches are red flags that your alignment is off. If the gears don’t engage smoothly, you’ll need to disassemble and adjust. Once you’re satisfied with the alignment, tighten all bolts to the manufacturer’s specified torque settings. Then, reassemble the side cover, refill the engine oil, and prepare for the grand finale. With bated breath, give the kickstarter a confident stomp. If your chopper roars to life on the first try, you’ve earned your mechanical stripes. If not, don’t panic—just troubleshoot methodically. Maybe the gears need more shimming, or perhaps the kickstarter lever isn’t engaging fully. Either way, you’re now in the trenches of mechanical problem-solving, and that’s where legends are made.
Beyond the Kick: Maintaining Your New Mechanical Companion
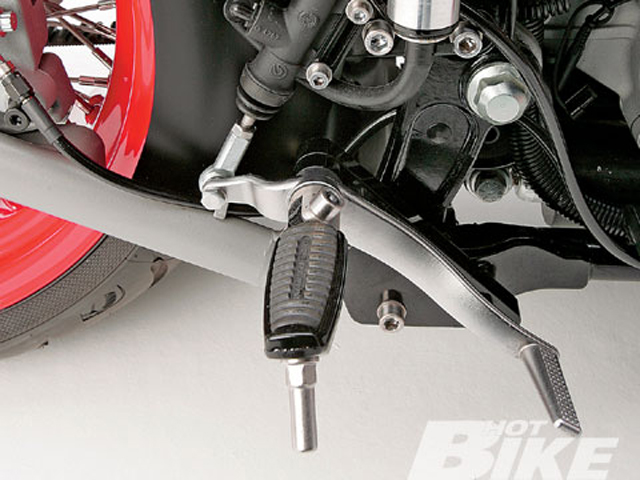
Installing a kickstarter isn’t a one-and-done deal. To keep your chopper’s mechanical soul alive, regular maintenance is key. Check the kickstarter’s engagement mechanism periodically—dirt and grime can gum up the works over time. Lubricate the gears and shaft with a high-quality motorcycle-specific grease to prevent wear. And don’t forget to inspect the kickstarter lever itself; a bent or weakened lever can spell disaster. If you’re riding in harsh conditions, consider adding a protective cover to shield the kickstarter from debris. With proper care, your kickstarter will be a reliable companion for years to come, ready to fire up your chopper with a single, confident kick.
There’s something deeply satisfying about a chopper that starts with a stomp. It’s a reminder that, even in a world of touchscreens and automation, there’s still room for raw, mechanical elegance. So go ahead—give your late-model chopper the kickstarter it deserves. After all, the best rides aren’t just about where you’re going; they’re about how you get there.