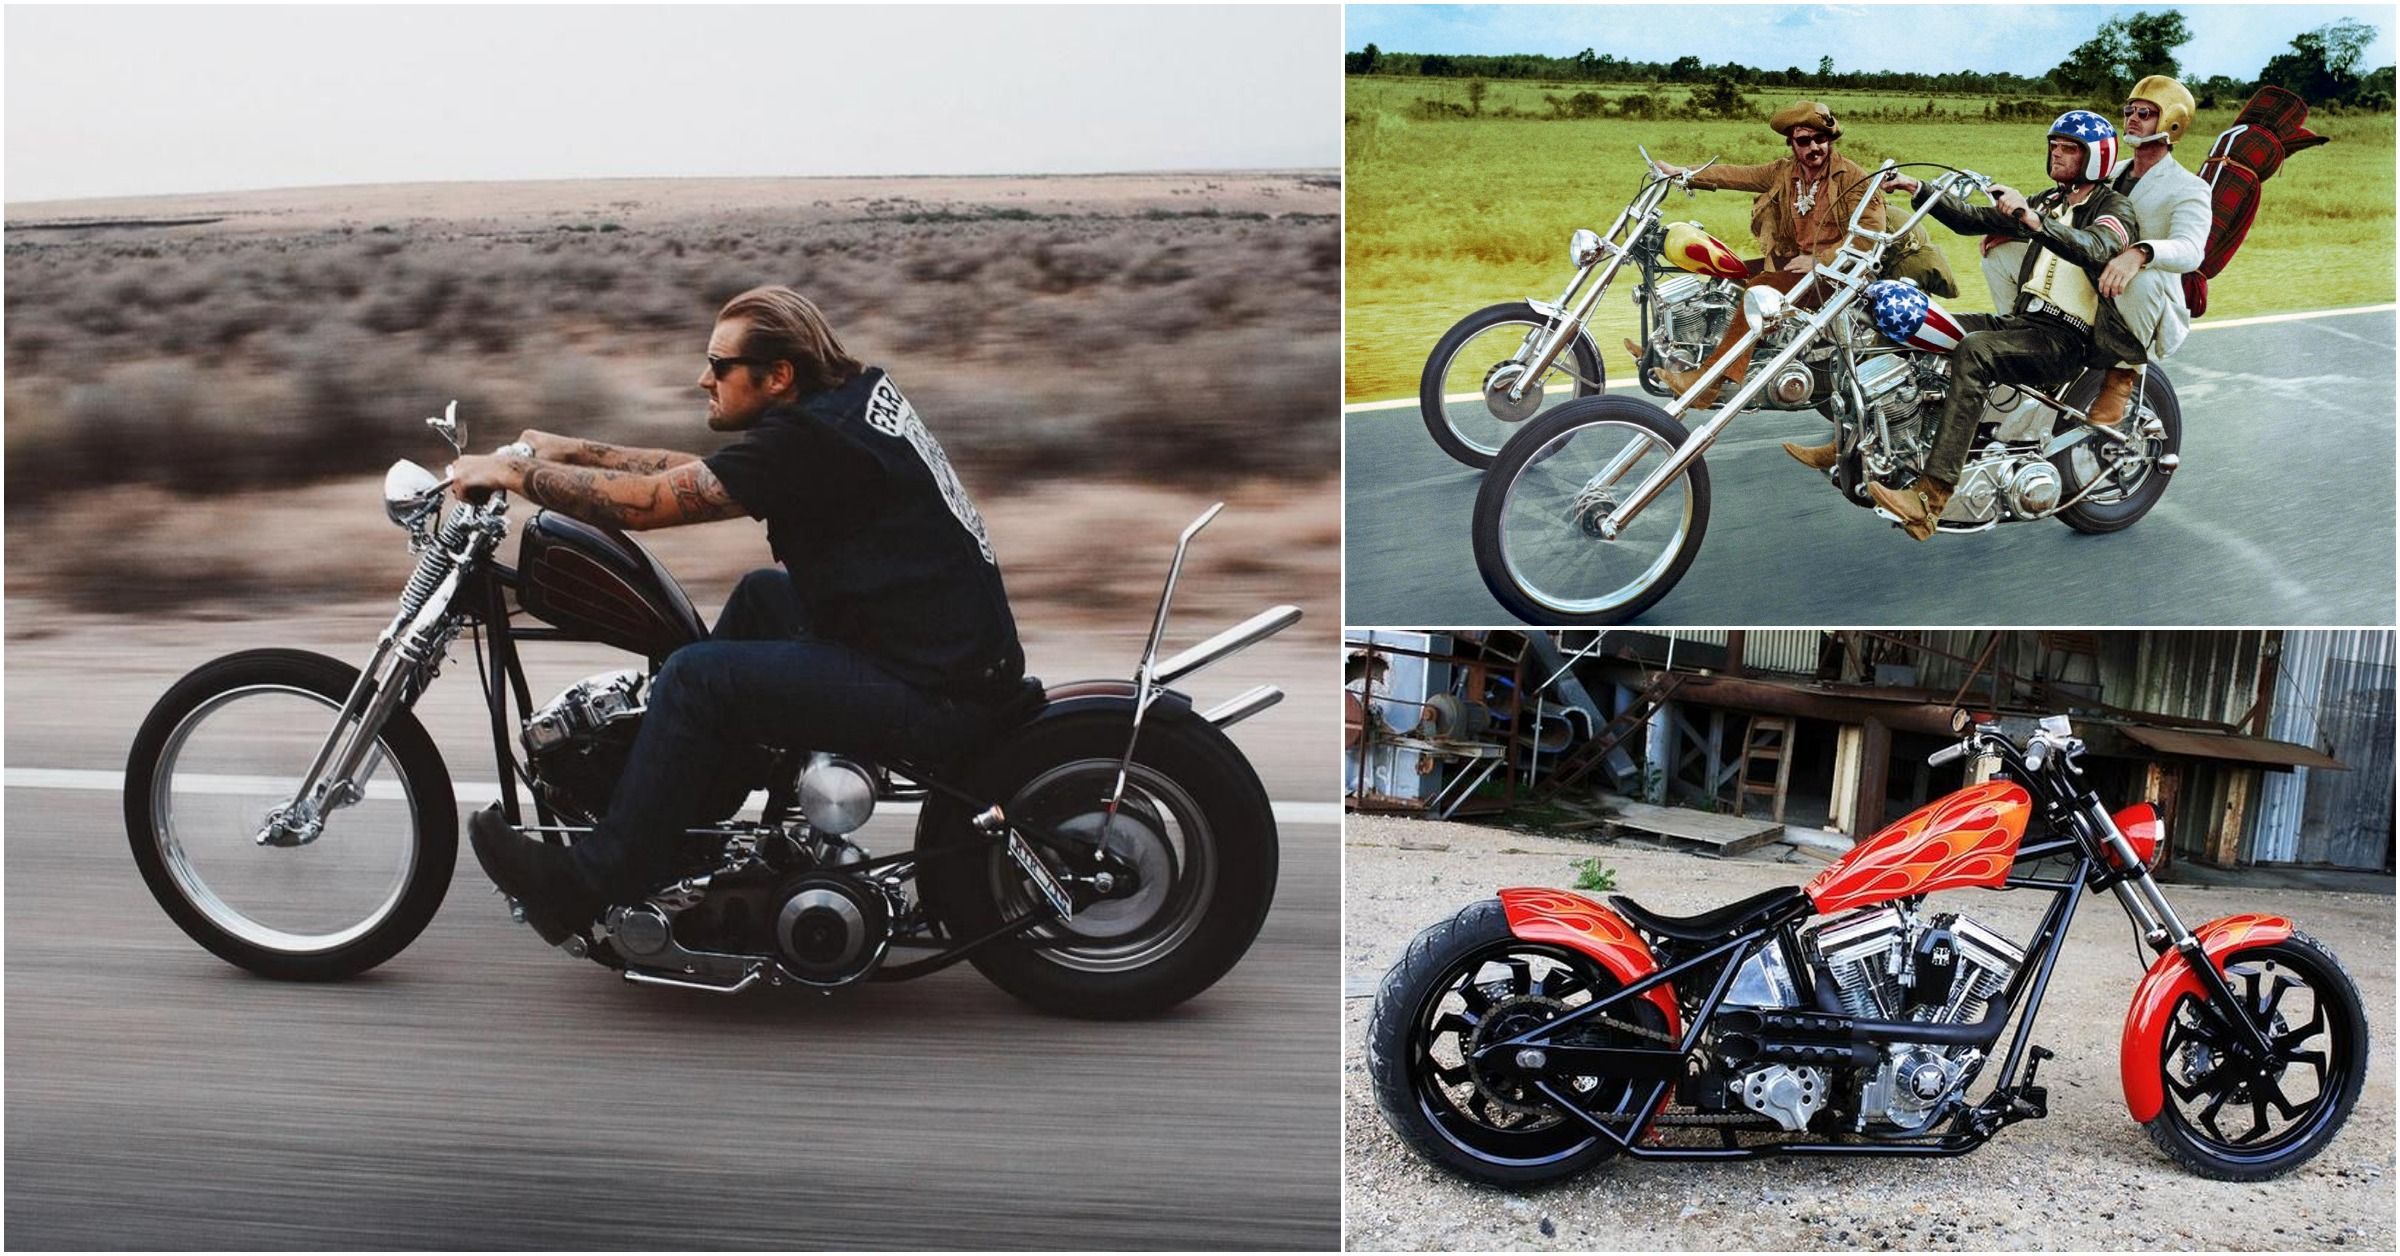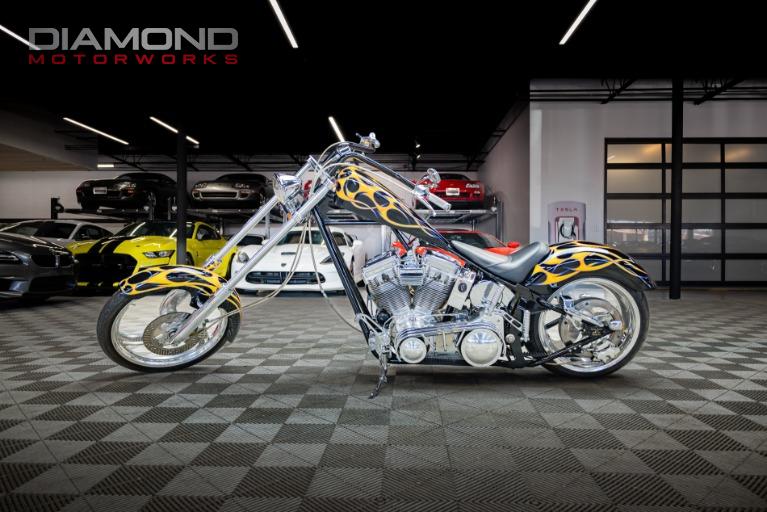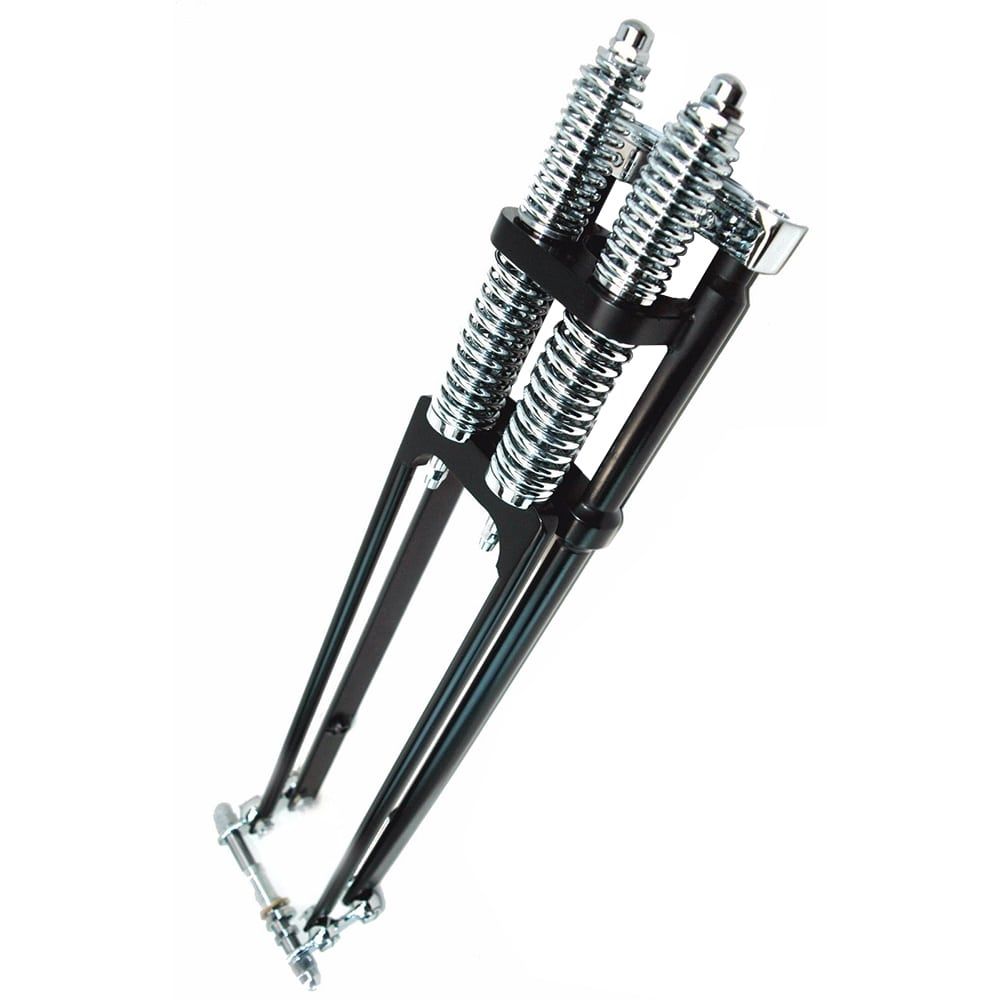
The allure of a Springer front end on a chopper bike isn’t just about aesthetics—it’s about embodying the raw, unfiltered spirit of American motorcycle culture. There’s something primal in the way those gleaming chrome coils rise from the forks like the vertebrae of some mechanical beast, their rhythmic dance with every bump on the road a testament to engineering poetry. Yet, beneath the surface of this striking transformation lies a meticulous process, one that demands patience, precision, and a deep respect for the machine. Installing a Springer front end isn’t merely an upgrade; it’s a rebirth, a declaration that this bike is no longer just a machine, but an extension of the rider’s soul.
The Anatomy of a Springer Front End: More Than Meets the Eye
A Springer front end is a marvel of mechanical ingenuity, a relic of an era when motorcycles were as much about artistry as they were about function. At its core, it consists of a set of leading-link forks, where the front wheel is suspended by a series of arms and springs rather than the conventional telescopic forks. These springs, often exposed and chromed to a mirror-like finish, are the heart of the system, absorbing the road’s imperfections with a grace that belies their simplicity. The linkages themselves are a study in geometry, their angles and pivots meticulously calculated to ensure stability and control. But the true magic lies in the way the entire assembly moves—fluid, almost organic, as if the bike itself is breathing with the rhythm of the road.
What often goes unnoticed is the interplay between the Springer’s design and the bike’s overall geometry. The extended fork length and the unique rake angle create a riding experience that’s both exhilarating and disconcerting to the uninitiated. The bike leans into turns with a confidence that feels almost supernatural, as if the front end is guiding the rider rather than the other way around. This isn’t just a mechanical upgrade; it’s a shift in the very dynamics of how the machine interacts with the world.
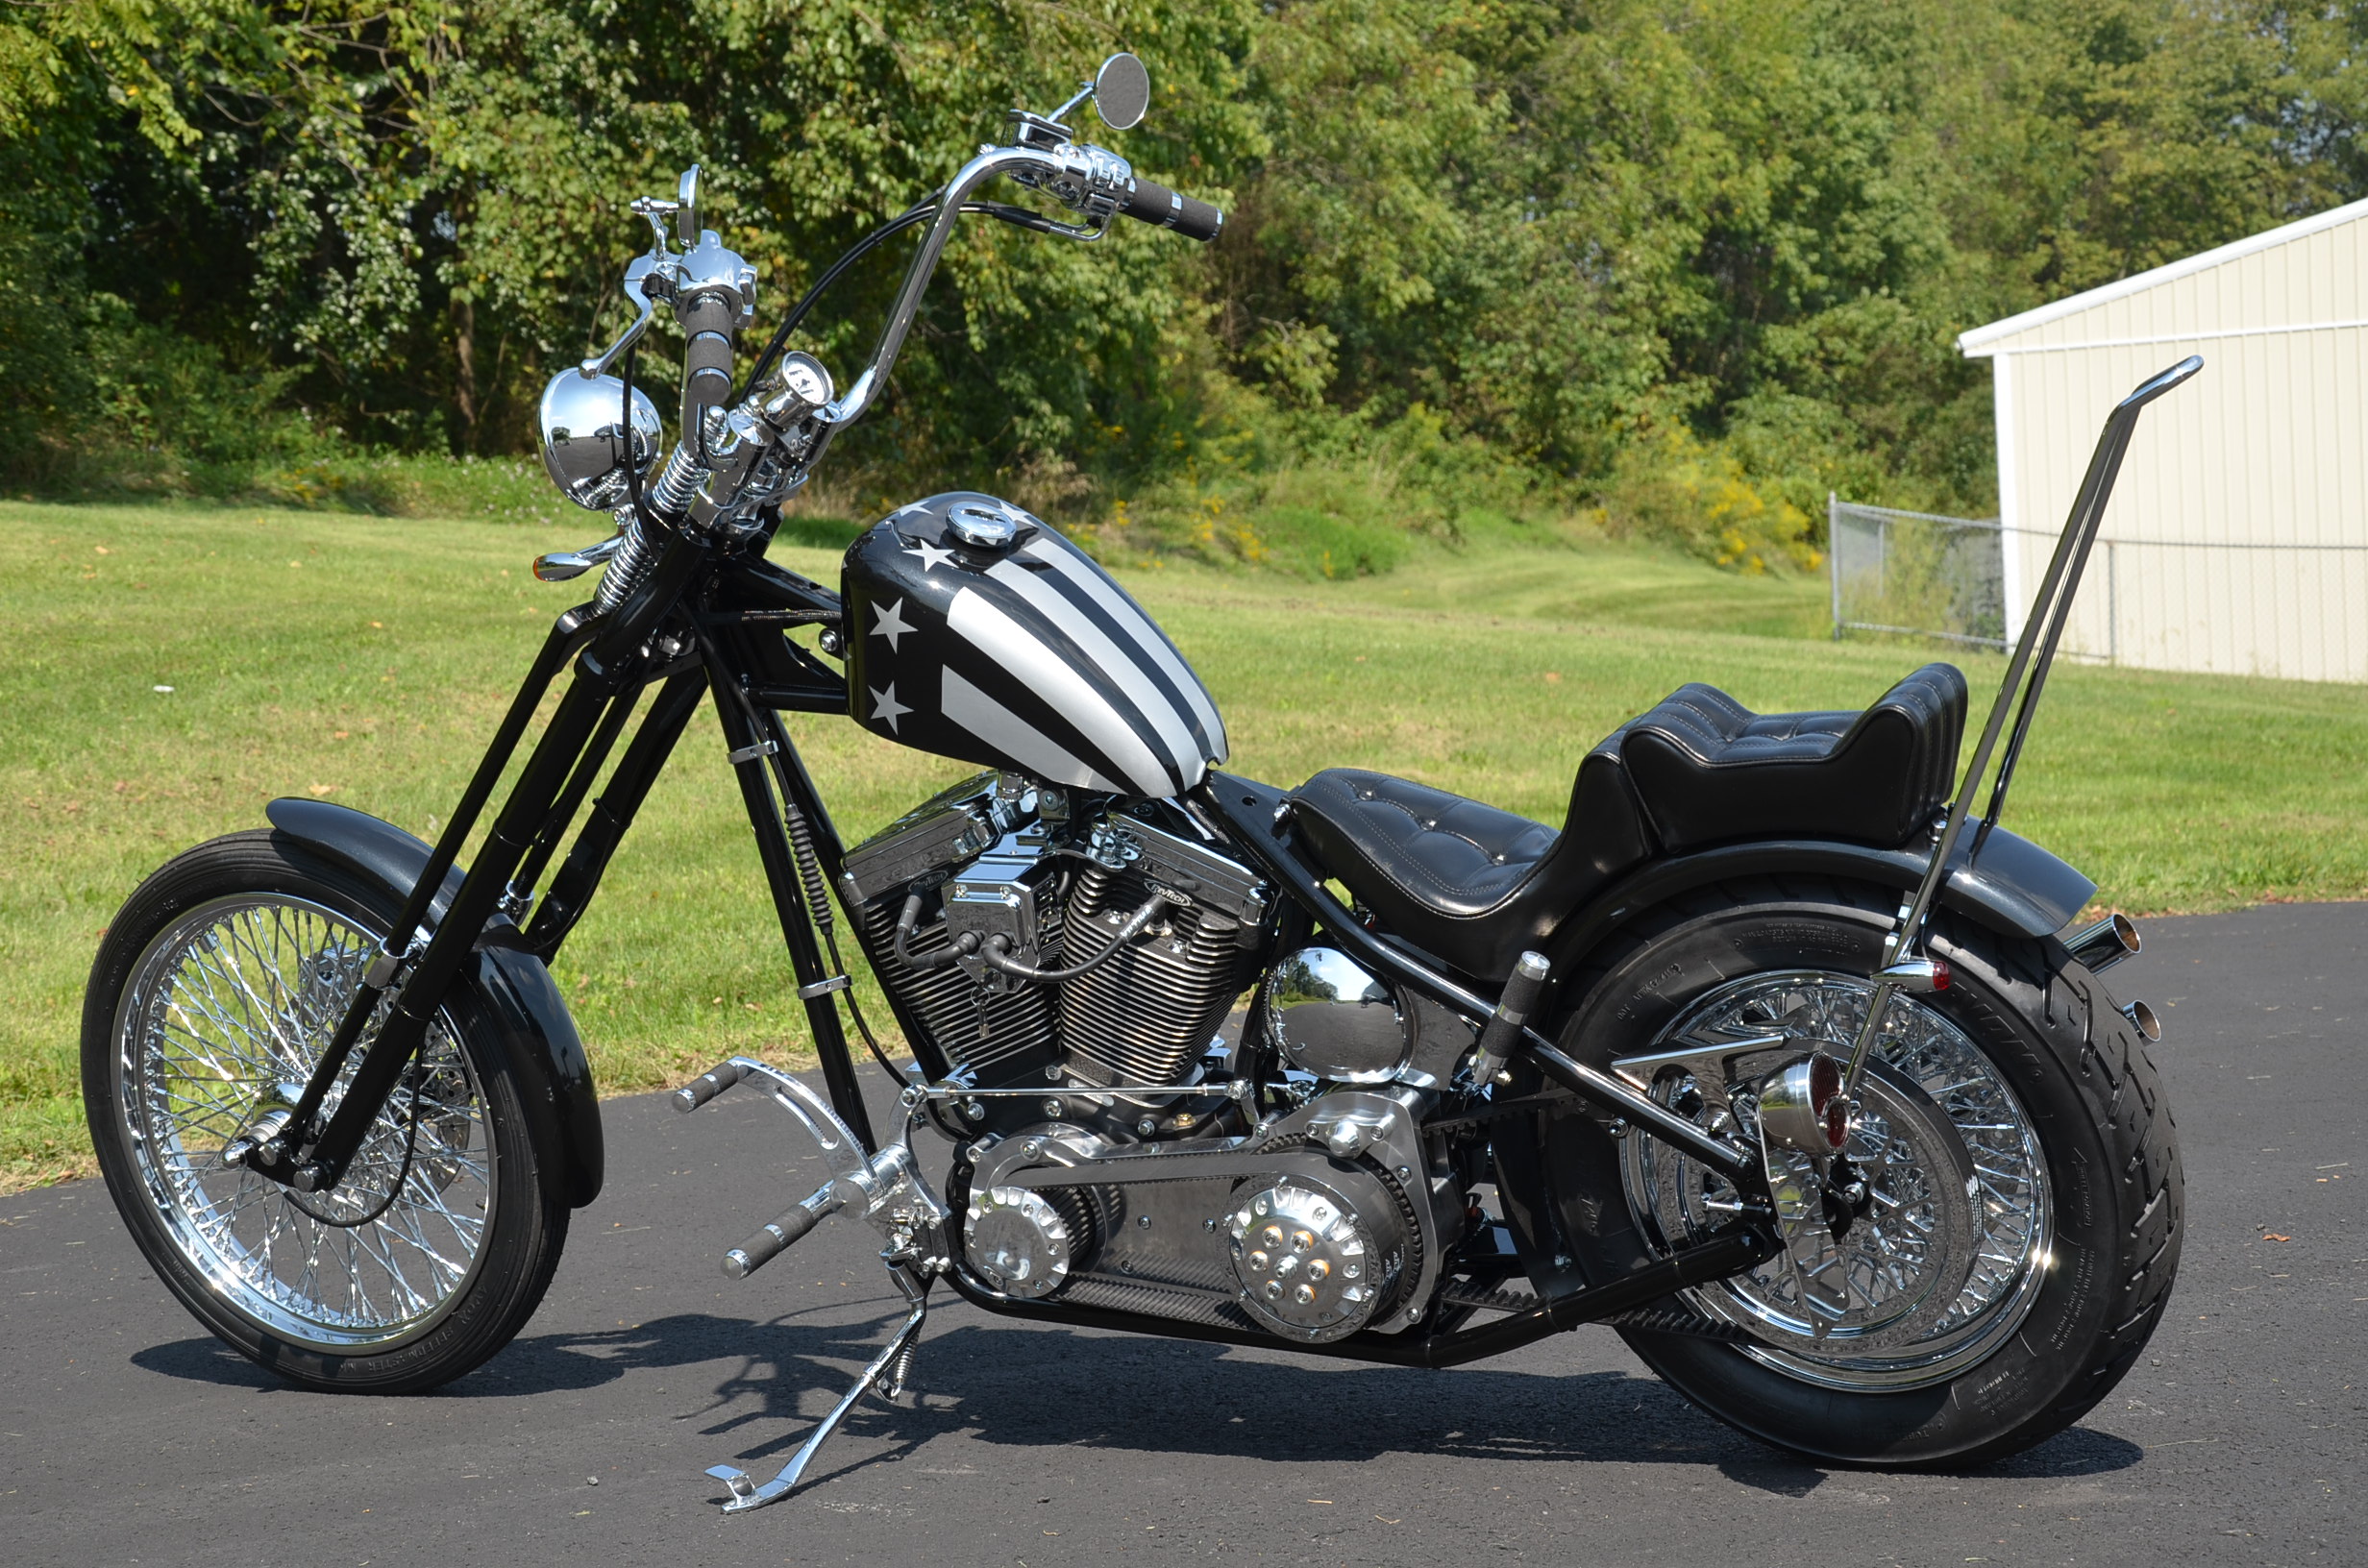
The exposed springs aren’t just for show—they’re a deliberate choice, a nod to the early days of motorcycle design when form followed function in the most literal sense. There’s a vulnerability to the Springer front end, a lack of the protective shrouds found on modern forks, that makes it feel more intimate, more connected to the rider. It’s as if the bike is inviting you to peer into its soul, to see the raw mechanics at work.
Choosing the Right Springer Kit: Where Art Meets Engineering
Not all Springer front ends are created equal. The market is flooded with options, from vintage-inspired replicas to modern interpretations designed for contemporary choppers. The key to selecting the right kit lies in understanding the nuances of your bike’s frame, wheelbase, and intended use. A Springer front end that’s too stiff will transmit every imperfection of the road directly to the rider, turning a leisurely cruise into a jarring ordeal. Conversely, a front end that’s too soft will feel mushy, lacking the crisp feedback that defines the Springer experience.
Material choice is another critical consideration. High-quality chromoly steel isn’t just about durability—it’s about weight distribution and the way the front end responds to input. A heavier Springer assembly will lend a sense of stability, but it may also dull the bike’s agility. Lighter materials, on the other hand, can make the front end feel almost weightless, but they may lack the robustness needed for long rides or rough terrain. Then there’s the matter of spring preload and rate, which must be tailored to the rider’s weight and riding style. Too much preload, and the bike will feel sluggish; too little, and it will wallow in turns.
The aesthetics of the Springer front end are, of course, a major factor. Do you want the classic look of a 1930s Indian or Harley-Davidson, with its polished brass fittings and intricate linkages? Or are you drawn to the sleek, minimalist lines of a modern interpretation, where form follows function with ruthless efficiency? The choice isn’t just about visual appeal—it’s about how the front end will integrate with the rest of your bike’s styling. A Springer front end should feel like a natural extension of the machine, not an afterthought.
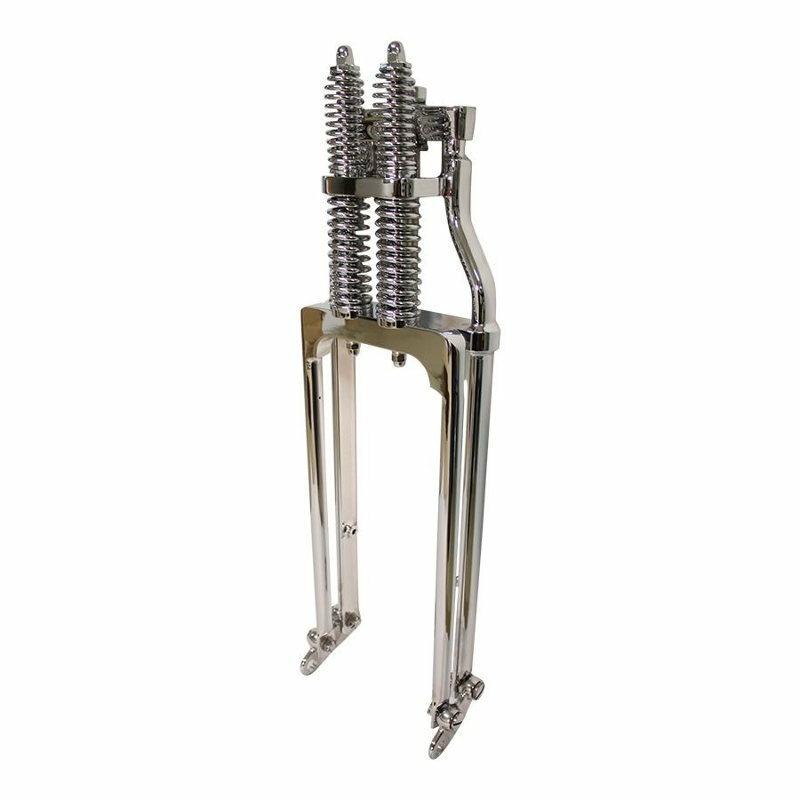
It’s worth noting that some Springer kits are designed to be drop-in replacements, while others may require modifications to the frame or triple trees. Always consult the manufacturer’s specifications and, if possible, seek out reviews from riders who’ve installed the same kit. The last thing you want is to discover mid-installation that your chosen Springer front end isn’t compatible with your bike’s geometry.
Preparing Your Chopper: The Foundation of a Flawless Installation
Before you even think about lifting the Springer front end into place, your chopper needs to be stripped down to its bare essentials. This isn’t just about removing the old front end—it’s about ensuring that every component is in optimal condition and that the bike’s frame is ready to accept its new heart. Start by disconnecting the battery and draining the fuel tank, then remove the existing front wheel, fender, and brake assembly. If your bike has a front disc brake, you’ll need to decide whether to adapt it to the new Springer setup or switch to a drum brake, which is more traditional for Springer-equipped choppers.
The frame itself must be inspected for cracks, rust, or any signs of stress. A Springer front end adds significant weight to the front of the bike, and a compromised frame won’t tolerate the additional stress. Pay special attention to the steering head and the areas where the front end will mount. If your bike has a rigid frame (no rear suspension), consider reinforcing the frame rails to handle the increased load. Even minor imperfections can lead to misalignment, which will compromise both performance and safety.
Next, assess the condition of your triple trees and steering stem. The Springer front end will likely have its own set of triple trees, designed to accommodate the unique geometry of the leading-link forks. If your existing triple trees are worn or damaged, this is the time to replace them. It’s also a good idea to check the steering stem bearings for play or roughness. A smooth, precise steering action is critical for the Springer front end to function as intended.
Finally, gather your tools. You’ll need a comprehensive set of wrenches, sockets, and Allen keys, as well as a torque wrench to ensure that all fasteners are tightened to the manufacturer’s specifications. A hydraulic jack and stands will be essential for supporting the bike during the installation, and a spirit level or laser alignment tool will help you achieve perfect symmetry. Don’t forget safety gear—gloves, eye protection, and a sturdy pair of boots are non-negotiable.
The Installation Process: A Dance of Precision and Patience
With your chopper stripped and your tools at the ready, it’s time to begin the installation. The first step is to mount the Springer front end’s triple trees to the steering stem. This is where the alignment process begins, and it’s critical to get it right. Slide the upper and lower triple trees onto the steering stem, ensuring that they’re oriented correctly according to the manufacturer’s instructions. Use the spirit level or laser alignment tool to confirm that the triple trees are perfectly vertical. Any deviation here will result in a front end that’s crooked, which will affect handling and aesthetics alike.
Once the triple trees are aligned, secure them in place with the appropriate fasteners, but don’t tighten them fully just yet. You’ll need to fine-tune the alignment after the front wheel and Springer assembly are in place. Next, attach the Springer front end’s leading-link forks to the triple trees. This is where the magic starts to take shape. The linkages should move freely, without any binding or stiffness. If they don’t, it’s a sign that something is misaligned or that the linkages need lubrication.
With the forks in place, it’s time to install the front wheel. Springer front ends typically use a solid axle, which must be centered perfectly between the forks. Use a straightedge or calipers to ensure that the wheel is aligned with the frame. Once the axle is tightened, check the wheel’s runout—any wobble here will translate to a shaky ride and uneven tire wear. Now, you can fully tighten the triple tree fasteners, ensuring that they’re torqued to specification.
The final step is to reconnect the brake system and any remaining components, such as the fender or headlight. If you’re using a drum brake, ensure that the brake arm is properly adjusted to engage the brake shoes at the right point in the wheel’s rotation. For disc brakes, make sure the caliper is aligned with the rotor and that the brake line is routed neatly to avoid interference with the Springer’s linkages.

With everything in place, it’s time for the moment of truth: the first ride. Start slowly, testing the bike’s handling in a safe, open area. Pay attention to how the Springer front end responds to input. Does it feel stable? Does the steering feel precise? Listen for any unusual noises, such as creaks or rattles, which could indicate misalignment or loose fasteners. If everything checks out, you’re ready to take your chopper to the open road and experience the unparalleled thrill of a Springer front end in action.
The Springer Experience: Why This Front End Captivates Riders
There’s a reason why Springer front ends have endured for nearly a century. They’re more than just a stylistic choice—they’re a connection to the golden age of motorcycling, when bikes were as much about art as they were about transportation. The Springer front end’s exposed springs and linkages aren’t just functional; they’re a statement. They say, “This bike is built for the road, not for the showroom.” They invite the rider to engage with the machine on a deeper level, to feel the road through the vibrations of the springs and the subtle shifts in the bike’s geometry.
But the allure of the Springer front end goes beyond nostalgia. It’s about the way it transforms the riding experience. The leading-link forks absorb road imperfections with a fluidity that telescopic forks can’t match, lending a smoothness to the ride that’s almost meditative. The bike’s geometry encourages a more upright riding position, which not only reduces fatigue but also enhances visibility and control. And then there’s the sound—the rhythmic clatter of the linkages and the hum of the springs, a symphony of mechanical harmony that’s music to the ears of any chopper enthusiast.
There’s also an undeniable psychological appeal to the Springer front end. In a world where most motorcycles are designed for speed and efficiency, the Springer stands out as a relic of a time when form and function were inseparable. It’s a reminder that motorcycles can be works of art, that they can evoke emotion and spark conversation. A Springer-equipped chopper isn’t just a machine; it’s a conversation starter, a rolling testament to the rider’s passion and individuality.
Yet, for all its charm, the Springer front end isn’t for everyone. It demands a certain level of skill and confidence from the rider. The unique geometry and handling characteristics can be disconcerting to those accustomed to modern motorcycles. But for those who embrace it, the Springer front end offers an experience that’s unmatched—a blend of raw power, mechanical elegance, and pure riding pleasure.