Ever stared at a stock bicycle and felt the itch to transform it into something that turns heads, roars with personality, and whispers tales of rebellion? If the answer is a resounding “yes,” then you’re not alone. The world of chopper bikes is a playground where creativity meets engineering, where every bolt and bar tells a story. But here’s the kicker: building a chopper bike doesn’t have to drain your wallet. With the right cheap chopper bike custom parts list, you can turn a humble ride into a rolling masterpiece without breaking the bank. So, are you ready to embrace the challenge of crafting a two-wheeled beast on a shoestring budget?
The Allure of the Chopper: Why Customize on a Budget?
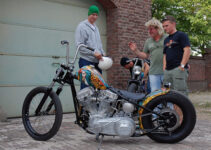
Chopper bikes are more than just modes of transport; they’re rolling art. Their elongated frames, raked forks, and exaggerated styling evoke the spirit of outlaw motorcycles, but on a smaller, pedal-powered scale. Customizing a chopper bike allows you to express your individuality, turning a generic frame into a reflection of your personality. But let’s be real—custom parts can be pricey. The good news? You don’t need a fortune to get started. By sourcing affordable components and embracing a DIY ethos, you can achieve a stunning chopper build without sacrificing style or quality.
Imagine cruising down the street on a bike that looks like it rolled straight out of a 1970s biker flick, but you built it yourself for the cost of a fancy dinner. That’s the magic of budget-friendly chopper customization. It’s not just about saving money; it’s about reclaiming the joy of creation, the thrill of the hunt for the perfect part, and the satisfaction of riding something you made with your own hands.
Frame and Fork: The Backbone of Your Chopper
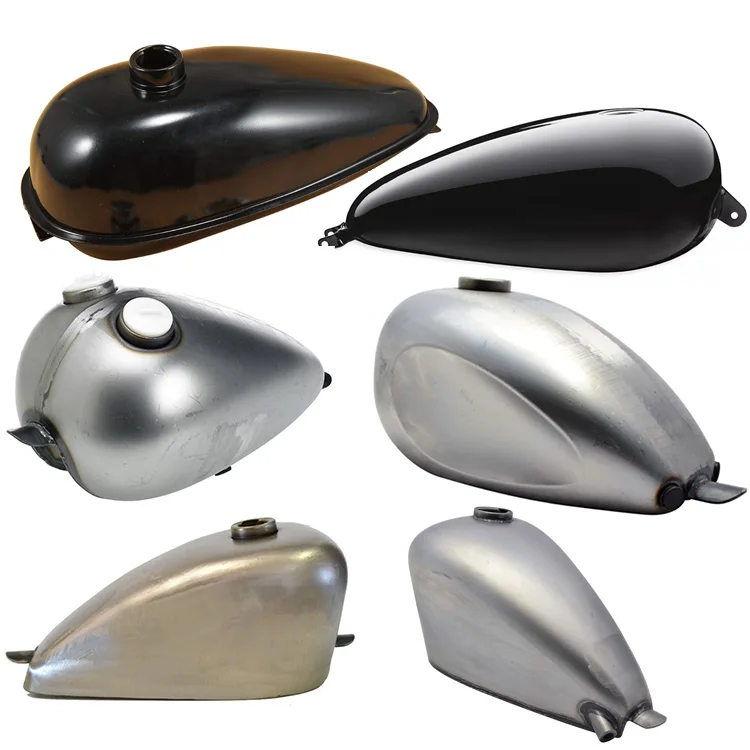
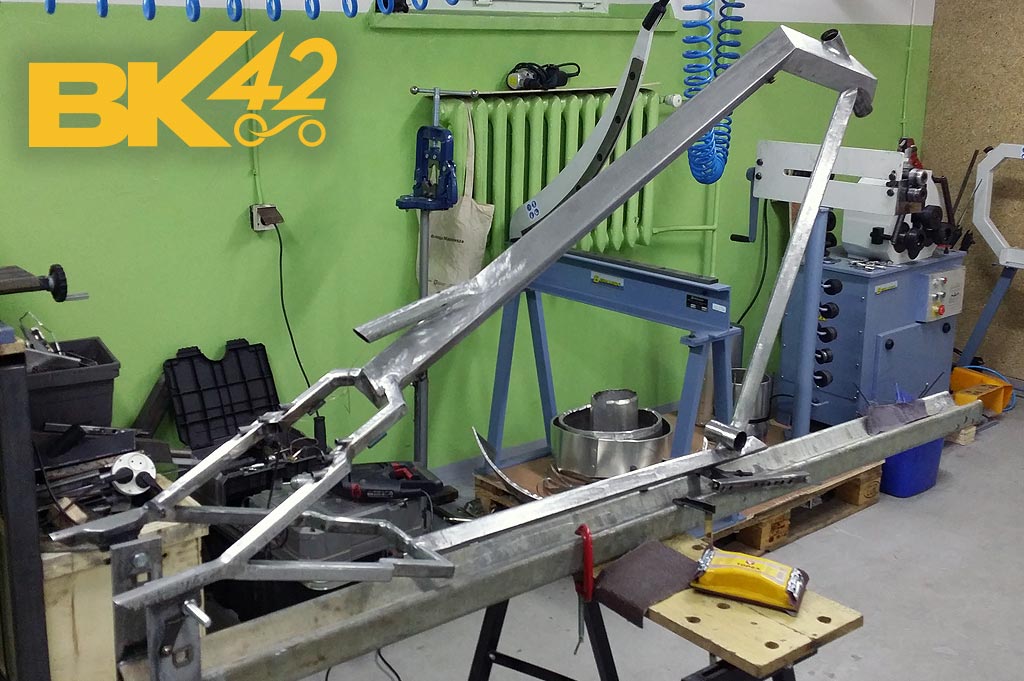
The frame is the skeleton of your chopper, the foundation upon which all other customizations are built. For a budget-friendly build, start with a sturdy steel frame—preferably one with a long wheelbase to achieve that classic chopper silhouette. You can often find used frames at flea markets, online marketplaces, or even in the back corners of bike shops where they’ve been gathering dust. Look for a frame with minimal rust and no cracks, as these will compromise the integrity of your build.
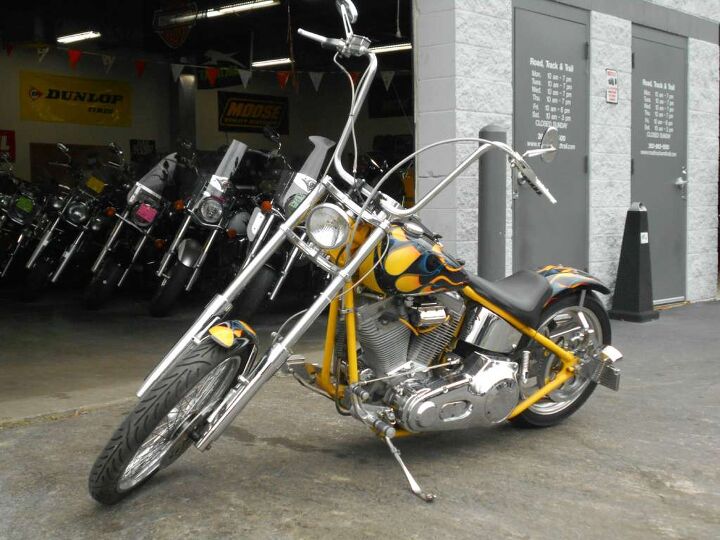
Next, consider the fork. A raked fork (one with an exaggerated angle) is essential for that signature chopper look. If your frame doesn’t come with one, don’t fret. You can find affordable rake kits online or repurpose a fork from an old bike. Just ensure it’s compatible with your frame’s steerer tube. Pro tip: A longer fork not only enhances the chopper aesthetic but also improves stability at higher speeds.

Wheels and Tires: Rolling in Style
Wheels are where function meets flair. For a chopper bike, larger wheels (26 inches or more) are ideal, as they enhance the bike’s commanding presence. You can often find used wheels at a fraction of the cost of new ones, especially if you’re willing to refurbish them. Look for wheels with minimal wear and straight spokes to avoid future headaches.
Tires should complement the chopper vibe—think wide, knobby, or even slick tires for a sleek look. If you’re building a cruiser-style chopper, consider whitewall tires for a retro touch. Don’t overlook the importance of tire pressure; a properly inflated tire ensures a smooth ride and reduces the risk of flats. And if you’re feeling adventurous, why not add some custom rim decals or painted spokes to make your wheels truly one-of-a-kind?
Handles and Grips: Steering with Attitude
The handlebars are the command center of your chopper, dictating both its style and rideability. For a classic chopper look, opt for ape hanger or drag handlebars. These elevated bars not only scream “rebel” but also provide a comfortable riding position for long cruises. You can find affordable ape hangers at motorcycle swap meets or online retailers specializing in custom bike parts.
Grips are another opportunity to inject personality into your build. Swap out the standard rubber grips for leather-wrapped or textured grips to add a tactile, vintage feel. Don’t forget the throttle and brake levers—chrome or matte black finishes can elevate the overall aesthetic while ensuring functionality.
Seating: The Throne of Your Chopper
A chopper’s seat is more than just a place to park your backside; it’s a statement piece. For a budget-friendly build, consider a vintage-style saddle with a long, flat profile. These seats are not only comfortable for long rides but also evoke the classic chopper look. You can often find them at thrift stores, online auctions, or from specialty bike part suppliers.
If you’re feeling crafty, why not upholster your own seat? Start with a foam pad and cover it with durable fabric or leather. Add some tufting or stitching for a custom touch. The result? A seat that’s uniquely yours, both in style and comfort.

Drive Train and Brakes: Power and Precision
The drive train is the heart of your chopper, converting pedal power into forward motion. For a budget build, a single-speed or internally geared hub is ideal. These systems are simpler, more affordable, and require less maintenance than multi-speed setups. Plus, they allow you to focus on the chopper’s aesthetic without getting bogged down in complex gearing.
Brakes are non-negotiable for safety, but they don’t have to be boring. Consider upgrading to disc brakes for better stopping power, or stick with classic rim brakes for a retro look. If you’re using a single-speed setup, a coaster brake might be all you need. Just ensure your brakes are in good working order before hitting the road.
Paint and Finishing Touches: The Devil’s in the Details
A chopper bike’s paint job is its crowning glory. Whether you’re going for a matte black finish, a candy apple red, or a wild flame design, the key is preparation. Sand the frame and parts thoroughly, apply a primer, and then layer on your chosen paint. Don’t rush the process—patience is your best friend here. Once the paint is dry, seal it with a clear coat to protect your masterpiece from the elements.
Don’t forget the small details: polished chrome accents, custom decals, or even hand-painted designs can take your chopper from “cool” to “legendary.” And if you’re not confident in your painting skills, consider using spray cans or hiring a local artist to bring your vision to life.
The Ultimate Challenge: Building Your Dream Chopper on a Budget
Now that you’ve got the parts list, the real adventure begins. Building a chopper bike on a budget isn’t just about saving money—it’s about embracing the journey. It’s about scouring flea markets for hidden gems, tinkering in your garage until the wee hours, and reveling in the satisfaction of seeing your vision come to life. But here’s the challenge: resist the urge to cut corners. Every weld, every coat of paint, every tightened bolt is a step toward creating something truly special.
So, are you ready to take the plunge? Grab your tools, sketch out your design, and let the building begin. The road to your dream chopper starts with a single pedal stroke.