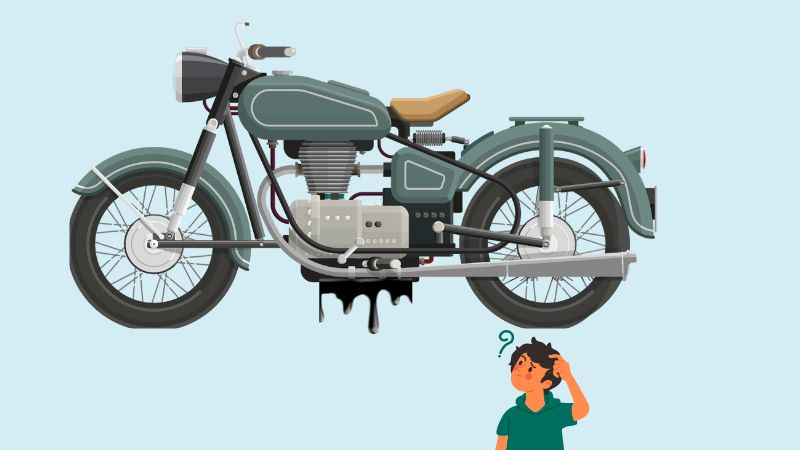
There’s a moment, deep in the heart of a long ride, when the rhythmic thrum of your Harley’s engine suddenly becomes a whisper. The wind still howls past your ears, the road still stretches endlessly ahead—but something’s off. A faint, oily scent lingers in the air. A telltale drip on the garage floor. Your heart sinks. The unthinkable has happened: your chopper’s motor is bleeding oil.
But here’s the truth you need to hear: an oil leak isn’t the end of the world. It’s not a death sentence for your ride. In fact, catching it early—and fixing it yourself—can be the difference between a minor tune-up and a catastrophic engine rebuild. This isn’t just about saving money. It’s about reclaiming control. It’s about understanding your machine so deeply that a drop of oil on the pavement becomes a language you speak fluently.
So let’s roll up our sleeves. Let’s demystify the greasy underbelly of your Harley chopper’s motor. And let’s turn that dreaded leak into a lesson in mechanical mastery.
The Anatomy of a Silent Saboteur: Where Oil Leaks Hide in Your Chopper’s Heart
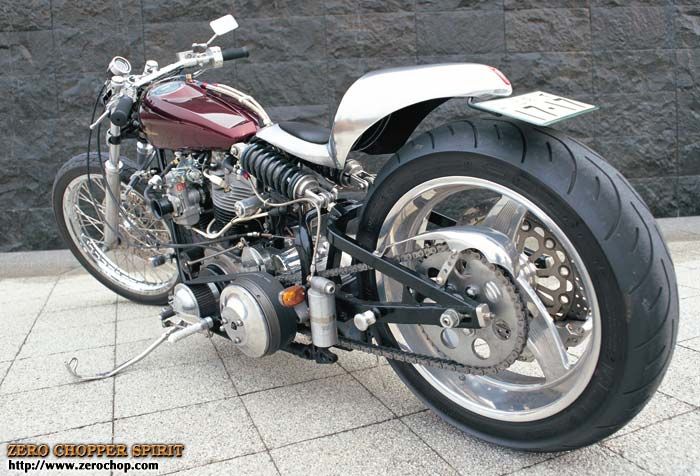
Oil doesn’t just vanish. It doesn’t teleport from the sump to the pavement. It escapes through cracks, seams, and worn seals—like a thief in the night, leaving only traces behind. To stop it, you must first know where to look. And in a Harley chopper, the hunt begins with the primary chaincase.
The primary chaincase isn’t just a housing. It’s a fortress. But over time, the gasket that seals it can harden, crack, or shift under vibration. A compromised gasket here doesn’t just leak oil—it leaks performance. Your primary chain runs in a bath of oil. When that oil level drops, friction rises. Heat builds. And suddenly, your smooth ride becomes a symphony of metallic protest.
Then there’s the engine case itself. Cast aluminum, strong but not invincible. Thermal cycling—hot days, cold nights—can warp mating surfaces. Even the tiniest gap becomes a highway for oil. And don’t overlook the oil pump housing. A loose bolt or a worn O-ring here can turn a slow drip into a steady stream.
But the real culprit? The oil filter housing. Harley-Davidsons often use a remote-mounted filter. The housing is secured by a single bolt and sealed with an O-ring. Over time, that O-ring can dry out, crack, or get pinched. One twist of the wrench during an oil change—and suddenly, your garage floor looks like a modern art installation titled “Oil Splat 2025.”
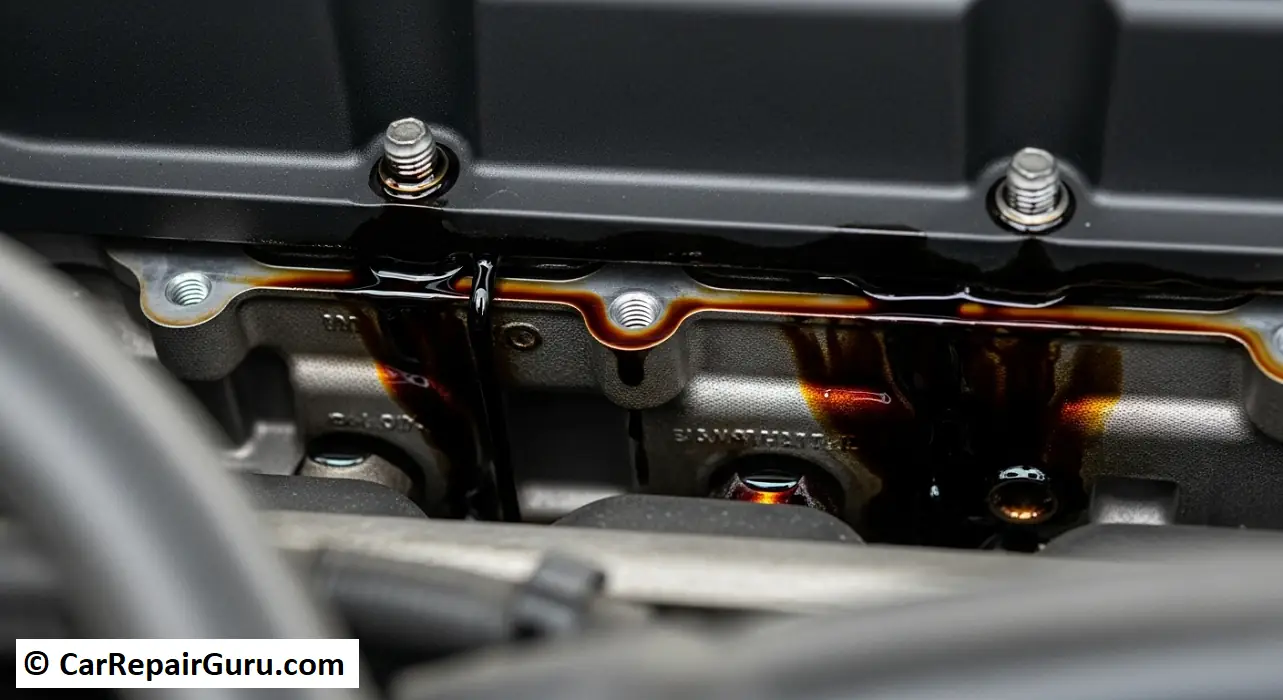
Tools of the Trade: What You Need Before the Battle Begins
You wouldn’t go into a knife fight with a spoon. So don’t go into an oil leak repair with a crescent wrench and hope. You need precision. You need patience. And you need the right arsenal.
Start with the basics: a full set of metric sockets, a torque wrench (because guessing leads to stripped bolts and broken dreams), and a magnetic pickup tool—because oil-soaked bolts love to roll into the abyss of your engine bay. A flashlight with a flexible neck will illuminate the darkest corners of your motor. And don’t forget nitrile gloves—oil isn’t just slippery; it’s stubborn.
You’ll also need fresh gaskets. Not just any gaskets—Harley-grade, OEM or high-quality aftermarket. Cheap imitations might save you five bucks today, but they’ll cost you a seized engine tomorrow. And sealant? Use it sparingly. A thin bead of RTV silicone can seal minor imperfections, but too much turns your gasket into a glue trap.
Finally, a torque wrench isn’t optional. Over-tightening a bolt can crush a gasket. Under-tightening leaves gaps. The sweet spot? It’s written in your service manual. And if you don’t have one? Get it. Your chopper’s life depends on it.
The Great Disassembly: Peeling Back the Layers of Your Motor’s Mystery
Now comes the moment of truth. You’ve identified the leak. You’ve gathered your tools. It’s time to get intimate with your motor.
Start by draining the oil. Warm oil flows better, so run the engine for a few minutes first. Then, position a drain pan under the sump and let it empty completely. No shortcuts. No half-measures. You need a clean slate.
Next, remove the primary chaincase cover. This isn’t just about access—it’s about respect. The chaincase holds your primary chain, clutch, and sprocket. One wrong move, and you’re rebuilding the whole assembly. Use a soft mallet to tap the cover loose if it’s stubborn. Never pry with a screwdriver—you’ll scar the aluminum and curse your future self.
As you lift the cover, take a photo. Seriously. Document the position of the chain, the clutch, the basket. You’ll thank yourself when reassembly feels less like a puzzle and more like a déjà vu.
Now, inspect the gasket. Is it brittle? Cracked? Swollen? If it’s anything less than pristine, replace it. Don’t try to “save” it. Gaskets don’t heal. They either seal or they don’t.
While you’re in there, check the oil pump housing. Is the O-ring intact? Is the housing cracked? If the pump is leaking, you’ll need to address it now—before you reassemble everything and discover a second leak.
The Art of the Seal: Gaskets, O-Rings, and the Zen of Proper Torque
This is where many DIYers stumble. They slap a new gasket in place, crank the bolts down with brute force, and wonder why the leak persists. The secret isn’t in the gasket—it’s in the preparation.
Clean the mating surfaces. Use brake cleaner or acetone. No residue. No oil. No old gasket material. A single speck of debris can create a high spot, preventing the gasket from sealing evenly.
Apply a thin layer of gasket sealer only if the manual recommends it. Some Harley gaskets are designed to seal dry. Adding sealant where it’s not needed can clog oil passages and starve your engine.
Now, the gasket is in place. Time to install the cover. But not with your hands. Use the torque wrench. Follow the sequence in your manual—usually a star pattern, tightening bolts incrementally. And torque to spec. Not “snug.” Not “tight enough.” To spec.
Over-tightening doesn’t make it better. It makes it worse. It distorts the cover. It crushes the gasket. It turns a simple fix into a recurring nightmare.
Once the cover is secure, reinstall the oil filter housing. Use a new O-ring. Lightly coat it with clean oil. Hand-tighten the bolt first, then torque it to specification. One extra quarter-turn can mean the difference between a dry garage and a slippery disaster.
Testing the Waters: How to Know You’ve Won the War
You’ve reassembled. You’ve cleaned up. You’ve waited. Now, it’s time to find out if your work held.
Fill the engine with fresh oil. Start it up. Let it idle. Listen. Watch. Sniff. Any unusual noises? A high-pitched whine? A metallic grind? Any new smells? These are red flags.
After a few minutes, shut it down. Check the ground beneath the motor. Any new drips? Any fresh oil spots? If not, you’re in the clear. But don’t celebrate yet. The real test comes after a ride.
Take your chopper for a spin. Not just around the block—down the highway, up a hill, through some twisty backroads. Put it through its paces. Then, when you return, inspect the ground again. If it’s still dry, you’ve done it. You’ve conquered the leak.
But if you see a fresh stain? Don’t panic. Trace it back to the source. Was it the primary cover? The oil filter? The drain plug? Each leak tells a story. And now, you’re fluent in its language.
Prevention: The Final Pillar of Mechanical Mastery
Fixing a leak is one thing. Preventing the next one is where true craftsmanship begins.
Start with regular inspections. Every oil change, lift the primary cover. Look at the gasket. Feel the O-rings. Smell the oil. Changes in color, smell, or consistency are early warnings.
Tighten bolts to spec—not more, not less. Vibration is the enemy. It loosens everything. So every 5,000 miles, check your torque. It’s a small habit with a huge payoff.
And finally, use quality fluids. Not the cheapest oil. Not the first filter you find. Your motor deserves the best. Synthetic oil resists breakdown. High-quality filters trap contaminants. Together, they reduce wear—and the need for future repairs.
An oil leak isn’t just a nuisance. It’s a teacher. It forces you to slow down. To listen. To understand. And when you fix it yourself, you don’t just save money—you gain confidence. You gain respect for your machine. You become not just a rider, but a guardian of the road.
So the next time your Harley whispers a warning, don’t turn away. Lean in. Listen. And fix it—before the leak becomes a flood.