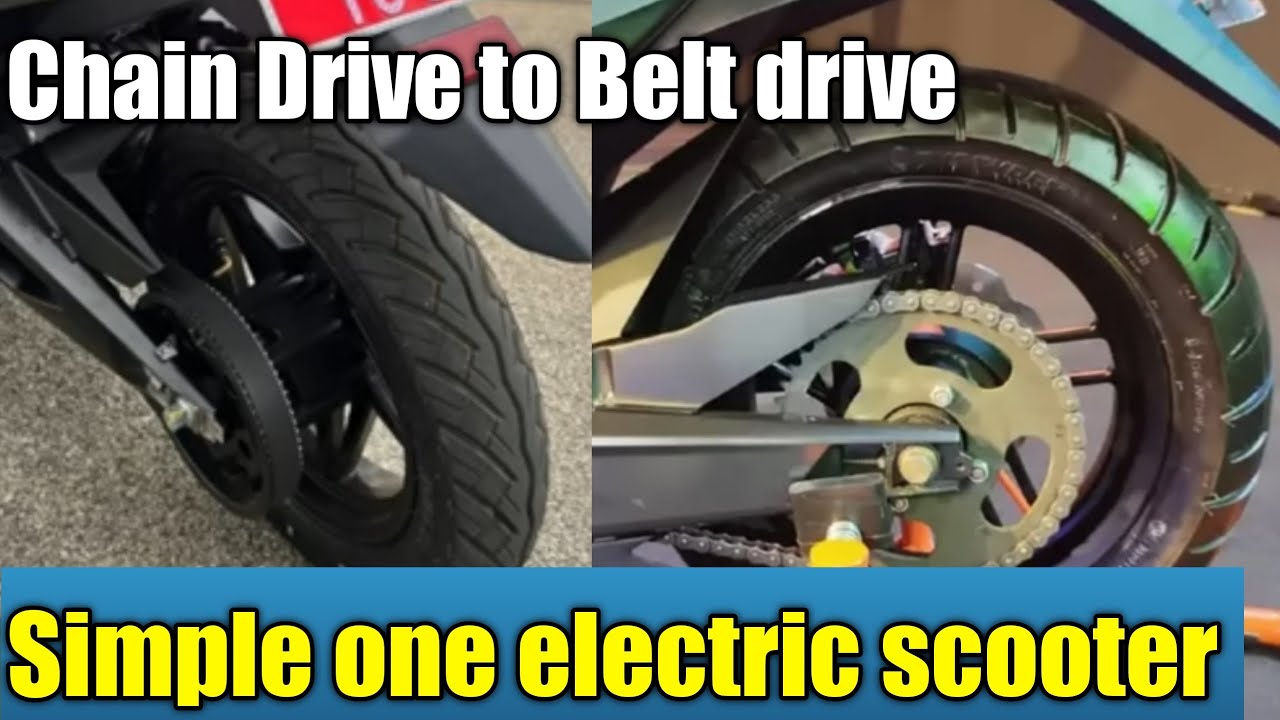
Ever looked at your chopper’s clattering chain drive and wondered if there’s a way to silence the symphony of metal on metal? What if you could swap the gritty grind for a whisper-smooth ride that turns heads for all the right reasons? Converting your chopper from a chain drive to a belt drive isn’t just about aesthetics—it’s about embracing a cleaner, quieter, and more reliable future for your two-wheeled beast. But before you dive in, let’s navigate the twists and turns of this transformation together.
The Allure of Belt Drive: Why Ditch the Chain?
Chains are the workhorses of the motorcycle world, but they come with baggage. They’re loud, they stretch, they need constant lubrication, and they’re prone to snapping at the worst possible moment. Belt drives, on the other hand, are the silent assassins of the drivetrain world—sleek, low-maintenance, and nearly indestructible. They don’t stretch, they don’t need oil, and they operate with a buttery smoothness that makes every ride feel like a first date. For chopper enthusiasts, the appeal is undeniable: a belt drive transforms your bike from a clunky relic into a modern marvel, all while reducing the hassle of upkeep.
But here’s the kicker: not all choppers are built for belt drives. Older frames, custom builds, and bikes with extreme geometry might throw a wrench into your plans. So, before you start dreaming of a whisper-quiet ride, you’ll need to assess whether your chopper is a candidate for this upgrade. Spoiler alert: if your bike has a stretched swingarm or a frame designed for a chain, you might need to get creative—or accept that some compromises are in order.
Gearing Up: Tools and Parts You’ll Need
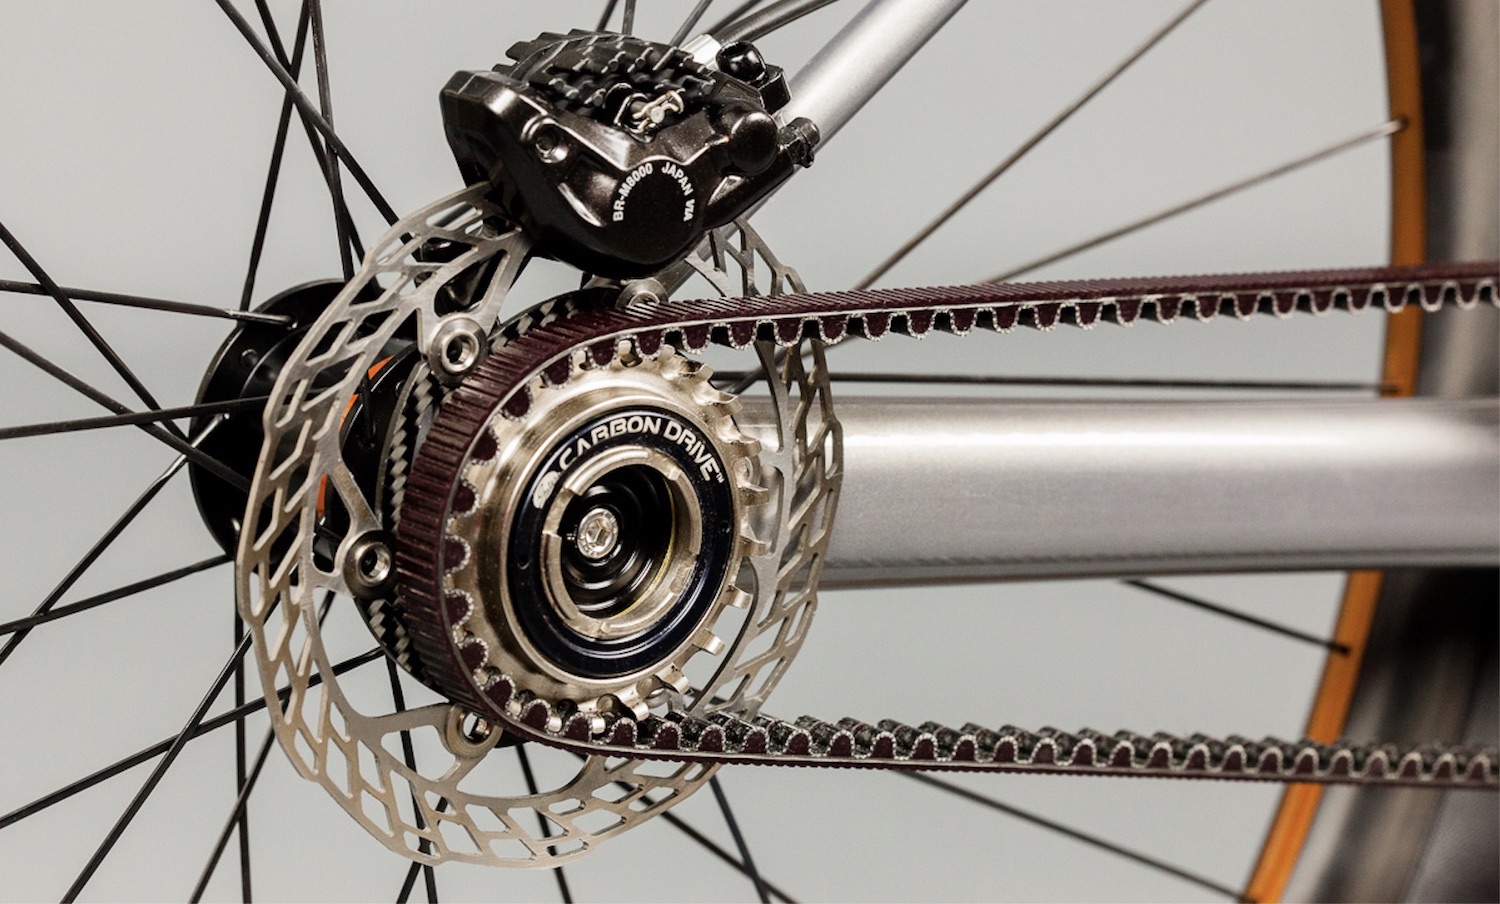
Converting to a belt drive isn’t a trip to the hardware store—it’s a precision operation. You’ll need a few key components to pull this off. First, the belt itself, which comes in various lengths and tooth patterns, so measure your current chain line carefully. Next, a belt drive sprocket kit, which replaces your existing chainring and rear sprocket. These kits are designed to fit specific bike models, so double-check compatibility before ordering. You’ll also need a tensioner system, which keeps the belt taut without the need for constant adjustments. And don’t forget the hardware: Allen wrenches, a torque wrench, and a healthy dose of patience.
If you’re working with a custom chopper, you might need to fabricate or modify parts to make the belt drive fit. This could mean widening the swingarm, adjusting the engine mounts, or even designing a custom idler pulley. It’s not for the faint of heart, but the payoff—a bike that looks and rides like it rolled out of a futuristic garage—is worth the effort.
Stripping Down: Removing the Old Chain Drive
The first step is always the messiest. You’ll need to remove the chain, sprockets, and any associated hardware. Start by breaking the chain and sliding it off the sprockets. If your bike has a chain guard, now’s the time to remove it. Next, unbolt the rear sprocket and the engine sprocket, taking care not to lose any washers or spacers. Once the old drivetrain is gone, clean the area thoroughly—grit and grease are the enemies of a smooth belt drive installation.
Pro tip: Take photos before you start dismantling. This will save you from the “how did this fit together again?” panic when you’re halfway through reassembly. And if you’re working with a custom setup, label every part. You might think you’ll remember, but trust me—you won’t.
Fitting the New Belt Drive: A Delicate Dance
Now comes the fun part: installing the belt drive. Start by mounting the engine sprocket, ensuring it’s aligned perfectly with the rear pulley. Misalignment is the silent killer of belt drives, so take your time here. Once the sprockets are in place, thread the belt around them, making sure it’s seated correctly in the grooves. Belt drives don’t stretch like chains, so the tension needs to be spot-on. Most kits come with an adjustable tensioner, which you’ll use to achieve the perfect tautness. Too loose, and the belt will slip. Too tight, and you’ll wear out the pulleys prematurely.
Here’s where things get tricky. On a chopper, the belt path often has to navigate tight spaces, sharp angles, or custom frame modifications. You might need to install an idler pulley to guide the belt around obstacles. This isn’t just about function—it’s about aesthetics, too. A well-placed idler can turn a functional upgrade into a design statement.


Testing and Tuning: The Moment of Truth
With the belt drive installed, it’s time to fire up the engine and see if all your hard work pays off. Start the bike and let it idle. Listen for any unusual noises—squeaking, grinding, or rattling are all red flags. If the belt is misaligned or the tension is off, you’ll hear it immediately. Next, take it for a short test ride. Pay attention to how the bike handles, especially during acceleration and deceleration. A well-tuned belt drive should feel smoother than a chain, with no jerking or hesitation.
If something feels off, don’t panic. Belt drives are forgiving, but they do require precise adjustments. Check the alignment of the sprockets, inspect the belt for wear, and ensure the tensioner is doing its job. It might take a few tweaks to get it just right, but once it’s dialed in, you’ll wonder why you ever put up with the noise and hassle of a chain.
Maintenance: The Gift That Keeps on Giving
One of the biggest perks of a belt drive is how little maintenance it requires. Unlike chains, which need regular cleaning and lubrication, belt drives are nearly maintenance-free. A quick visual inspection before each ride is usually all it takes to ensure everything is in order. Look for cracks, fraying, or signs of wear on the belt, and check the sprockets for excessive tooth wear. If you store your chopper for long periods, consider covering the belt to protect it from dust and debris.
Of course, no system is entirely foolproof. If you ride in extreme conditions—mud, sand, or saltwater—you’ll need to clean the belt and sprockets more frequently to prevent premature wear. But even then, the upkeep is minimal compared to a chain. And when you’re cruising down the road, the last thing on your mind is whether your drivetrain is about to fail. That peace of mind? Priceless.
Final Thoughts: Is a Belt Drive Right for Your Chopper?
Converting your chopper from a chain drive to a belt drive is a bold move, but it’s one that pays off in spades. You’ll gain a quieter, smoother, and more reliable ride, all while reducing the hassle of maintenance. But it’s not a decision to make lightly. You’ll need to assess your bike’s compatibility, invest in the right parts, and be prepared to tackle some custom fabrication if necessary. And let’s not forget the cost—belt drive conversions aren’t cheap, but they’re an investment in the future of your chopper.
So, are you ready to silence the clatter and embrace the future of chopper riding? If so, roll up your sleeves, gather your tools, and get to work. Your bike—and your ears—will thank you.