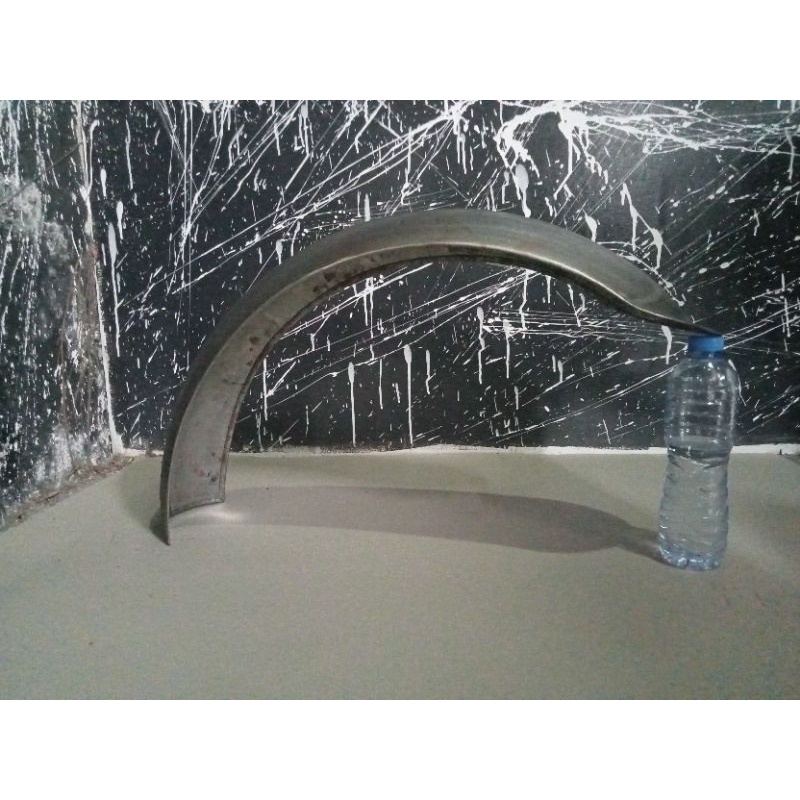
Ever stared at a set of chopper fenders and thought, “How on earth do I shape these into something that doesn’t look like it was salvaged from a scrapyard?” You’re not alone. The English wheel—a tool that looks like it belongs in a mad scientist’s workshop—is your secret weapon. But here’s the catch: it’s not just about cranking the handle and hoping for the best. Mastering this beast requires finesse, patience, and a willingness to embrace the occasional crumpled metal catastrophe. Ready to bend fate (and metal) to your will? Let’s dive in.
The English Wheel: Your Unlikely Ally in the War Against Flat Metal
Picture this: a contraption with two massive, spinning wheels—one stationary, the other mobile—squeezing a sheet of metal between them like a medieval torture device. That’s your English wheel. It’s not glamorous, but it’s the closest thing you’ll get to a metal origami machine. The magic happens when you feed the metal through those wheels, gradually thinning and stretching it to create smooth curves and contours. Think of it as the difference between brute-forcing a shape with a hammer and coaxing it into submission with surgical precision.
But here’s where the fun begins: not all metals play nice. Aluminum, for instance, is a diva—it wrinkles, it stretches unevenly, and it’ll fight you every step of the way. Steel? Far more forgiving, but it demands respect. The key is to start with the right material and thickness. For chopper fenders, 16- to 18-gauge steel is your sweet spot. Too thin, and you’ll end up with a wavy mess. Too thick, and you’ll be arm-wrestling the wheel like it’s a stubborn mule.
Prepping Your Metal: The Unsung Hero of the Process
Before you even think about touching the English wheel, your metal needs to be in peak condition. That means clean, dry, and free of any grease, rust, or stubborn factory coatings. A wire wheel on a bench grinder is your first line of defense. Scrub it down until it gleams like a knight’s armor. Any imperfections now will haunt you later, manifesting as uneven bends or frustrating ripples.
Next, mark your pattern. Don’t freehand this—use a soapstone or a fine-tip marker to trace your fender’s outline directly onto the metal. Precision here saves you from the heartbreak of realizing your curves are off by a quarter-inch when it’s too late. And speaking of curves, if your fender design has sharp angles or deep troughs, consider annealing the metal first. Heating it to a dull red and letting it cool slowly will soften the material, making it more pliable. It’s like giving your metal a spa day before the real work begins.
Mounting the Fender: Clamps, Jigs, and the Art of Restraint
Now, the moment of truth: securing your metal to the English wheel. Improper mounting is the fastest way to turn your fender into a modern art piece—abstract, but not in a good way. You’ll need a sturdy workbench and a set of heavy-duty clamps. The goal is to keep the metal flat against the lower wheel while allowing the upper wheel to do its dance. Too loose, and the metal will shift; too tight, and you’ll restrict the natural flow of the material.
For complex fender designs, consider building a simple jig. A few strategically placed angle irons or wooden blocks can act as guides, ensuring your metal follows the intended path. Think of it as training wheels for your English wheel—temporary, but invaluable when you’re trying to avoid a catastrophic fold. And remember, the first few passes are all about baby steps. Don’t rush it. Let the wheel do the work, and resist the urge to force the metal. Patience isn’t just a virtue here; it’s a survival tactic.
The Dance of the Wheels: Rolling, Not Wrestling
With your metal clamped and your nerves steady, it’s time to engage the wheels. Start at one end of the fender and feed the metal through slowly. The upper wheel should apply just enough pressure to stretch the metal without crushing it. Listen to the sound—it should be a rhythmic hum, not a metallic scream. If it sounds like you’re torturing the material, you’re doing it wrong.
Here’s where the real challenge begins: controlling the stretch. The English wheel doesn’t just bend metal; it thins it. The more you roll a section, the thinner it becomes, which is perfect for creating those signature chopper fender curves. But here’s the catch: if you overdo it in one spot, you’ll end up with a weak point that could dent or warp under stress. The solution? Rotate your passes. Work the metal in sections, overlapping slightly to ensure even thinning. It’s like kneading dough—consistent pressure, even distribution.
And don’t forget to flip the metal occasionally. The English wheel has a way of creating uneven tension, especially on larger fenders. Flipping it mid-process ensures the curves develop symmetrically. It’s a dance, really—lead with your left hand, pivot with your right, and never, ever step on your partner’s toes.
Troubleshooting the Unruly: When the Metal Fights Back
No matter how careful you are, the metal will occasionally rebel. Maybe it wrinkles. Maybe it thins too much in one spot. Maybe it decides to fold like a cheap suit. Don’t panic. Wrinkles can often be smoothed out by reversing the direction of your passes or applying heat to the affected area. Overly thinned sections? Reinforce them with a few strategic tack welds before continuing. And if the metal folds? Well, that’s a sign you’ve pushed too hard. Back off, anneal if necessary, and start again.
Another common issue is the dreaded “oil canning”—those pesky waves that appear when the metal isn’t uniformly stretched. The fix? Roll the entire surface again, this time applying slightly more pressure to the high spots. It’s like ironing out the wrinkles in a shirt, but with a lot more noise and a higher risk of injury if you’re not careful.
Finishing Touches: Sanding, Polishing, and the Sweet Smell of Victory
Once your fender has the curves you want, it’s time to refine it. Start with a coarse-grit sandpaper to knock down any high spots or rough edges. Work your way up to a finer grit, blending the transitions between the rolled and unrolled sections. The goal is to create a surface so smooth it could double as a mirror—except, you know, for motorcycles.
If you’re feeling fancy, consider polishing the fender to a mirror finish. It’s not just about aesthetics; a polished surface is easier to maintain and less prone to rust. Plus, there’s something deeply satisfying about watching your handiwork gleam under the workshop lights. Just don’t forget to wear gloves. Even the smoothest metal has a way of leaving its mark.
The Grand Finale: Mounting Your Masterpiece
With your fender shaped, smoothed, and polished, it’s time to give it a home. Test-fit it on your chopper frame, making any final adjustments with a mallet or a gentle tap from a hammer. Remember, the English wheel has done the heavy lifting, but the final fit is all about finesse. Once you’re satisfied, secure it in place with bolts or welds, depending on your setup. And there you have it—a chopper fender that looks like it was forged by the gods of custom fabrication, not just a guy with a wheel and a prayer.
So, the next time you’re staring down a flat sheet of metal, wondering if you’ve bitten off more than you can chew, remember this: the English wheel isn’t just a tool. It’s a conversation between you and the metal. And like any good conversation, it requires listening, patience, and the occasional compromise. Now go forth and bend some fate.