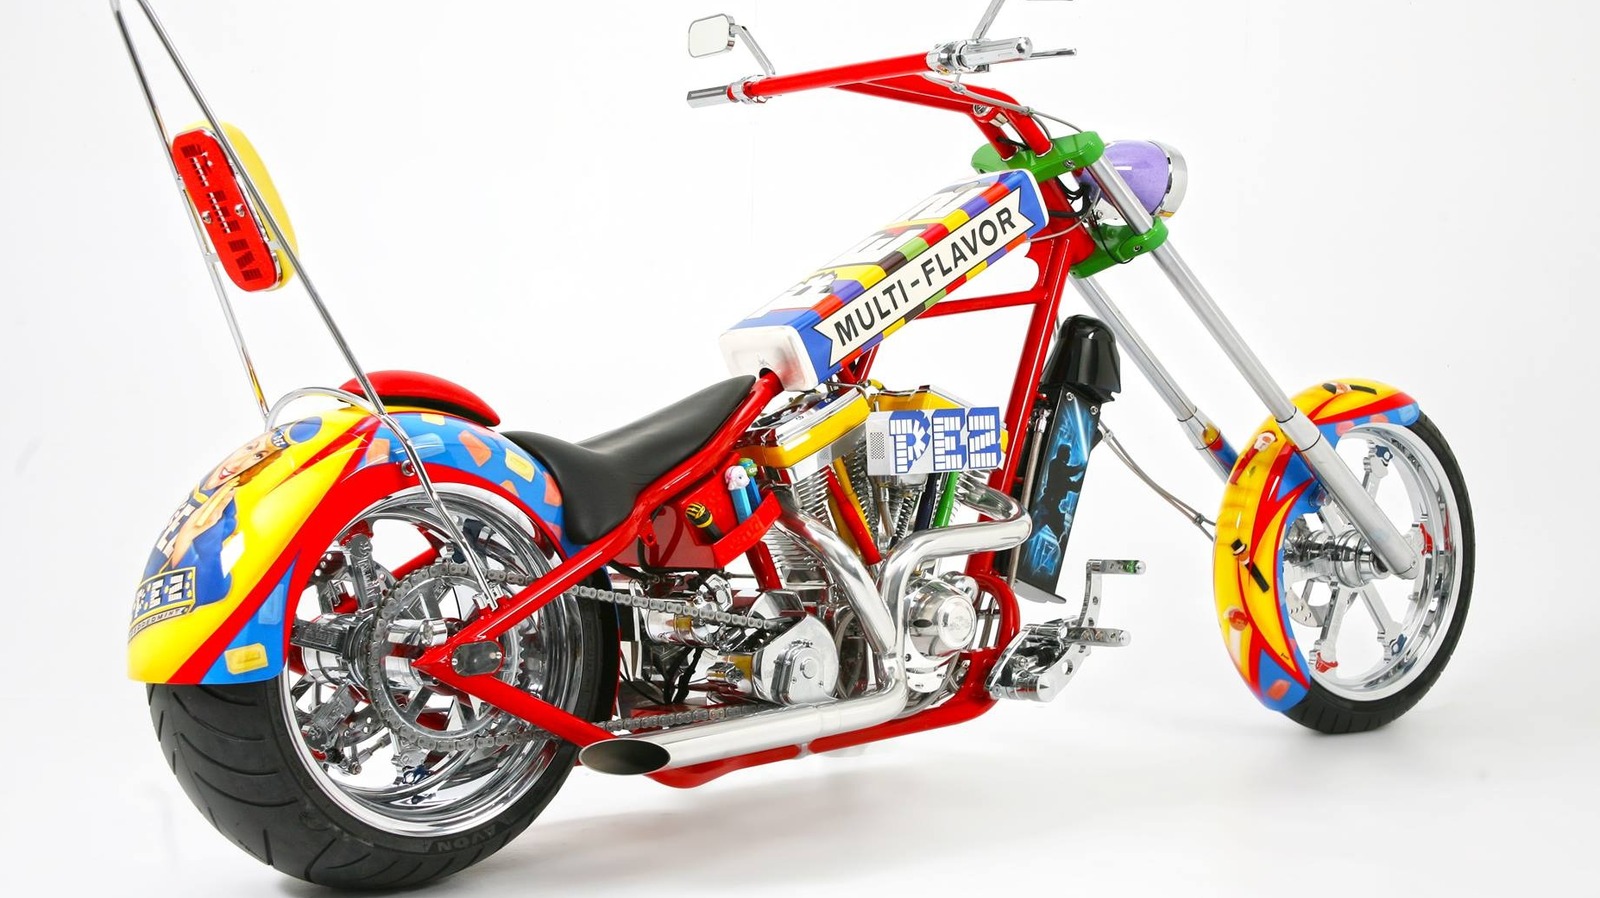
The springer front end of a chopper isn’t just a mechanical assembly—it’s a statement of rebellion, a nod to the raw, unfiltered spirit of custom motorcycling. Rebuilding one demands more than wrenches and patience; it requires a deep understanding of vintage engineering, an eye for aesthetic harmony, and the willingness to dance with precision. Whether you’re restoring a classic Springer Springer or upgrading a modern chopper with mid-springer geometry, this guide will walk you through every critical phase, from disassembly to the final gleam of chrome. Buckle up, because we’re about to turn wrenches into art.
The Anatomy of a Springer Front End: More Than Just Forks and Springs
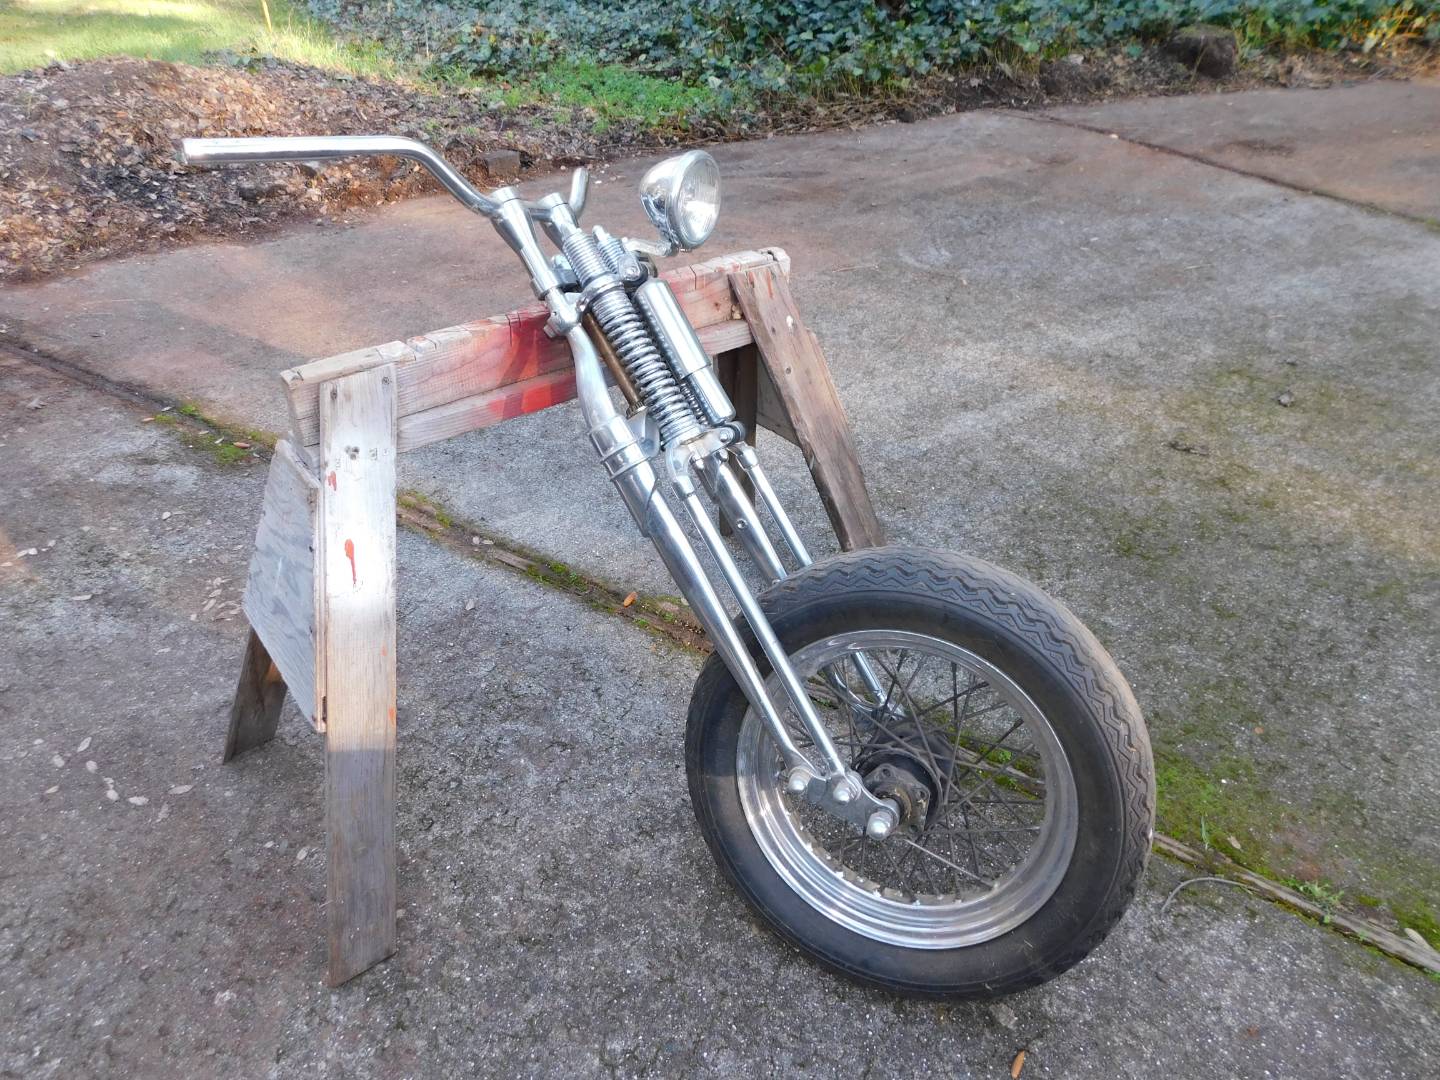
A springer front end is a symphony of interconnected components, each playing a vital role in the bike’s ride dynamics and visual impact. At its core, the system consists of the front forks, which house the internal springs and dampening mechanisms, the triple trees that clamp the forks and provide steering pivot points, and the linkage arms that connect the springs to the axle, allowing for controlled compression and rebound. Unlike conventional telescopic forks, springers rely on a lever-action design, where the springs are mounted externally or internally, transferring road imperfections into a smoother, more responsive ride. The axle assembly and spindle further stabilize the front wheel, ensuring alignment and minimizing wobble. Misalignments here can lead to a chopper that feels more like a bucking bronco than a cruiser. Precision isn’t optional—it’s the difference between a masterpiece and a road hazard.


Disassembly: Where Patience Meets Precision
Disassembling a springer front end is less about brute force and more about methodical extraction. Begin by securing the bike on a sturdy stand, ensuring the front wheel is off the ground. Remove the front fender and any associated fairings to expose the triple trees and linkage. Carefully mark the position of the triple trees with a paint pen or scribe—this ensures you can reinstall them in the exact same orientation, preserving the bike’s geometry. Next, loosen the steering stem nut and separate the upper and lower triple trees, taking note of any shims or spacers that maintain bearing preload. The fork tubes can then be slid out from the lower tree, revealing the internal springs and bushings. Inspect the linkage arms for wear, checking the pivot points and bushings for excessive play. If any components are seized, apply penetrating oil and allow it to soak before attempting removal. Remember: haste here is the enemy of longevity. A rushed disassembly can turn a simple rebuild into a full-blown restoration nightmare.
Inspection and Diagnosis: The Art of Spotting Hidden Flaws
With the springer front end stripped down, the real detective work begins. Start with the fork tubes, examining them for straightness using a straightedge or laser alignment tool. Even the slightest bend can introduce steering instability and uneven tire wear. Next, inspect the internal springs for sagging or corrosion—these are the heart of the system, and their performance dictates ride quality. Check the bushings and seals within the fork tubes; worn bushings can allow lateral movement, while dried-out seals will lead to oil leaks. The linkage arms should be scrutinized for cracks or bent geometry, as any deformation here will compromise the springer’s lever-action mechanics. Don’t overlook the axle and spindle—excessive play here can cause the front wheel to shimmy at speed. Finally, examine the triple trees for stress fractures or warping, especially around the steering stem bore. If any component fails inspection, replacement is non-negotiable. Cutting corners here is a gamble with your safety and the bike’s performance.

Rebuilding the Springer: From Scratch to Glory
Rebuilding a springer front end is where creativity meets craftsmanship. Begin by repacking the fork tubes with fresh oil and new seals, ensuring the correct viscosity for your riding style—thicker oils provide more damping for heavy loads, while thinner oils offer a sportier feel. Install new bushings and wiper seals, tapping them into place with a soft mallet to avoid damage. If your springer uses external springs, now is the time to clean and inspect them, replacing any that show signs of fatigue. For models with internal springs, ensure they’re seated correctly within the fork tubes, with the correct preload applied. Reinstall the fork tubes into the lower triple tree, aligning them with your earlier marks. The linkage arms should be reinstalled with fresh grease at the pivot points, ensuring smooth articulation. Once the forks are secured, reinstall the upper triple tree, tightening the steering stem nut to the manufacturer’s specified torque. Don’t forget to reinstall the shims and spacers in their original positions to maintain bearing preload. Finally, reattach the front fender and any fairings, double-checking all fasteners for proper torque.
Alignment and Tuning: Fine-Tuning for the Perfect Ride
A springer front end isn’t just about assembly—it’s about calibration. Begin with wheel alignment, ensuring the front and rear wheels are perfectly in line. Use a chain alignment tool to verify the rear wheel’s position, then adjust the front axle’s placement in the dropout slots to center the wheel. Next, check the rake and trail—the angle of the fork tubes relative to the steering axis. A steeper rake will provide quicker steering response but less stability, while a shallower rake offers more stability at the cost of agility. Adjust the triple tree spacers to fine-tune the rake to your preference. Finally, test the spring preload—this determines how much the springs compress under load. Too little preload results in a bouncy ride, while too much makes the bike feel sluggish. Experiment with different settings, taking the bike for short test rides to gauge comfort and handling. Remember, tuning a springer is an iterative process; what works on the bench may need adjustment on the road.

Upgrading Your Springer: Modern Touches for a Classic Look
While traditional springers have a timeless appeal, modern upgrades can enhance both performance and aesthetics. Consider swapping out the stock springs for progressive-rate springs, which offer a softer initial feel that stiffens under load, improving comfort and control. Upgraded bushings and seals made from high-performance materials like PTFE can reduce friction and extend component life. For a more aggressive stance, adjustable triple trees allow you to fine-tune the rake and trail without spacers. If you’re feeling adventurous, aftermarket linkage arms can be fabricated from lightweight alloys, reducing unsprung weight and improving suspension response. Don’t overlook the axle and spindle—upgrading to a billet aluminum or chromoly spindle can add strength and reduce weight. For the finishing touch, consider powder-coating the triple trees and linkage arms in a custom color to match your bike’s theme. These upgrades aren’t just about performance; they’re about making your springer front end a true reflection of your riding personality.
Maintenance: Keeping Your Springer Running Like New
A springer front end is a high-maintenance partner—neglect it, and it will betray you. Establish a regular inspection routine, checking the linkage arms, springs, and bushings for wear every 5,000 miles. Clean the fork tubes and linkage pivots with a degreaser and soft brush, applying fresh grease to prevent corrosion. Inspect the seals for leaks, replacing them at the first sign of deterioration. Over time, the internal springs may sag, requiring replacement to maintain ride quality. If you ride in wet or dusty conditions, consider upgrading to sealed bearings in the linkage pivots to keep contaminants out. Finally, always store your bike in a dry, climate-controlled environment to prevent rust and corrosion. A well-maintained springer front end isn’t just a pleasure to ride—it’s a legacy that can outlast generations of motorcycles.