The art of pinstriping transforms a chopper bike fender from mere metal into a rolling canvas of precision and flair. Whether you’re a seasoned customizer or a weekend rider with a penchant for detail, mastering the craft of pinstriping elevates your bike’s aesthetic from functional to legendary. This guide dives deep into the world of pinstriping for chopper fenders, exploring techniques, tools, design inspiration, and the subtle nuances that separate a good job from a masterpiece.
The Anatomy of a Pinstripe: Understanding the Basics
A pinstripe is more than a thin line—it’s a deliberate stroke of artistry that demands both patience and skill. Unlike broader paint jobs, pinstriping relies on the delicate balance of pressure, speed, and angle to create crisp, unbroken lines that seem to defy the laws of physics. The width of a pinstripe typically ranges from a hairline (1/32″) to a bold 1/8″, each serving a distinct purpose in the visual hierarchy of your fender’s design. For chopper fenders, where curves and contours reign supreme, the pinstripe must conform seamlessly to the metal’s undulations, turning functional edges into dynamic focal points.
The tools of the trade are deceptively simple yet unforgiving in their precision. A high-quality pinstriping brush—often made from badger or squirrel hair—paired with a steady hand and a keen eye, is the foundation of any great pinstripe. The paint itself is a specialized enamel, formulated to flow smoothly and cure to a glossy finish that resists chipping and fading. Understanding the viscosity of your paint, the angle of your brush, and the rhythm of your stroke is the first step toward achieving that coveted “liquid line” effect, where the stripe appears to melt into the surface.

Choosing the Right Fender: Material and Surface Considerations
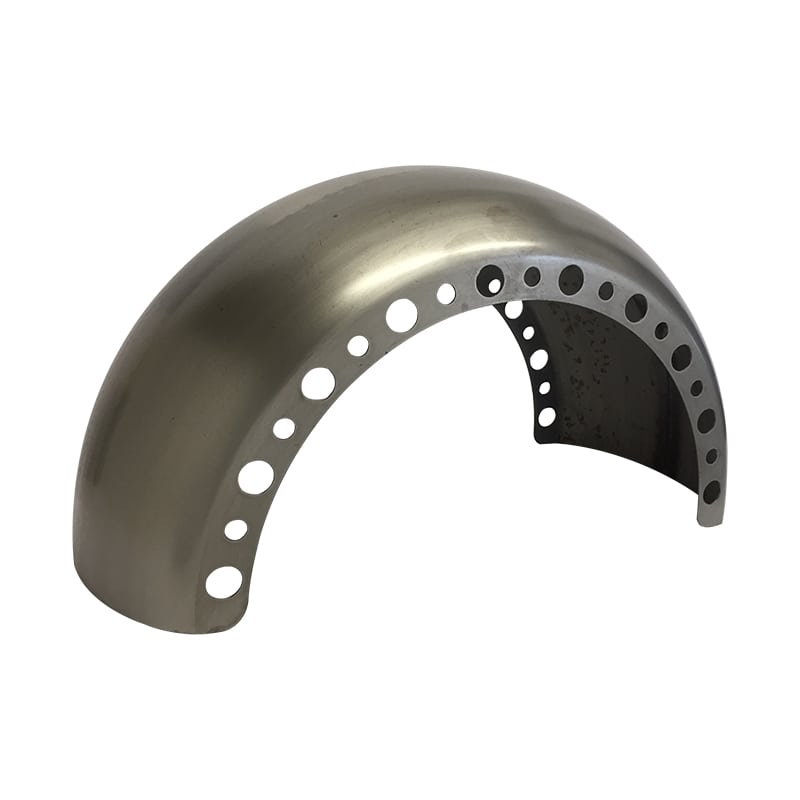
Not all chopper fenders are created equal, and the material you choose plays a pivotal role in the pinstriping process. Steel fenders, with their robust durability, provide a smooth, stable surface ideal for intricate designs. Aluminum, while lighter and more corrosion-resistant, demands a lighter touch to avoid marring the softer metal. Fiberglass and carbon fiber fenders offer a modern canvas but require specialized paints and primers to ensure adhesion.
The surface preparation is where many pinstriping projects stumble before they even begin. A properly prepped fender is free of oils, dust, and imperfections, with a primer coat that creates a tooth for the pinstripe paint to grip. Sanding between coats, using tack cloths to remove debris, and allowing adequate drying time are non-negotiable steps. For those working with bare metal, a metal etching primer ensures the pinstripe won’t peel or flake under the stress of vibrations and weather. Skipping these steps is like building a house on sand—eventually, the entire design will crack under pressure.
Design Philosophies: From Classic to Avant-Garde
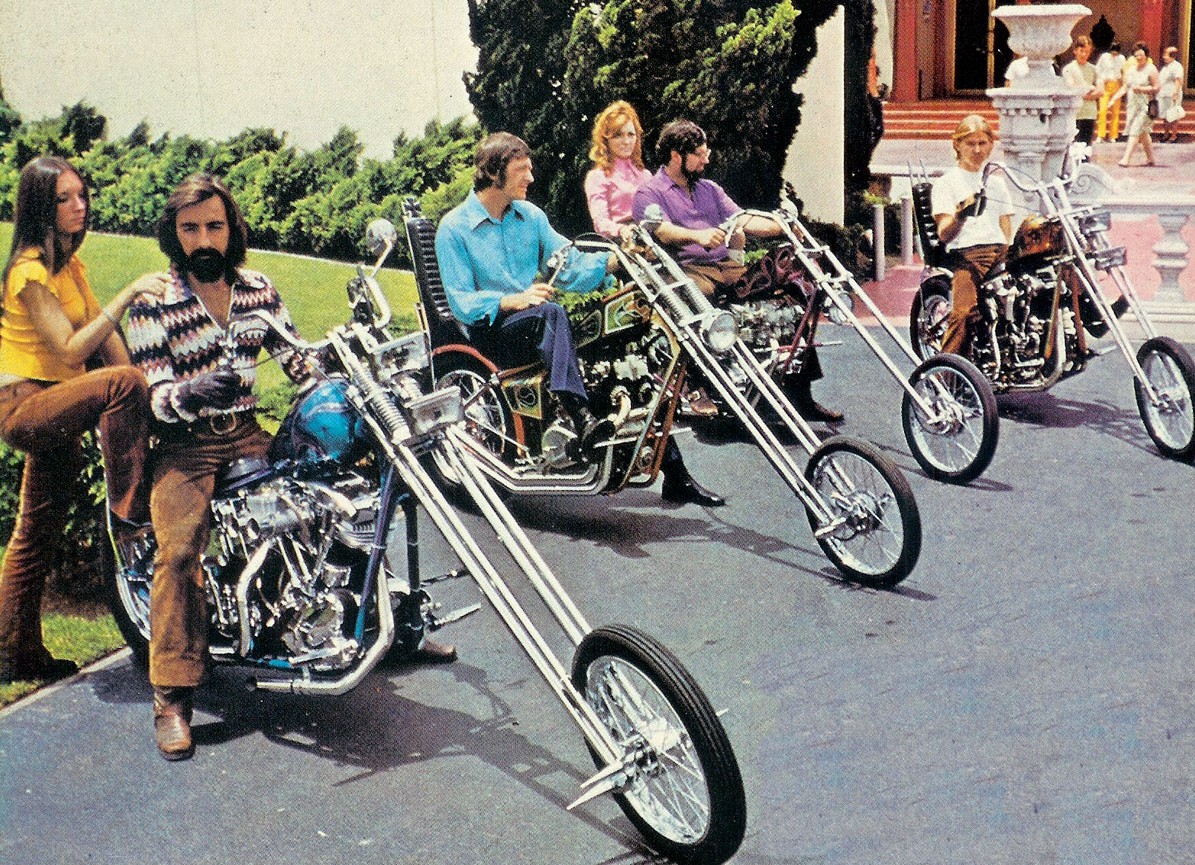
The design of your pinstripe is a reflection of your bike’s personality—whether it’s a nod to vintage cruiser aesthetics or a bold statement of modern rebellion. Classic pinstriping often draws from the golden age of motorcycling, featuring symmetrical scrolls, teardrop motifs, and intricate filigree that evoke the craftsmanship of bygone eras. These designs thrive on repetition and balance, creating a sense of harmony that complements the chopper’s elongated lines.
For those craving something more avant-garde, the world of pinstriping offers endless possibilities. Geometric patterns, asymmetrical flourishes, and even 3D effects—achieved through layered colors and shading—can transform a fender into a moving work of art. Some designers incorporate negative space, using the fender’s natural curves to guide the eye in a dance of light and shadow. The key is to let the bike’s existing lines inform the design, ensuring the pinstripe doesn’t just sit on the surface but becomes an integral part of the fender’s identity.

Mastering the Techniques: Brushwork and Beyond
Pinstriping is as much about technique as it is about artistry. The freehand method, where the artist guides the brush without guides or stencils, is the purest form of the craft. It requires a steady hand, controlled breathing, and an almost meditative focus. The brush should glide like a skater on ice, with just enough pressure to lay down a consistent line without digging into the paint.
For those less confident in their freehand skills, transfer tape or vinyl stencils offer a forgiving alternative. These tools allow for precise, repeatable designs, though they lack the organic imperfections that give hand-painted pinstripes their charm. Another technique gaining popularity is the use of airbrushes for shading and blending, which can add depth and dimension to your design. However, this method requires a different set of skills and is best left to those with experience in airbrushing.
The secret to flawless pinstriping lies in the follow-through. A pinstripe should start and end with deliberate intent, avoiding the dreaded “blob” at either end. Practicing on scrap metal or a practice board before committing to the fender is essential. Even professionals sketch their designs in pencil first, refining the flow of lines before a single drop of paint touches metal.
Color Theory and Paint Selection: Crafting the Perfect Palette
The color of your pinstripe can make or break the overall impact of your chopper’s design. While black and white are timeless classics, the world of pinstriping is brimming with possibilities. Metallic golds, deep crimsons, and even iridescent hues can add a touch of opulence or edge, depending on the bike’s theme. The key is to choose a color that complements the fender’s base coat while standing out enough to command attention.
Understanding the undertones of your paint is crucial. A warm metallic stripe on a cool-toned fender can create a jarring contrast, while a harmonious pairing—such as a bronze stripe on a brown base—enhances the bike’s natural elegance. For those feeling adventurous, experimenting with transparent or translucent paints can yield stunning effects, especially when layered over metallic or pearlescent base coats. The finish, whether gloss, satin, or matte, should also be considered, as it affects how light plays off the pinstripe and the fender as a whole.
Common Pitfalls and How to Avoid Them
Even the most skilled pinstripers encounter challenges, but knowing the pitfalls in advance can save hours of frustration. One of the most common mistakes is overloading the brush with paint, which leads to drips and uneven lines. The solution? Less is more. A well-loaded brush should glide effortlessly, with the paint flowing smoothly without pooling. Another issue is rushing the drying process. Pinstriping enamel cures through oxidation, not evaporation, so allowing adequate time between coats is essential for durability.
Environmental factors also play a role. Humidity, temperature, and even the cleanliness of your workspace can affect the outcome. High humidity can cause the paint to bubble, while dust particles can mar a freshly painted stripe. Working in a controlled environment—ideally a dust-free room with moderate temperature—minimizes these risks. And let’s not forget the human factor: fatigue and impatience are the enemies of precision. Taking breaks and approaching the project with a clear mind ensures that each stroke is intentional and flawless.
Inspiration and Trends: Where Pinstriping Meets Modern Customization
The world of chopper pinstriping is constantly evolving, with new trends emerging as old ones fade into nostalgia. Today, there’s a resurgence of interest in retro pinstriping, inspired by the bold graphics of the 1950s and 60s. Customizers are blending vintage motifs with contemporary techniques, creating designs that feel both timeless and fresh. Another trend is the integration of pinstriping with other custom elements, such as flame jobs, scallops, and airbrushed murals, resulting in a cohesive, multi-dimensional aesthetic.
Social media has become a hotbed for pinstriping inspiration, with artists sharing their work on platforms like Instagram and Pinterest. Hashtags like #PinstripingArt and #ChopperCustoms showcase everything from minimalist single-stripe designs to elaborate, story-driven murals that wrap around the entire fender. For those seeking inspiration, studying the work of masters like Von Dutch, Ed “Big Daddy” Roth, and modern-day artisans can spark ideas that push the boundaries of traditional pinstriping.
Maintenance and Longevity: Keeping Your Pinstripe Pristine
A well-executed pinstripe can last for years, but proper maintenance is key to preserving its vibrancy. Regular washing with a mild soap and water solution—never harsh detergents—keeps the paint clean without stripping away the finish. For deeper cleaning, a dedicated pinstripe wax or sealant can provide an extra layer of protection against UV rays and environmental contaminants. Avoid abrasive polishes or compounds, which can dull the stripe’s gloss and wear away the enamel over time.
When damage does occur, whether from a rogue pebble or a minor scrape, addressing it promptly prevents further deterioration. Touch-up kits, available from specialty paint suppliers, allow for quick repairs without the need for a full repaint. For larger areas of damage, sanding down the affected region and repainting the stripe may be necessary. The goal is to treat the pinstripe like a prized possession—something to be admired, protected, and preserved for generations to come.