Bleeding brakes on a custom chopper isn’t just maintenance—it’s an art form. A single-disc setup demands precision, patience, and a deep understanding of hydraulic systems. Whether you’re a seasoned builder or a weekend rider, mastering this process ensures your chopper stops with the authority it was built to command. This guide dives into the intricacies of bleeding brakes on a single-disc chopper, from tool selection to troubleshooting, ensuring your ride remains as responsive as the day you first twisted the throttle.
The Anatomy of a Single-Disc Brake System
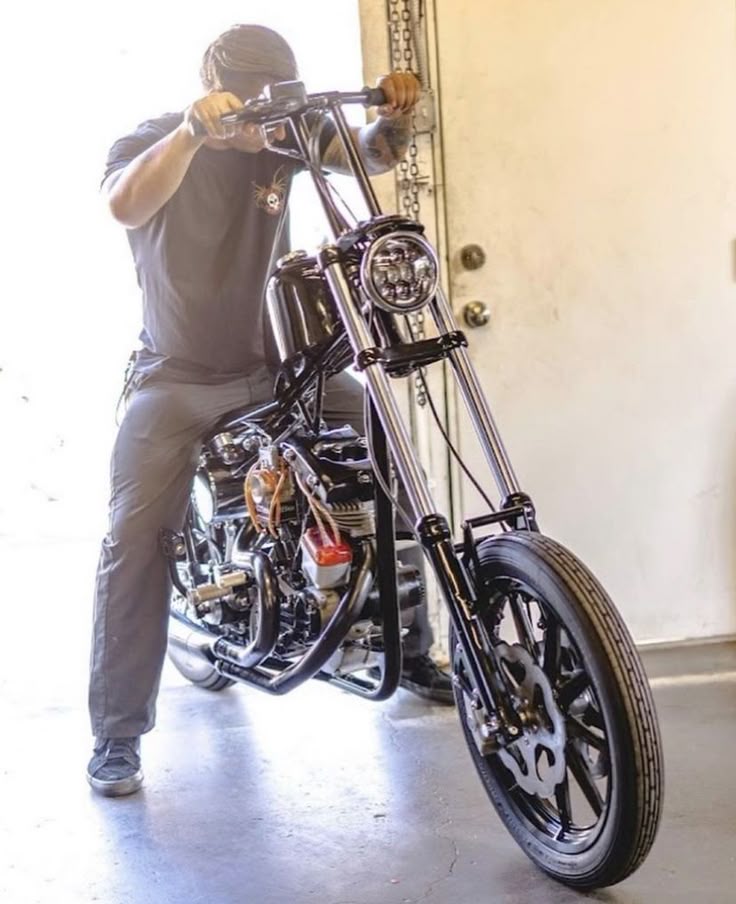
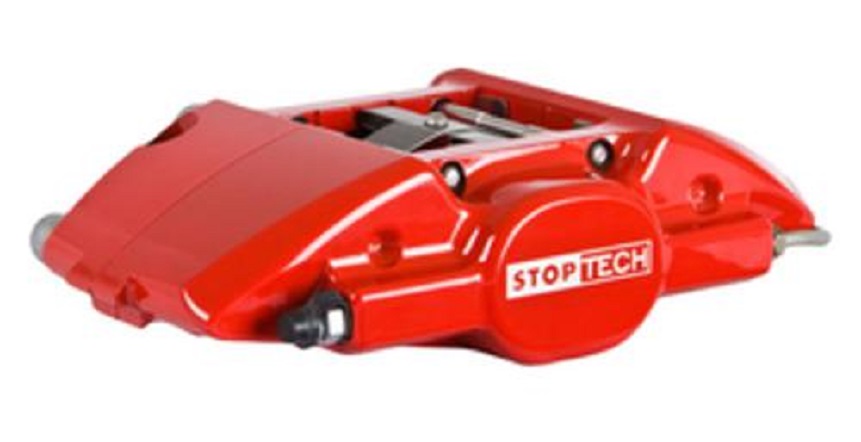
A single-disc brake system on a custom chopper is a symphony of components working in unison. At its core lies the brake caliper, clamped around a rotor that spins in harmony with your wheel. The caliper houses pistons, which, when activated by hydraulic pressure, clamp the rotor to halt motion. This pressure is generated by the master cylinder, a reservoir of fluid that translates your brake lever’s squeeze into stopping power. Between these components flows brake fluid—a lifeblood that must remain free of air bubbles to maintain peak performance. Understanding this layout is the first step in diagnosing and resolving brake issues.
But why a single disc? Custom choppers often prioritize aesthetics and weight savings over redundancy. A single disc reduces complexity, but it also places immense responsibility on the remaining components. A poorly bled system here can lead to spongy levers, delayed braking, or worse—complete failure. This is why bleeding isn’t just a chore; it’s a ritual of respect for the machine.
Essential Tools: Equipping Yourself for Success
Bleeding brakes isn’t a task for makeshift tools. You’ll need a brake bleeder kit, which typically includes a wrench, clear tubing, and a one-way valve to prevent fluid backflow. A brake fluid catch bottle is crucial—it’s not just about keeping your workspace clean; it’s about reclaiming every drop of precious fluid. A vacuum bleeder or pressure bleeder can expedite the process, but a simple hand pump works if you’re on a budget. Don’t forget safety gear: gloves to protect against corrosive fluid, and safety glasses to shield your eyes from splashes. And, of course, the right brake fluid—DOT 3, DOT 4, or DOT 5.1, depending on your system’s specifications. Using the wrong fluid is like feeding your chopper the wrong fuel; it might run, but it won’t run well.
Pro tip: Keep a rag handy. Brake fluid is hygroscopic—it absorbs moisture from the air, degrading its performance over time. Even a small spill can lead to contamination, so wipe up immediately. And never reuse old fluid; it’s a false economy that can cost you dearly in performance and safety.
Pre-Bleed Prep: Setting the Stage for Flawless Execution
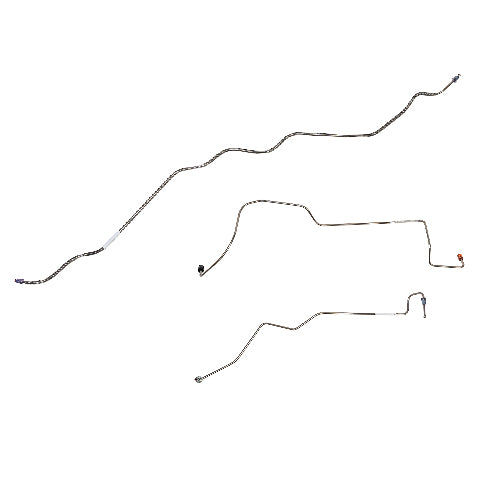
Before you crack open the system, preparation is key. Start by inspecting the brake lines for leaks, cracks, or wear. A single-disc chopper’s lines are often exposed, making them vulnerable to road debris and vibration. Replace any suspect lines before bleeding—there’s no point in fixing the fluid if the conduit is compromised. Next, check the master cylinder’s reservoir. Top it off with fresh fluid, but don’t overfill; fluid expands as air is purged, and excess can spill, creating a mess and inviting moisture.
Now, position your chopper securely. A single-disc setup is top-heavy when lifted, so use a sturdy stand or lift to keep it stable. If you’re working alone, a rear stand is ideal—it keeps the front wheel off the ground, allowing easy access to the caliper. Remove the brake pads temporarily if they’re worn or contaminated with old fluid. This exposes the pistons, making it easier to push them back into the caliper later. And finally, ensure your brake lever is in good condition. A sticky or worn lever can sabotage your efforts before you even begin.
The Bleeding Process: A Step-by-Step Ritual
With your tools and chopper ready, it’s time to bleed. Start by attaching the clear tubing to the bleeder valve on the caliper. Submerge the other end in a bottle of fresh brake fluid—this prevents air from being sucked back into the system. Now, the first critical step: cracking the bleeder valve. Use a wrench to loosen it just enough to allow fluid to flow, but not so much that it strips. Have an assistant ready to pump the brake lever while you monitor the fluid’s flow. Watch for bubbles—those tiny air pockets are the enemy, diluting your braking power like a whisper in a hurricane.
Pump the lever several times, then hold it firmly in the engaged position. Open the bleeder valve fully, allowing fluid to rush out. Close it quickly to trap any remaining air. Repeat this process until the fluid runs clear and bubble-free. It’s a dance of patience; rushing will only introduce more air. Once the caliper is purged, move to the master cylinder. Repeat the process, starting with the farthest bleeder valve and working your way closer. This ensures the entire system is free of air.
Pro tip: If you’re using a vacuum or pressure bleeder, the process is simpler but no less precise. Attach the bleeder to the master cylinder’s reservoir and apply vacuum or pressure. The fluid will be drawn through the system, purging air without the need for manual pumping. It’s a cleaner method, but it requires the right equipment.

Post-Bleed Checks: Ensuring Peak Performance
Bleeding isn’t complete until you’ve verified the system’s integrity. Start by checking the brake lever’s firmness. It should feel solid, with no sponginess or travel. If it’s still soft, air remains in the system—repeat the bleeding process. Next, inspect the caliper and master cylinder for leaks. Wipe down the components and look for any signs of seepage. Even a minor leak can compromise performance and lead to costly repairs down the road.
Now, reinstall the brake pads if you removed them earlier. Ensure they’re properly seated and not contaminated with fluid. Reinstall the wheel if you removed it, and torque all bolts to the manufacturer’s specifications. Finally, take your chopper for a test ride. Start slow, applying the brakes gently to bed in the pads and rotors. Listen for unusual noises—squealing, grinding, or groaning can indicate issues that need addressing. If everything feels right, you’ve successfully bled your brakes. If not, don’t hesitate to repeat the process. There’s no shame in perfectionism when it comes to stopping power.
Common Pitfalls and How to Avoid Them
Even the most meticulous builders encounter issues. One of the most common is cross-contamination of brake fluid. Mixing DOT 3 with DOT 4 or 5.1 can cause chemical reactions that degrade performance. Always use the fluid specified for your system. Another pitfall is over-tightening bleeder valves. A stripped valve is a nightmare to replace, so tighten just enough to seal—no more, no less. And never reuse old fluid; it’s a false economy that can lead to system failure.
Air in the system is another culprit. If your lever feels spongy after bleeding, air remains trapped. This often happens when fluid is introduced too quickly or when the system isn’t properly primed. To fix it, repeat the bleeding process, ensuring each step is followed meticulously. And finally, don’t ignore the master cylinder’s reservoir. A dry reservoir can introduce air into the system, sabotaging your efforts before they begin. Keep it topped off with fresh fluid at all times.
Advanced Techniques: Elevating Your Bleeding Game
For those who crave mastery, advanced techniques can take your bleeding process to the next level. One such method is bench bleeding the master cylinder before installation. This involves removing the cylinder from the chopper, filling it with fresh fluid, and manually pumping the pistons to purge air. It’s a labor-intensive process, but it ensures the master cylinder is air-free before it’s even connected to the system. Another technique is reverse bleeding, where fluid is pushed from the caliper toward the master cylinder. This can be more effective at removing stubborn air pockets, especially in systems with complex routing.
For choppers with aftermarket master cylinders or custom brake lines, consider flushing the entire system with fresh fluid before bleeding. This removes old, degraded fluid and contaminants, ensuring the new fluid performs optimally. It’s a thorough approach, but one that pays dividends in longevity and performance. And for those who ride in extreme conditions, upgrading to stainless steel braided lines can improve durability and response, making the bleeding process even more critical.
Maintenance: Keeping Your Brakes in Peak Condition
Bleeding is just one part of brake maintenance. To keep your single-disc system performing like a dream, adopt a regular inspection routine. Check brake fluid levels monthly, and top off as needed with fresh fluid. Inspect the caliper and master cylinder for leaks, and examine the brake pads for wear. Replace them before they’re worn down to the metal—riding on bare pads is a recipe for disaster. And don’t forget the rotor; a warped or glazed rotor can reduce braking efficiency, even with a perfectly bled system.
Finally, store your chopper properly. Moisture is the enemy of brake systems, so keep your chopper in a dry environment when not in use. If you’re storing it for an extended period, consider flushing the system and refilling it with fresh fluid to prevent moisture absorption. And always use a cover to protect it from dust and debris. A well-maintained brake system is the difference between a chopper that stops on a dime and one that lurches unpredictably.