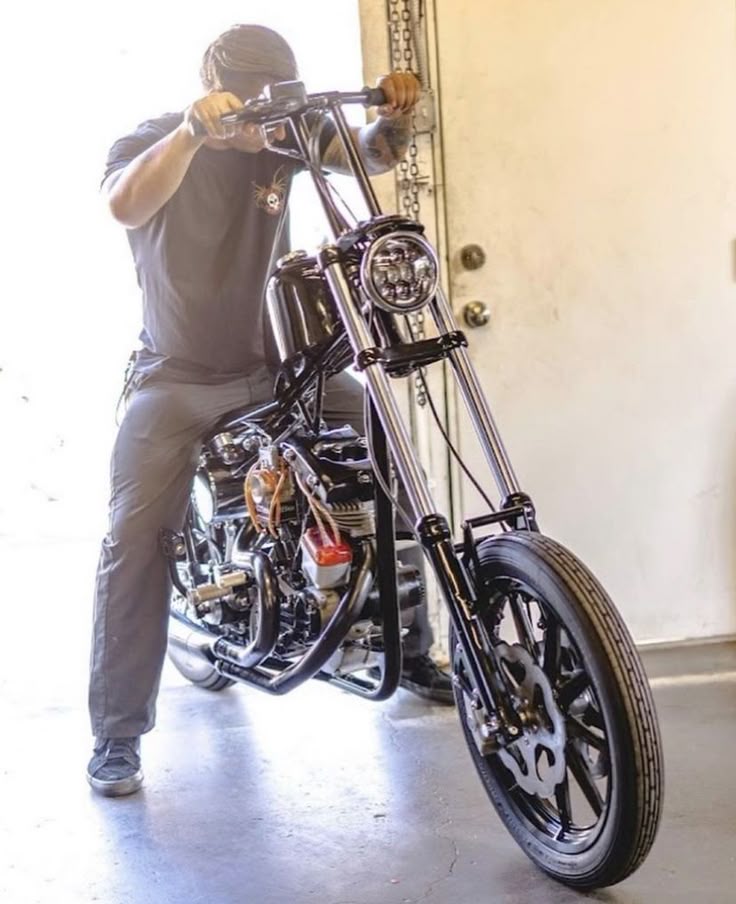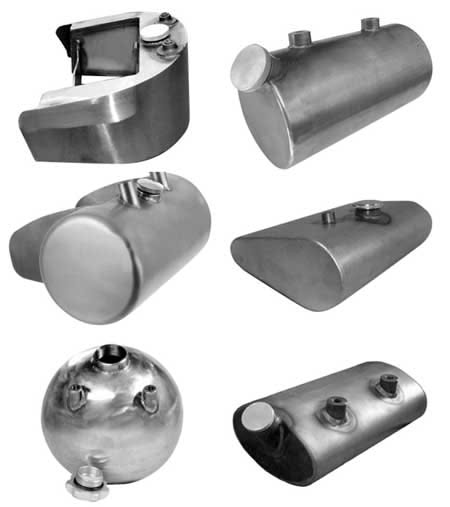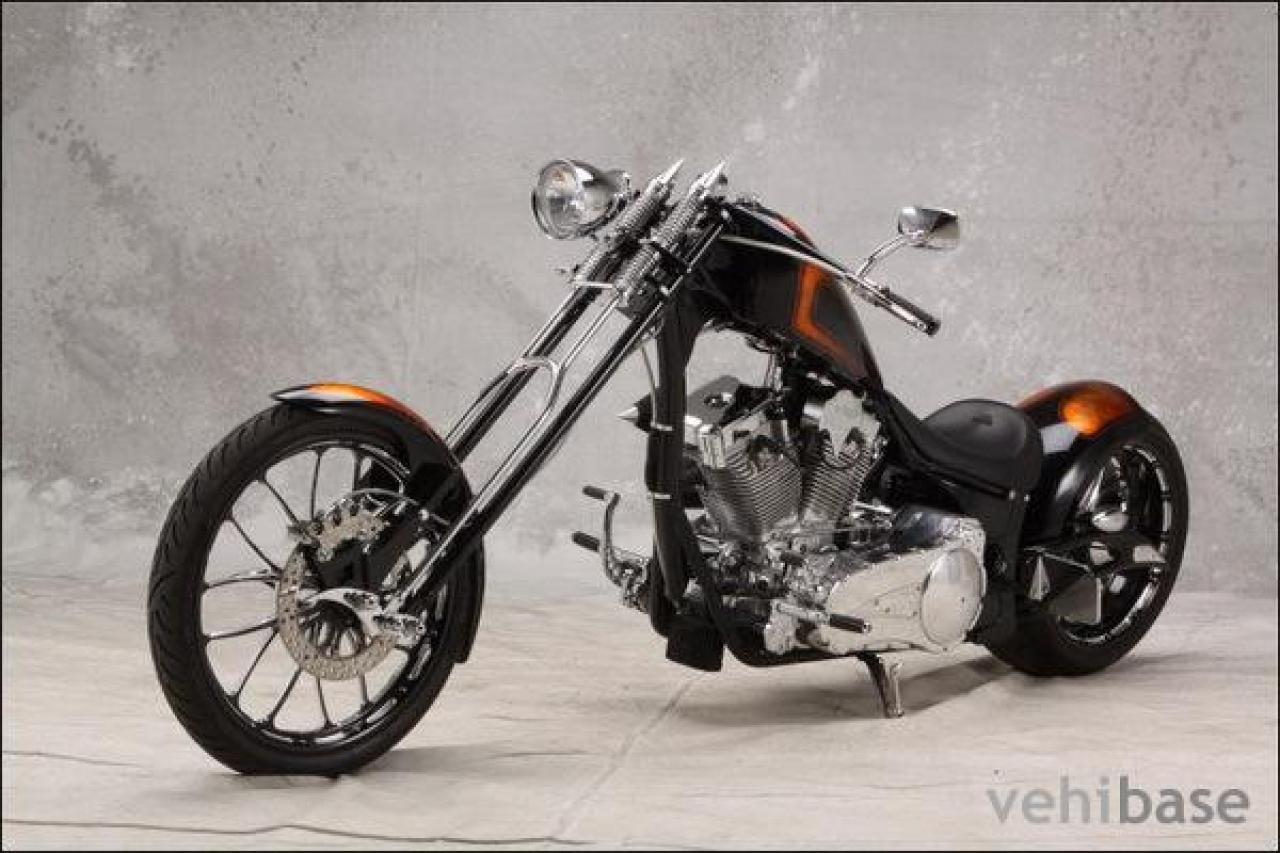
Ever stared at a blank sheet of metal and wondered, “Could this be the birthplace of my next chopper masterpiece?” The answer, my fellow metal whisperer, is a resounding yes—but only if you’re ready to dance with fire, precision, and a healthy dose of stubbornness. Building a custom chopper gas tank from sheet metal isn’t just about welding; it’s about sculpting raw potential into a rolling work of art. So, grab your gloves, fire up the imagination, and let’s dive into the gritty, glorious process of turning flat steel into a chopper’s crowning glory.
The Alchemy of Vision: Sketching Your Dream Tank
Before your torch ever kisses metal, you need a blueprint—or at least a scribble on a napkin that somehow makes sense to you. This isn’t just doodling; it’s the alchemy of turning abstract ideas into tangible form. Start with a rough sketch, focusing on proportions, curves, and the tank’s relationship to the frame. Will it be a sleek teardrop hugging the backbone of your chopper, or a bold, bulging beast that demands attention? Remember, this tank will define your bike’s personality, so dare to dream big. But here’s the catch: how do you translate that dream into a shape that’s both functional and fierce? The answer lies in patience and iteration. Use cardboard or foam mockups to test your design’s ergonomics. Does it feel right when you straddle it? Can you reach the handlebars without contorting like a pretzel? These early tests save you from the heartbreak of realizing your masterpiece is a sitting nightmare.

Material Matters: Choosing Your Metal Muse
Not all metals are created equal, and neither are all chopper builders. Your choice of sheet metal will dictate the tank’s weight, durability, and even its soul. Mild steel is the workhorse of the chopper world—affordable, malleable, and forgiving for beginners. But if you’re chasing lighter horizons, aluminum beckons with its siren song of reduced weight and corrosion resistance. Then there’s stainless steel, the diva of the group: gleaming, strong, and stubborn to work with, but oh-so-worth it for a showstopper. So, which will it be? Will you bow to the practicality of steel, or flirt with the allure of aluminum’s agility? The decision hinges on your bike’s purpose and your willingness to wrestle with the material’s quirks. Pro tip: Opt for 16- or 18-gauge metal for a balance of strength and workability. Thinner sheets scream “delicate,” while thicker ones demand brute force. Choose wisely, for this metal will become the canvas of your chopper’s legacy.
Tools of the Trade: Equipping Your Metal Forge
If you think a hammer and a prayer will suffice, think again. Building a custom gas tank is a symphony of tools, each playing its part in the metal’s transformation. You’ll need a metal brake to coax those sharp bends into existence, a jigsaw or plasma cutter to slice through sheets like a hot knife through butter, and a welding rig that can handle the heat without melting your sanity. Don’t forget the English wheel—that mystical machine that stretches and compresses metal into graceful curves, turning flat sheets into organic forms. And let’s not overlook the humble sandpaper and files, the unsung heroes that smooth rough edges into silken finishes. But here’s the rub: what if your workshop lacks these tools? Fear not. Many fabrication shops rent out their equipment, or you can barter skills with fellow builders. The key is to assemble your arsenal before the metal does—because once you start, there’s no turning back.

The Dance of Precision: Cutting and Bending
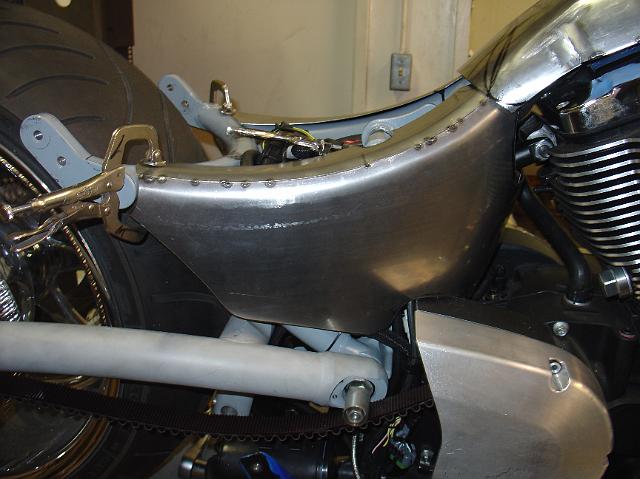
Now comes the moment of truth: transforming flat sheets into a three-dimensional marvel. Start by transferring your design onto the metal, using a scribe or soapstone to mark your cuts. Precision here is paramount—measure twice, cut once, or risk a tank that looks like it survived a tornado. Once your pieces are cut, it’s time to bend. This is where the magic (and frustration) happens. A metal brake will cradle your sheet and fold it at exact angles, but if you’re working without one, improvisation is key. Clamps, blocks, and even a sturdy table edge can serve as your bending accomplice. But beware: what if the metal fights back? Warping, cracking, or refusing to cooperate are common foes. Patience and incremental adjustments are your allies. Heat can also be a game-changer—gently warming the metal with a torch can make it more pliable, but don’t overdo it, or you’ll weaken the structure. The goal? A tank that curves like a dancer’s spine, not a crumpled soda can.
Welding Wonders: Fusing Form and Function
With your pieces bent and shaped, it’s time to weld them into a cohesive whole. This is where your tank transitions from a collection of parts to a cohesive entity. Stick welding (SMAW) is a classic choice for beginners, offering forgiveness and strength, while MIG (GMAW) provides cleaner seams and easier cleanup. TIG (GTAW) is the purist’s pick, delivering surgical precision but demanding a steady hand and deep pockets. Regardless of your method, cleanliness is king. Remove any oil, rust, or debris from the metal before welding, or risk weak joints and unsightly spatter. And here’s a pro tip: what if your welds look like a toddler’s scribbles? Don’t panic. Grinding and sanding can transform rough seams into smooth, seamless lines. Just remember—welding is as much art as it is science. Take your time, and let the metal guide you.
The Final Polish: Sanding, Priming, and Painting
A chopper gas tank isn’t just about structure; it’s about aesthetics. The finish is where your tank goes from “cool” to “can’t-look-away.” Start with coarse-grit sandpaper to remove any rough spots or weld splatter, then graduate to finer grits for a silky smooth surface. Next, apply a self-etching primer to promote adhesion and prevent rust. This step is crucial—skip it, and your paint job might flake off like autumn leaves. Now, the fun part: painting. Whether you opt for a glossy candy apple red, a matte black stealth look, or a wild custom flame job, preparation is everything. Mask off any areas you don’t want painted, and apply thin, even coats to avoid runs or drips. And don’t forget the clear coat—a final layer that seals the deal and adds depth to your color. But here’s the kicker: what if the paint bubbles or peels? Humidity, improper curing, or contaminants are often the culprits. Work in a clean, climate-controlled environment, and follow the paint manufacturer’s instructions to the letter. Your tank’s finish should be as flawless as its form.

Installation and Beyond: Bringing Your Tank to Life
With your tank sanded, primed, and painted to perfection, it’s time to mount it onto your chopper. This step is where theory meets reality, and suddenly, you’re asking, “Does this actually fit?” Take your time aligning the tank with the frame, using shims or spacers if needed. Secure it with bolts or brackets, ensuring it’s snug but not suffocating. Test the fit with your seat and handlebars—there’s nothing worse than realizing your tank blocks your ride’s ergonomics. Once installed, give it a final once-over. Check for any loose bolts, uneven seams, or paint imperfections. And don’t forget the fuel line routing! A well-designed tank should make this process seamless, but if it doesn’t, now’s the time to tweak. Your chopper is now a rolling testament to your skill, and your custom gas tank is its beating heart.