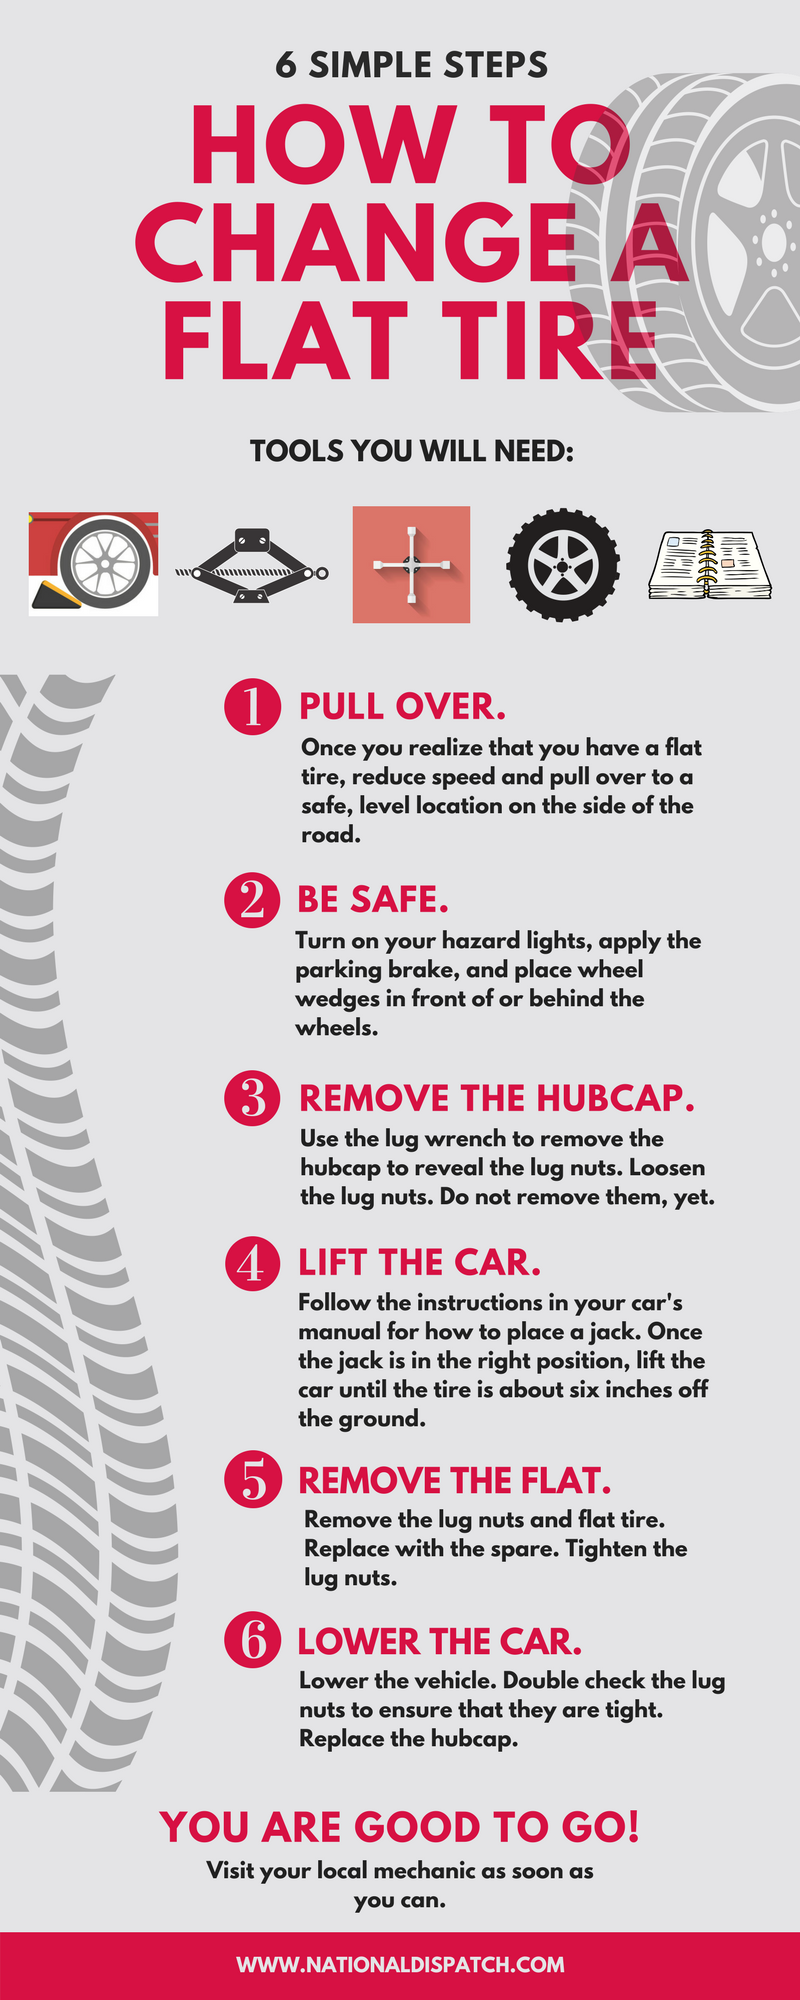
Ever found yourself cruising down an open road on your chopper, the wind in your hair and the sun on your face, only to hear that dreaded thump-thump of a flat tire? There you are, miles from the nearest garage, your bike leaning precariously to one side like a tipsy pirate on shore leave. Changing a flat tire on a chopper isn’t just a mechanical task—it’s a rite of passage for the modern road warrior. So, what do you do when your two-wheeled steed betrays you with a sudden loss of air? Fear not, intrepid rider. With the right tools, a dash of patience, and a healthy dose of mechanical intuition, you’ll be back on the asphalt in no time.
The Art of the Pit Stop: Why Choppers Demand a Different Approach
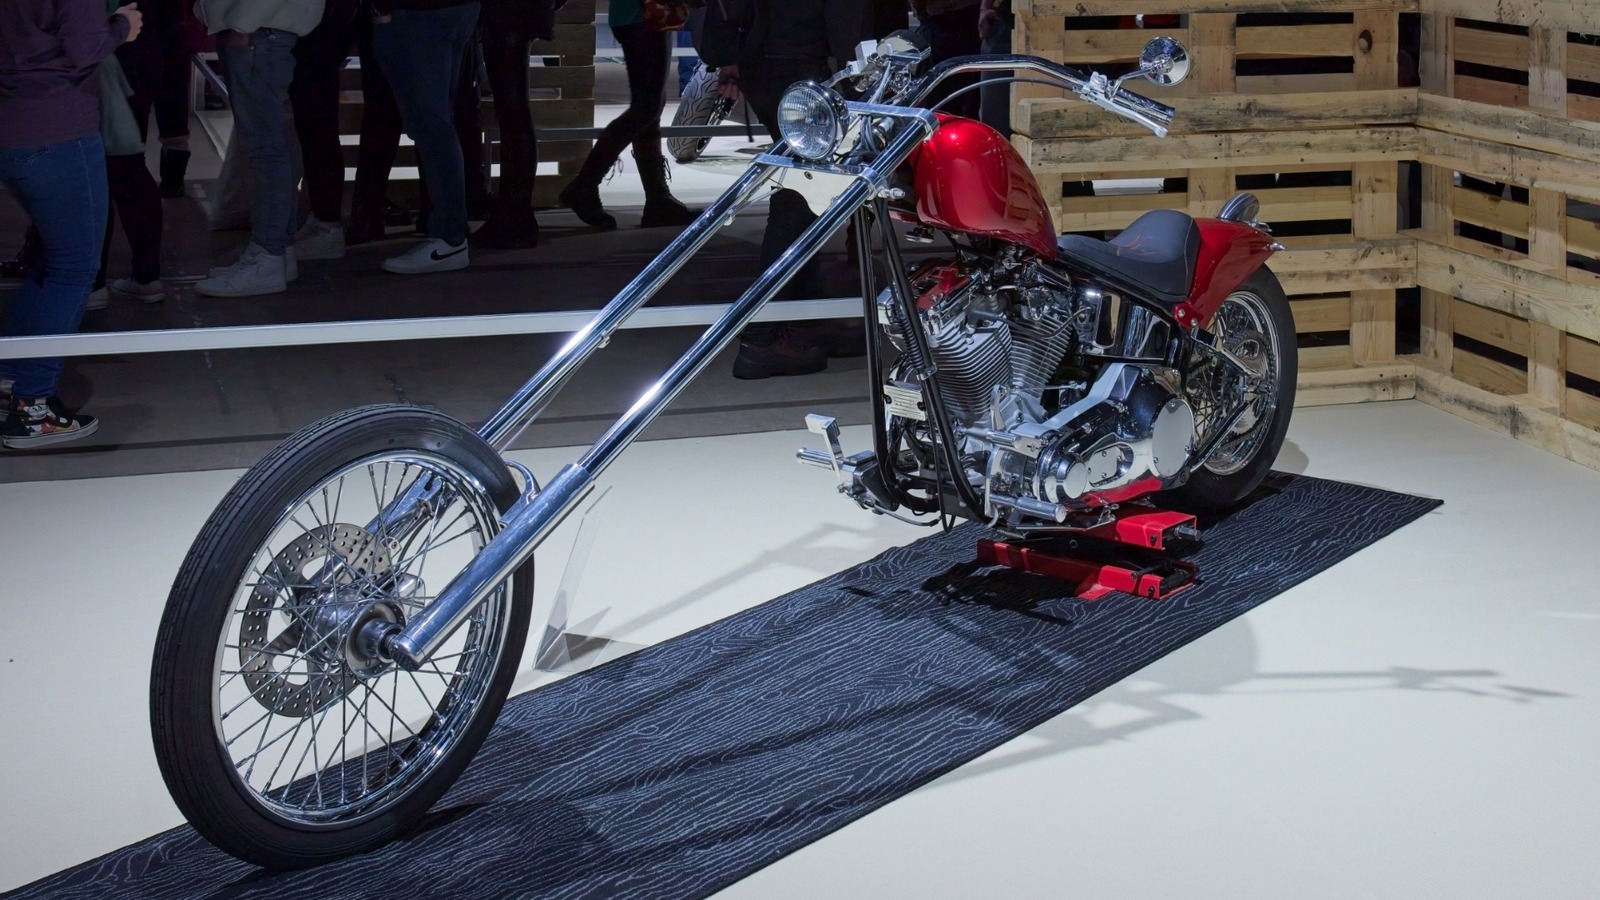
Choppers aren’t your average cruisers. With their elongated frames, custom suspension setups, and often heavier builds, they demand a more nuanced approach to tire changes. Unlike a standard motorcycle, where a quick jack and tire iron might suffice, choppers require finesse. The center of gravity shifts dramatically when the bike is off its wheels, and improper handling can turn a simple fix into a full-blown wrestling match with physics. Before you even think about lifting your chopper, ask yourself: Is my bike’s weight distribution working for or against me? If the answer isn’t immediately clear, you might want to reconsider your jacking strategy.
Another quirk of choppers is their often-customized wheels. Wide, low-profile tires and aftermarket rims can make the process trickier than a game of Twister. You’ll need to account for the extra width and potential clearance issues when wrestling the tire off the rim. And let’s not forget the emotional attachment—your chopper isn’t just a machine; it’s a rolling work of art. The thought of marring its pristine chrome or scuffing its custom paint might make your stomach churn faster than a blender full of gravel.
Gear Up: The Essential Arsenal for a Roadside Rescue
You wouldn’t go into battle without armor, and you shouldn’t tackle a flat tire without the right gear. First, equip yourself with a heavy-duty hydraulic jack—your standard scissor jack won’t cut it here. Look for one rated for at least 1.5 times your bike’s weight. A sturdy tire iron or a set of breaker bars will be your best friends when prying the tire off the rim. Don’t forget a tire lever kit, preferably one designed for wide tires, to avoid bending your rims into modern art.
Tire plugs or a portable air compressor are non-negotiable. If you’re using plugs, a reamer tool and insertion tool will save you from a world of frustration. A rag or shop towel is essential for wiping away grime and keeping your hands (relatively) clean. And because choppers love to surprise you, a spare tube or tubeless tire repair kit should always ride shotgun. Pro tip: Pack a small bottle of soapy water in your kit. It’s the secret weapon for detecting air leaks when you’re inflating the tire.
Lastly, never underestimate the power of a pair of sturdy gloves. Your hands will thank you after wrestling with a stubborn tire bead in the sweltering sun. And if you’re riding solo, a portable phone charger could be a lifesaver if you need to call for backup—or just to livestream your heroic repair efforts.
Jacking the Beast: Lifting Your Chopper Without a Catastrophe
Here’s where things get dicey. Jacking a chopper isn’t like lifting a standard bike—it’s more akin to defusing a bomb, if the bomb were a 700-pound metal beast with a penchant for toppling over. The key is to distribute the weight evenly and secure the bike before you even think about touching the jack. Start by finding a flat, stable surface. If you’re on a slope, your chopper might decide to take an unscheduled joyride downhill.
Position your jack under the frame’s sturdiest point—usually the swingarm pivot or a reinforced section of the downtube. Avoid the engine or exhaust pipes; they’re hot, fragile, or both. Slowly pump the jack until the tire is just off the ground. Now, here’s the critical step: chock the front wheel. A couple of rocks, a sturdy stick, or even your spare helmet will do. This prevents the bike from rolling forward when you’re not looking. If your chopper has a sidecar, congratulations—you’ve just added another layer of complexity to the equation.
Once the bike is stable, double-check your work. Give the chopper a gentle shove. If it wobbles like a newborn foal, you’ve got more securing to do. Only then should you proceed to the tire. And remember: Patience is a virtue, but panic is a flat-tire’s best friend.
The Bead Breaking Battle: When the Tire Clings Like a Stage Five Clinger
Now comes the moment of truth: breaking the tire bead. This is where your tire iron becomes your sword, and the tire bead is the dragon guarding the treasure. For choppers, the bead is often tighter due to wider tires and stiffer sidewalls. If you’re lucky, a few solid whacks with your tire iron will do the trick. If not, you might find yourself in a bead-breaking standoff that could rival the tension in a soap opera.
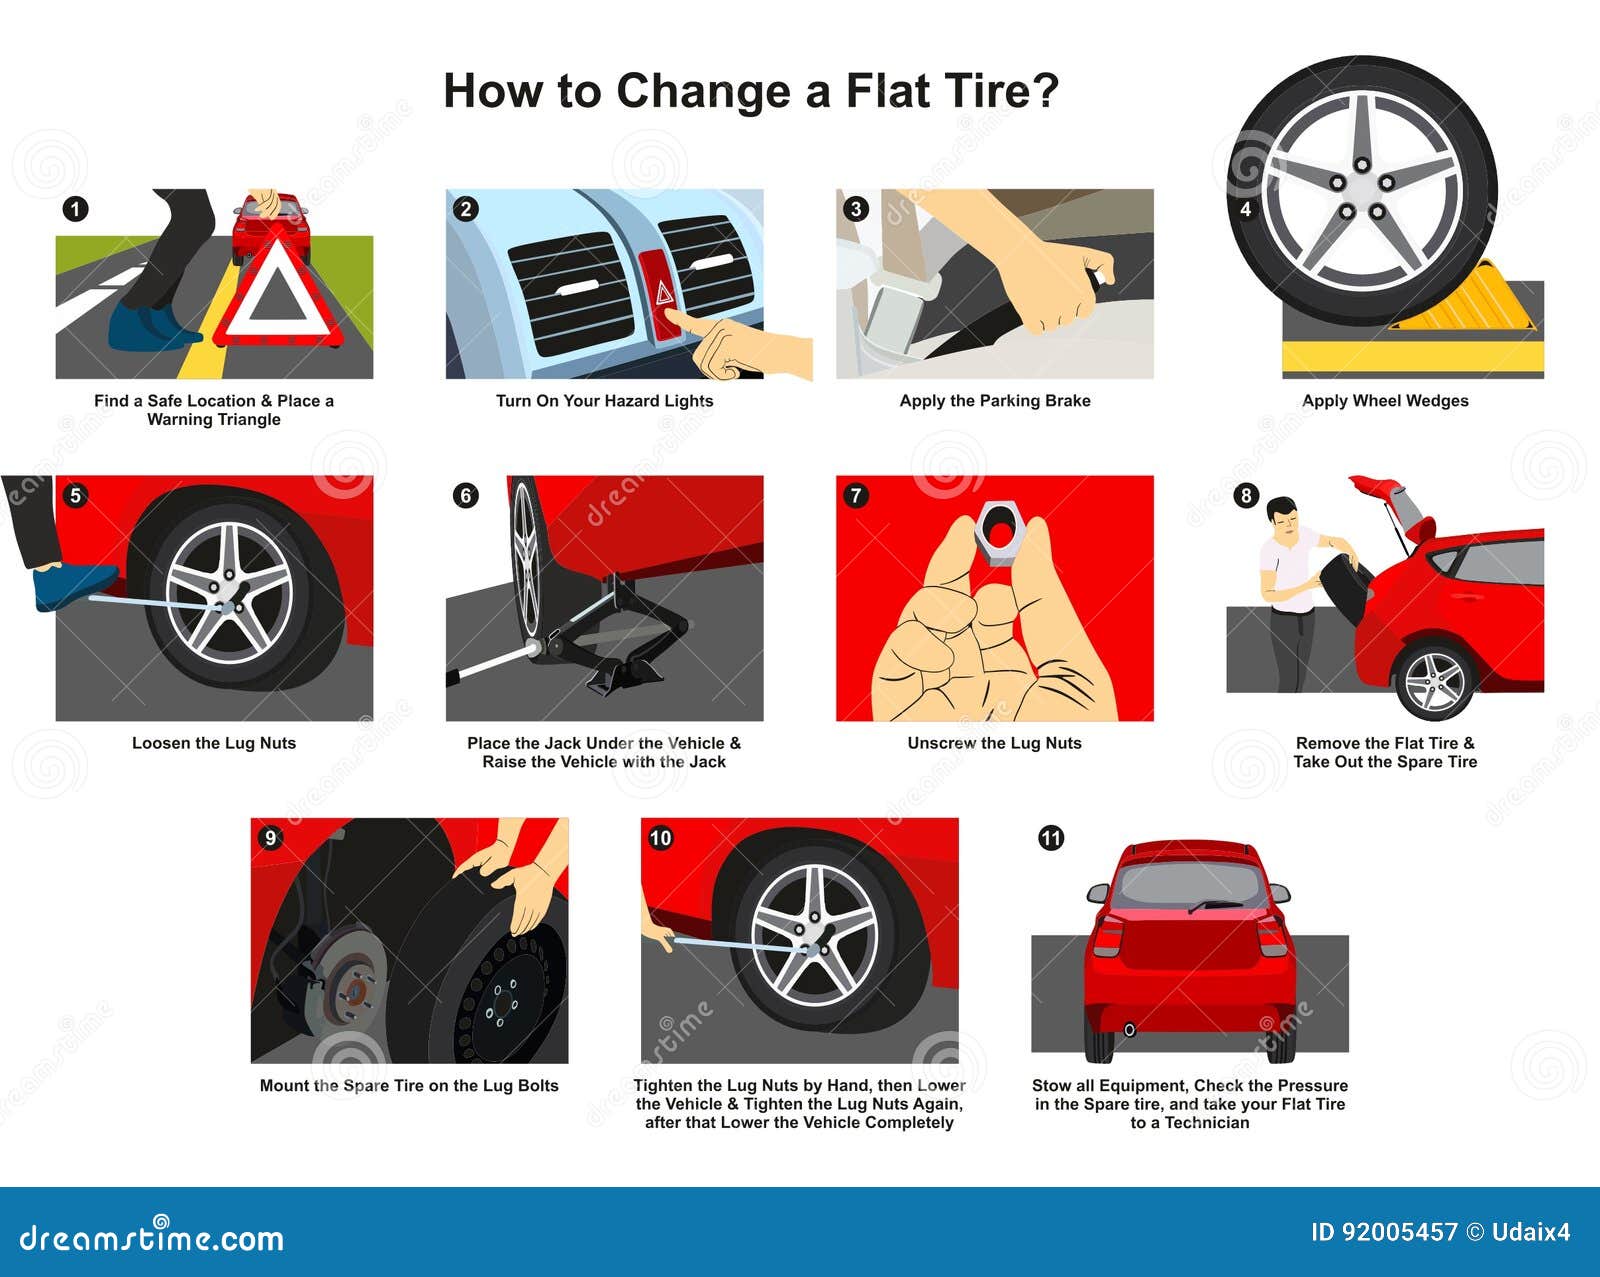
Start by deflating the tire completely. Use your valve core tool or a small screwdriver to let out the last bits of air. Then, wedge your tire iron between the rim and the bead, about 6 inches from the valve stem. Pry down firmly, working your way around the tire. The goal is to create a gap between the bead and the rim. If the tire is stubborn, try lubricating the bead with soapy water or even a bit of motor oil. Avoid using excessive force—you’re not trying to launch the tire iron into the next county.
If brute force isn’t working, switch to finesse. Some riders swear by heat—a heat gun or even a hairdryer can make the rubber more pliable. Others use a ratchet strap to cinch the tire and force the bead to pop. Whatever method you choose, remember: This isn’t a race. It’s a test of wills between you and a hunk of rubber.
Plugging the Wound: Repairing the Flat Without a Trip to the ER
Once the tire is off the rim, inspect the damage. Is it a puncture from a rogue nail, or did you just graze a curb like a bull in a china shop? For small punctures, a tire plug kit is your best bet. Thread the plug through the eye of the insertion tool, coat it in rubber cement, and jam it into the hole. Pull it through until the plug is halfway in, then yank it back so the ends are even on both sides. Trim the excess with a razor blade, and you’re back in business.
If the damage is larger than a quarter-inch, or if the sidewall is compromised, it’s time to call in the cavalry. A spare tube or a new tire might be in order. For tubeless tires, a patch kit can work wonders, but it requires removing the tire entirely—a task best left for when you’re back in civilization.
Before you reinstall the tire, take a moment to clean the rim and the inside of the tire. Dirt and debris are the enemies of a proper seal. If you’re using a tube, make sure it’s properly seated and free of twists. Then, it’s time to wrestle the beast back onto the rim.
The Grand Finale: Reassembly and the Triumphant Ride Home
Reinstalling the tire is the inverse of removal, but with twice the frustration. Start by aligning the tire with the rim, then use your tire levers to work the bead over the edge. This is where your soapy water comes in handy—it reduces friction and makes the process less of a Herculean labor. Work in small sections, alternating sides to keep the bead even. If you’re using a tube, inflate it slightly first to help seat the tire properly.

Once the tire is back on the rim, inflate it to about 20 PSI. Check for any bulges or uneven seating. If everything looks good, top it off to the recommended pressure. Now, the moment of truth: lower the chopper back to the ground. Remove the chocks, release the jack, and give your bike a once-over. Listen for any unusual noises, and check the tire’s alignment. If it’s wobbling like a drunk uncle at a wedding, you might need to readjust.
Finally, take your chopper for a short test ride. Start slow, then gradually increase speed. If the bike handles smoothly, congratulations—you’ve just conquered the roadside flat tire gauntlet. If not, well, at least you gave it your best shot. Either way, you’re now a certified chopper tire-changing samurai.