There’s nothing quite like the throaty growl of a chopper’s engine echoing through the open road—until that sound is drowned out by sputtering, backfires, or an engine that just won’t fire up. The culprit? More often than not, it’s a clogged carburetor jet, a tiny but mighty component that can bring even the mightiest of engines to its knees. Whether you’re a seasoned mechanic or a weekend rider with a wrench in hand, understanding how to clean a clogged carburetor jet on a chopper is a skill that will save you time, money, and countless headaches. This guide dives deep into the art and science of carburetor maintenance, offering step-by-step insights, troubleshooting tips, and preventative measures to keep your chopper purring like a kitten—or roaring like a beast, depending on your mood.
The Anatomy of a Clogged Jet: Why Your Chopper’s Engine is Coughing
A carburetor jet may seem like a minuscule orifice, but it’s the lifeline of your chopper’s fuel delivery system. Over time, varnish from old fuel, dirt, and debris accumulate within these narrow passages, restricting the flow of gasoline and disrupting the delicate air-fuel ratio. The result? A chopper that stumbles at idle, hesitates under acceleration, or refuses to start altogether. But not all clogs are created equal. Some jets suffer from a slow, insidious buildup, while others may become completely occluded overnight due to contaminated fuel or a failing fuel filter. Recognizing the symptoms early—such as erratic idling, black smoke from the exhaust, or a noticeable loss of power—can mean the difference between a quick fix and a full-blown engine teardown.

Tools of the Trade: Gear Up for the Battle Against Gunk
Before you dive into the guts of your chopper’s carburetor, arm yourself with the right tools. A basic carburetor cleaning kit should include:
- Compressed air with a nozzle attachment – For blasting out stubborn debris without damaging delicate passages.
- Carburetor cleaner (spray or dip) – Opt for a high-quality, non-chlorinated solvent designed to dissolve varnish and gum without corroding metal.
- Small brass wire brushes or pipe cleaners – Ideal for scraping away grime in hard-to-reach areas.
- Needle-nose pliers and a set of screwdrivers – Precision tools to remove jets without stripping screws.
- Magnifying glass – A mechanic’s best friend for inspecting tiny orifices.
- Replacement gaskets and O-rings – Always have spares on hand; old gaskets can crumble when disturbed.
Pro tip: Avoid using wire or metal tools to poke jets, as they can scratch the precision-machined surfaces, leading to fuel leaks or improper flow. Instead, rely on solvents and gentle agitation to do the heavy lifting.

Step-by-Step: The Ritual of Jet Extraction and Purification
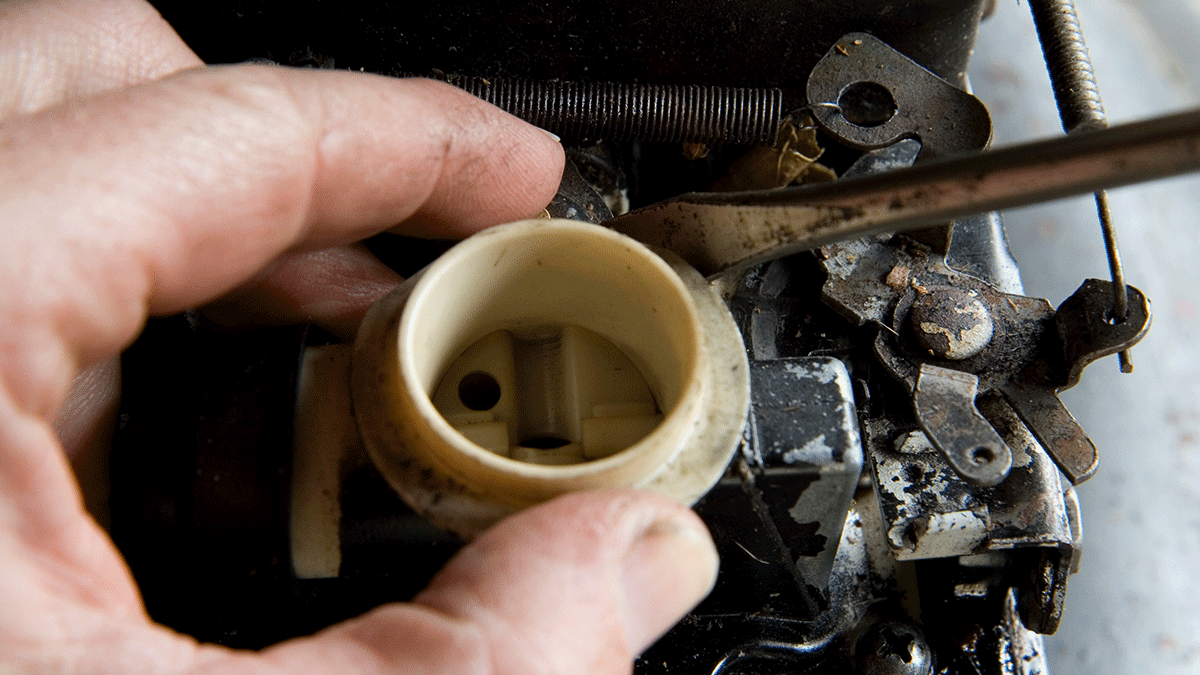
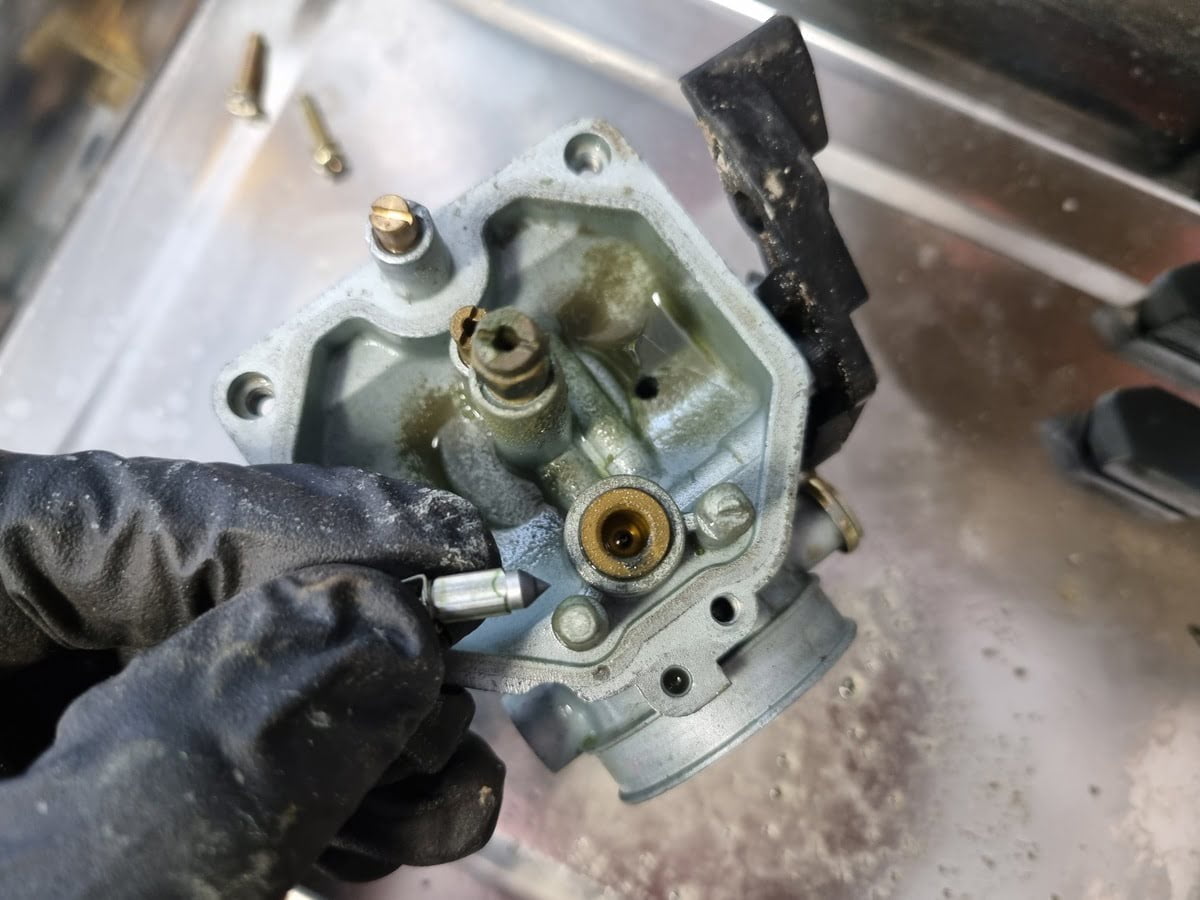
Cleaning a clogged carburetor jet is less a battle and more a meditative ritual—one that demands patience, precision, and a touch of finesse. Begin by draining the fuel tank and disconnecting the fuel line to prevent spills. Next, remove the carburetor from the chopper, taking care to label and organize screws and linkages to avoid confusion during reassembly. Once the carb is off, disassemble it carefully, paying close attention to the jets, which are often located in the float bowl or emulsion tube. Use a magnifying glass to inspect each jet for signs of clogging, noting the direction of fuel flow to ensure proper reinstallation.
For jets with stubborn deposits, soak them in carburetor cleaner for at least 30 minutes. If the clog is particularly tenacious, a dip in an ultrasonic cleaner can work wonders, though this requires access to specialized equipment. After soaking, use compressed air to blow through the jet in the reverse direction of fuel flow, ensuring the passage is clear. If air doesn’t dislodge the debris, a gentle scrub with a pipe cleaner or brass brush may be necessary. Rinse the jets thoroughly with clean solvent and dry them completely before reassembly.
Reassembly and Tuning: Bringing Your Chopper Back to Life
With clean jets reinstalled, the moment of truth arrives: will your chopper roar back to life? Reassemble the carburetor with fresh gaskets and O-rings, ensuring all screws are tightened evenly to prevent air leaks. Reconnect the fuel line and prime the carburetor if necessary (some models require a few pumps of the throttle to draw fuel into the bowl). Start the engine and listen closely—if it purrs smoothly, you’ve triumphed. If not, don’t despair; carburetor tuning is an art. Adjust the idle mixture screw incrementally, testing the engine’s response after each turn. A chopper that idles too high or stalls may need a slight tweak to the idle speed screw as well.
For those with a performance-oriented chopper, consider upgrading to larger jets if you’ve modified the engine for more power. However, be cautious—improper jet sizing can lead to a lean condition, causing overheating or engine damage. When in doubt, consult your chopper’s manual or a trusted mechanic to ensure the right balance between air and fuel.
Preventative Maintenance: Keep the Gunk at Bay
An ounce of prevention is worth a pound of cure, and nowhere is this truer than in the world of carburetor maintenance. To keep your chopper’s jets flowing freely, adopt a few simple habits:
- Use fresh fuel – Old gasoline is the primary culprit behind varnish buildup. Add a fuel stabilizer if you plan to store your chopper for extended periods.
- Replace the fuel filter regularly – A clogged filter starves the carburetor of fuel, accelerating the accumulation of debris.
- Run the engine dry before storage – This prevents fuel from sitting in the carburetor and gumming up the jets.
- Inspect the carburetor annually – Even if your chopper runs fine, a quick teardown and cleaning can catch minor issues before they escalate.
For chopper enthusiasts who ride frequently, consider installing an inline fuel filter or a carburetor heat shield to reduce the risk of overheating and fuel evaporation. Additionally, using a high-quality fuel additive designed for carbureted engines can help keep internal components clean and lubricated.
Troubleshooting: When Cleaning Isn’t Enough
Sometimes, a clogged jet is just the tip of the iceberg. If your chopper still struggles after cleaning, inspect the fuel lines for cracks or kinks, and check the fuel pump (if equipped) for proper operation. A weak spark or faulty ignition system can also mimic carburetor issues, so verify the spark plug and ignition timing. In rare cases, the carburetor itself may be damaged or worn beyond repair, necessitating a replacement. If you’re unsure, a professional carburetor rebuild service can diagnose and restore your chopper’s performance to factory specs.
Remember, patience is key. Rushing the process or forcing components can lead to costly mistakes. Take your time, document each step, and don’t hesitate to seek help if you hit a snag. The reward—a chopper that starts on the first kick, idles smoothly, and delivers exhilarating performance—is well worth the effort.