Ever stared at your chopper’s brake lever, willing it to magically align with the caliper’s sweet spot? If your brake cable feels like it’s plotting against you—either too taut or floppier than a noodle in hot water—then measuring for a custom chopper brake cable isn’t just a task; it’s a mission of precision. Because let’s face it: a poorly fitted cable doesn’t just hinder performance; it turns every stop into a gamble between glory and catastrophe. So, grab your measuring tape and a dash of patience—we’re about to turn your brake cable chaos into a symphony of smooth deceleration.
The Art of the Measure: Why Your Brake Cable’s Length Matters More Than You Think
Imagine this: you’re cruising down an open road, wind in your hair, engine purring like a contented lion. Then—BAM!—you hit the brakes. But instead of a crisp, confident halt, your lever bottoms out before the pads even kiss the rotor. Or worse, it’s so slack that your stopping power evaporates like a mirage. The culprit? A brake cable that’s either too long or too short. Length isn’t just a number; it’s the difference between a ride that feels like flying and one that feels like dragging an anchor. A custom chopper brake cable ensures the lever’s travel is just right—no wasted motion, no spongy resistance, just pure, unadulterated stopping authority.
But here’s the twist: measuring isn’t as simple as stretching a tape from lever to caliper. Bikes are devious little creatures. The cable doesn’t run in a straight line; it snakes around handlebars, under tanks, and through frame grommets. Ignore those twists, and you’ll end up with a cable that’s either too tight when you turn the bars or too loose when you’re straight as an arrow. The key? Measure the *effective* length—the distance the inner cable must travel, accounting for every bend and kink in its path.
Gear Up: Tools You’ll Need to Tame the Cable Beast
Before you dive into the fray, arm yourself with the right tools. A flexible measuring tape is your best friend—rigid rulers won’t bend around those pesky frame tubes. A pair of calipers can help you measure the outer diameter of your existing cable housing if you’re swapping it out. Don’t forget a marker or painter’s tape to mark your measurements; nothing’s more frustrating than losing track of where you started. And if you’re feeling fancy, a cable routing diagram (or a quick sketch of your bike’s frame) can save you from the classic “oops, I forgot about that one bolt” moment.
Pro tip: If your chopper’s got a custom frame or aftermarket handlebars, double-check the routing paths. Some setups use idler pulleys or under-seat levers, which add complexity to the cable’s journey. Measure twice, cut once—or in this case, measure twice, order once. Because nobody wants to wait two weeks for a replacement cable because they eyeballed it.
Step-by-Step: Measuring Your Chopper’s Brake Cable Like a Pro
Ready to tackle the beast? Let’s break it down into digestible chunks. First, remove the old cable if it’s still in place. This isn’t just about measuring—it’s about inspecting. Look for frayed strands, rust, or any signs of wear that might’ve contributed to your braking woes. If the cable’s seen better days, it’s time for an upgrade anyway.
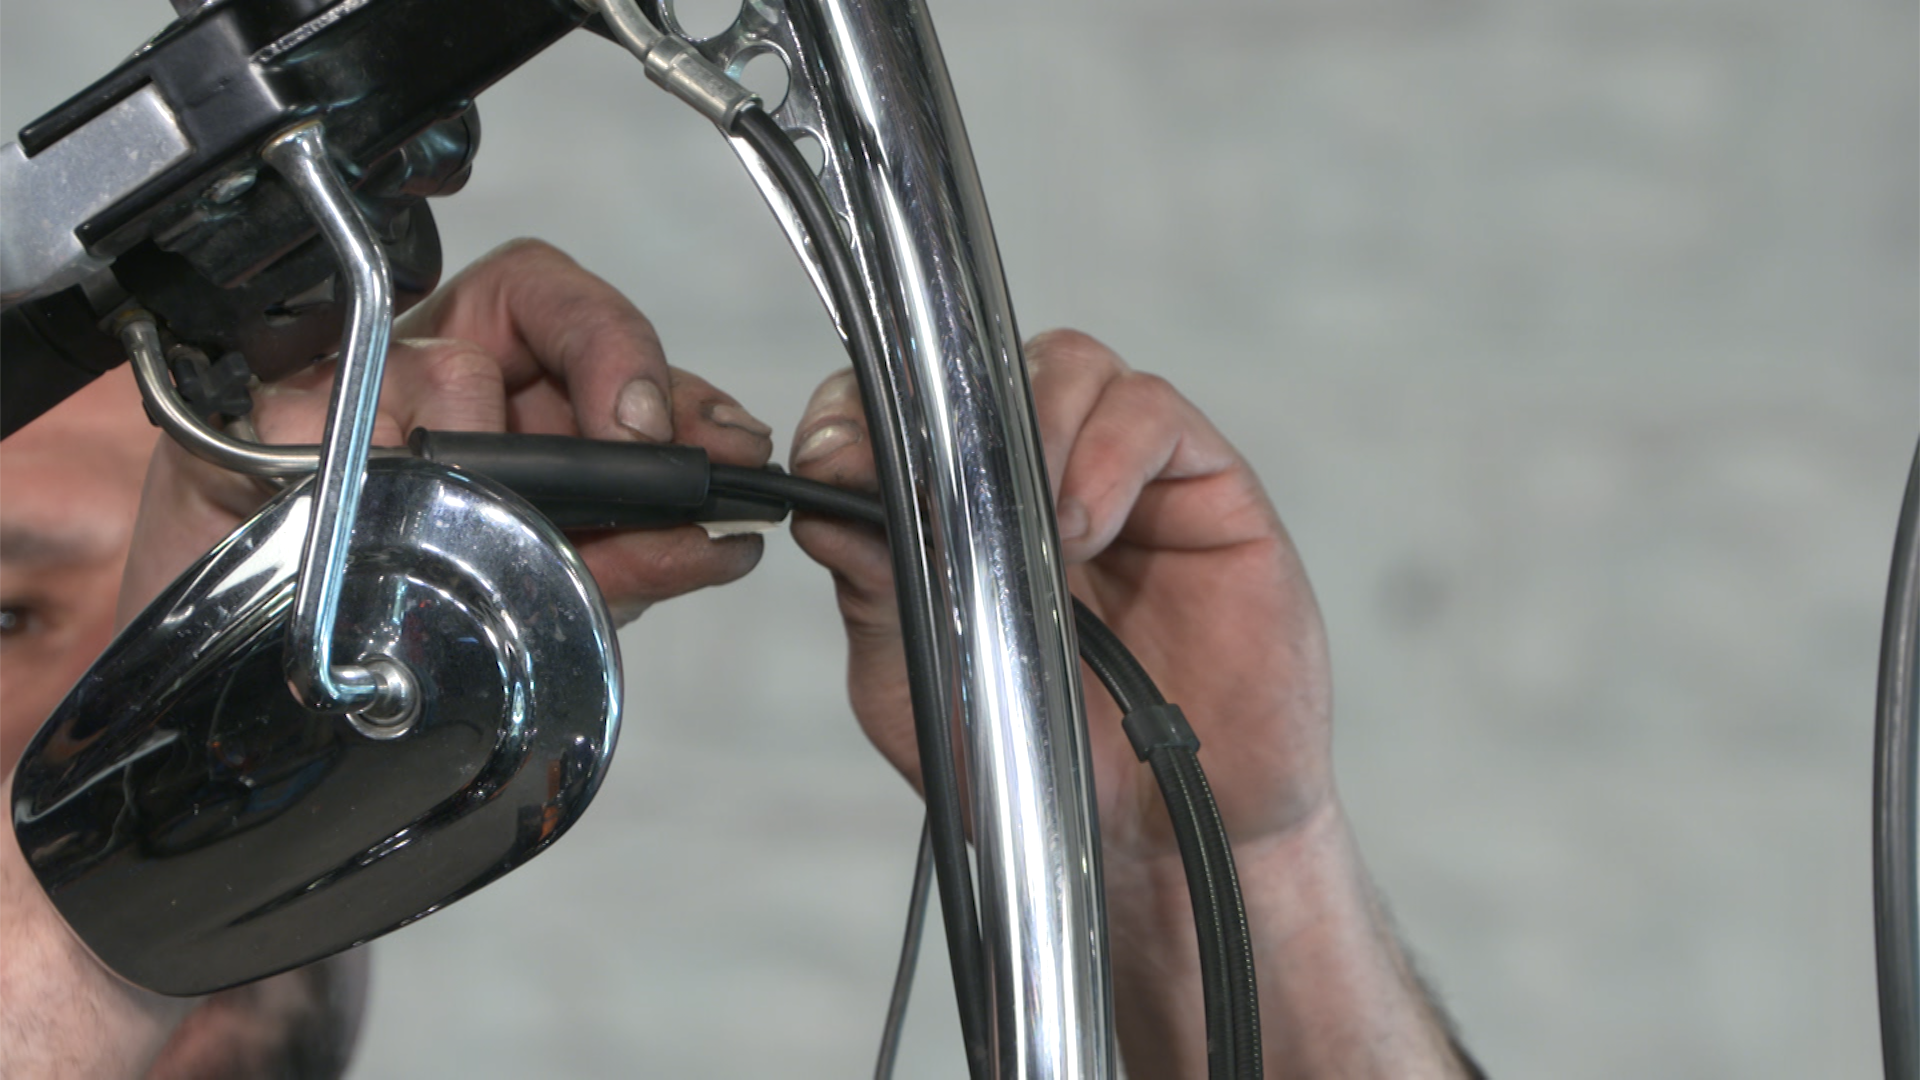
Now, the fun part: measuring. Start at the brake lever’s pivot point. This is where the magic begins. Extend the measuring tape to the caliper’s mounting bolt. But here’s the catch—don’t measure in a straight line. Follow the cable’s natural path, hugging the frame and handlebars as it would in real life. If your chopper’s got a curved handlebar, let the tape bend with it. If the cable dives under the tank, measure that detour too. The goal is to replicate the cable’s journey as closely as possible.
Once you’ve got your raw measurement, add a little extra—about 1 to 2 inches—for adjustments and future-proofing. Cables stretch over time, and you don’t want to be caught short when your lever starts feeling mushy after a few thousand miles. If you’re using compression fittings or swaged ends, subtract a bit to account for the fitting’s thickness. Precision here saves you from the heartbreak of a cable that’s just shy of perfect.
Common Pitfalls: When Your Measurements Go Off the Rails
Even the most meticulous among us can stumble. One of the biggest mistakes? Forgetting to account for the cable’s housing. The inner cable’s length isn’t the same as the outer housing’s. If you’re replacing both, measure the housing separately, ensuring it’s long enough to cover the entire route without pulling taut at any point. Another trap? Ignoring the lever’s throw. Some levers have adjustable reach, and if you’re swapping in a new cable, you might need to tweak the lever’s position to maintain the same feel.
And then there’s the dreaded “kink factor.” If your cable housing has to make a sharp 90-degree turn, the inner cable can bind, leading to sticky brakes or uneven wear. In these cases, consider using a spiral-wound housing or a pre-bent cable kit designed for tight turns. Your brakes will thank you with silky-smooth operation.
Custom vs. Off-the-Shelf: When to Go Rogue with Your Cable
Off-the-shelf cables are convenient, but they’re designed for the masses—not your custom chopper. If your bike’s frame is a work of art with curves that defy convention, or if you’ve got a one-of-a-kind handlebar setup, a custom cable is your only option. The beauty of custom cables is that they’re tailored to your bike’s quirks. No compromises. No “close enough.” Just a cable that fits like a glove.
But custom cables come with a caveat: lead time. If you’re in a hurry, off-the-shelf might be your only choice. Just be prepared to do some creative routing or accept a cable that’s a smidge too long. And if you’re ordering custom, double-check the manufacturer’s specs. Some companies offer different housing materials (like stainless steel or Teflon-lined), which can affect durability and performance.
Final Touches: Installing Your New Cable with Finesse
You’ve measured. You’ve ordered. Now it’s time to bring your new cable to life. Start by threading the inner cable through the housing, following the same path you measured earlier. If your chopper uses a compression fitting, make sure it’s snug but not overtightened—you don’t want to crush the housing. At the caliper end, secure the cable with the pinch bolt, ensuring there’s no slack when the lever is at rest. Then, adjust the lever’s reach so that you’ve got about 1 to 2 inches of free play before the pads engage. Too much, and you’re wasting travel; too little, and you’re risking a locked-up wheel.
Test your work. Squeeze the lever. Does it feel crisp? Does the bike stop on a dime? If not, don’t panic. Small tweaks to the cable tension or lever position can make all the difference. And remember: brakes are a safety-critical component. If something feels off, take the time to dial it in properly. Your life—and the lives of others on the road—depends on it.
Beyond the Cable: Maintaining Your Braking System for the Long Haul
Your new custom cable is installed, and your brakes are singing like a choir of angels. But the journey doesn’t end here. To keep your braking system in peak condition, inspect the cable regularly for fraying or corrosion. Lubricate the inner cable every few months with a dry lubricant to prevent rust and ensure smooth operation. And if you notice any stiffness or resistance, don’t ignore it—address it before it becomes a problem.
Think of your brake cable as a living, breathing part of your chopper. It works hard, it endures heat and grime, and it deserves your attention. Treat it well, and it’ll reward you with reliable, fade-free stops for years to come.