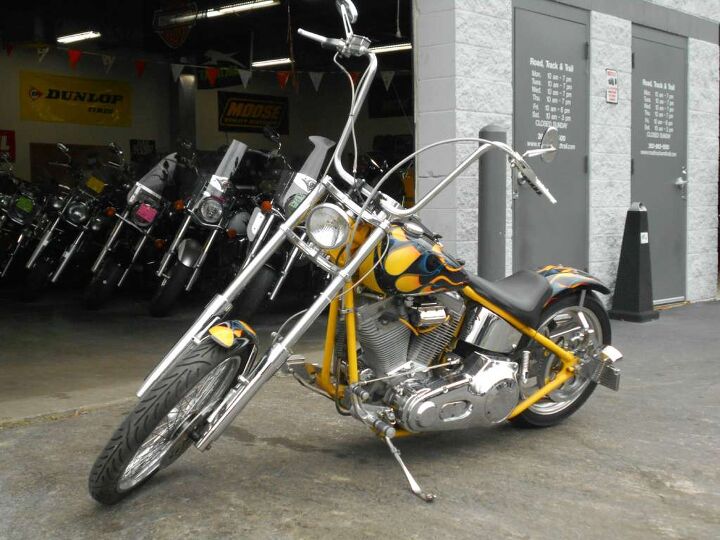
Ever stared at your chopper’s wheel bearing, grease gun in hand, and wondered, “Why does this feel like assembling a Swiss watch… blindfolded?” You’re not alone. Packing a chopper wheel bearing isn’t just maintenance—it’s an art form. One wrong move, and you’re not just dealing with a squeaky wheel; you’re inviting premature wear, overheating, and the kind of mechanical drama that turns a smooth ride into a bumpy nightmare. But fear not, fellow gearhead. With the right tools, a dash of patience, and a healthy dose of mechanical intuition, you can transform this daunting task into a triumph of precision. Let’s dive in.
The Anatomy of a Chopper Wheel Bearing: More Than Just Metal and Grease
A chopper’s wheel bearing is the unsung hero of your ride, the silent sentinel that keeps your wheels spinning true. But what exactly are you dealing with? At its core, a wheel bearing is a set of precision-engineered steel balls or rollers nestled within a ring of hardened steel, all bathed in a protective cocoon of grease. This isn’t your average hardware-store grease, mind you. We’re talking about high-temperature, high-pressure lubricants designed to withstand the relentless pounding of the open road.
The bearing’s inner and outer races—the circular tracks that guide the rollers or balls—must remain immaculately clean and properly lubricated. Any intrusion of dirt, moisture, or debris is like inviting a saboteur into your mechanical kingdom. The grease isn’t just a lubricant; it’s a barrier, a shield against the elements, and a thermal conductor that dissipates the heat generated by friction. Skimp on the grease, and you’re essentially asking your bearing to perform a high-wire act without a net.
Gathering Your Arsenal: Tools That Make or Break the Mission
Before you even think about touching that bearing, assemble your toolkit like a general preparing for war. You’ll need:
- A high-quality grease gun—preferably one with a flexible hose and a trigger that doesn’t require the strength of Hercules to operate.
- A bearing packer or a bearing buddy—these nifty devices ensure the grease penetrates every nook and cranny of the bearing, leaving no void unfilled.
- A socket set and wrenches—because sometimes, the bearing isn’t going anywhere without a little persuasion.
- A clean rag or shop towels—grease is slippery, and you’re not here to create a modern art installation on your garage floor.
- A brake cleaner or degreaser—to banish any lingering grime or old grease from the bearing and its housing.
- A pair of nitrile gloves—because nobody wants to spend the evening scrubbing grease out of their cuticles.
Pro tip: If you’re working on a live axle setup, a bearing puller might also be in order. And if you’re feeling particularly old-school, a hammer and a brass drift can work in a pinch—just don’t get carried away.
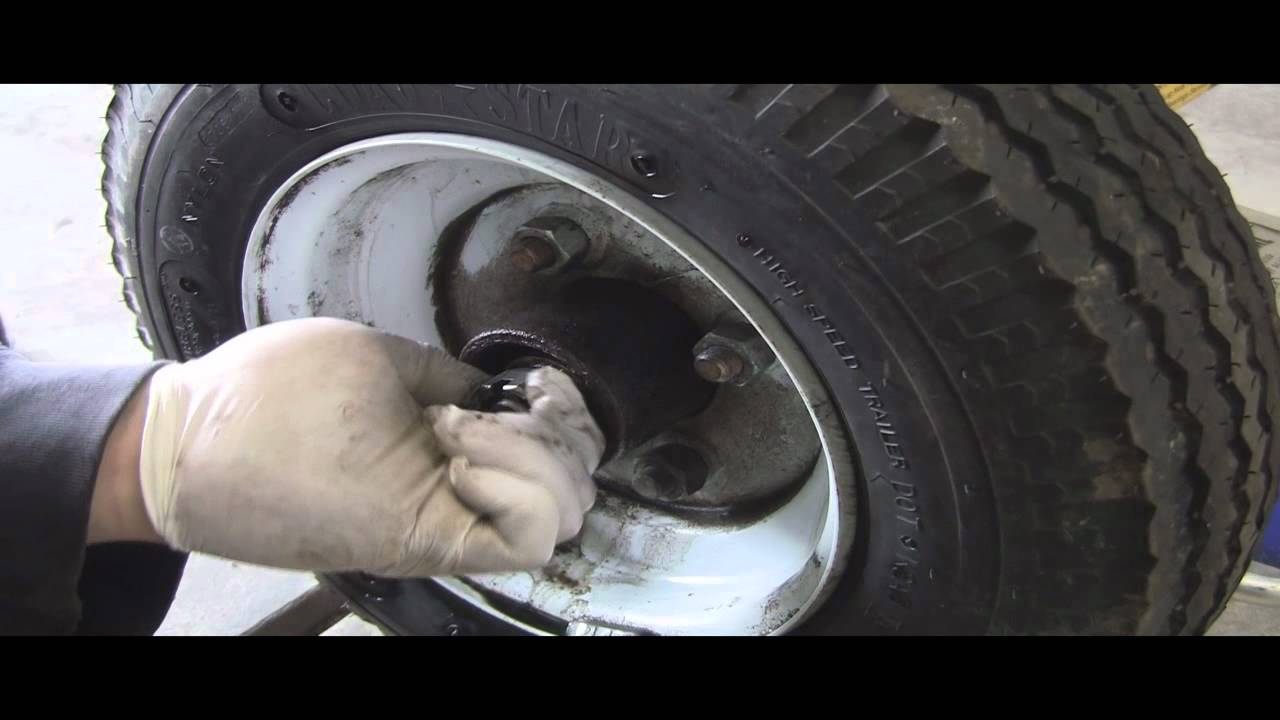
The Ritual of Disassembly: Patience, Young Grasshopper
Now, the moment of truth. Removing the wheel bearing isn’t just about brute force; it’s about finesse. Start by securing the chopper on a sturdy stand or jack stands—never, ever rely on a single hydraulic jack. Loosen the axle nut (if your setup has one) with a breaker bar, but don’t remove it just yet. This nut often acts as a retainer for the bearing, and you’ll need it to guide the bearing out.
Next, gently tap the axle through the bearing using a brass drift or a soft-faced mallet. If the bearing is stubborn, resist the urge to pry it out with a screwdriver—you’ll risk damaging the race. Instead, apply penetrating oil and let it work its magic for a few minutes. Once the bearing is free, inspect the axle and the bearing housing for any signs of wear, scoring, or corrosion. A pitted race or a grooved axle is a one-way ticket to bearing failure, so address these issues before proceeding.

Cleanliness Is Next to Godliness: The Sacred Rite of Degreasing
Before you even think about packing that bearing, it must be spotless. Any residual grease, dirt, or old lubricant is a contaminant waiting to sabotage your efforts. Use brake cleaner or a dedicated parts washer to blast away the grime. For stubborn deposits, a soft-bristle brush or a toothbrush can work wonders. Avoid compressed air to dry the bearing—it can force debris into the races and cause irreparable damage.
Once the bearing is pristine, inspect it under a bright light. Look for pitting, spalling, or any irregularities in the races. Run your fingers along the rollers or balls—if they feel rough or gritty, it’s time for a replacement. Remember, a bearing is only as good as its condition, and cutting corners here is like playing Russian roulette with your chopper’s performance.
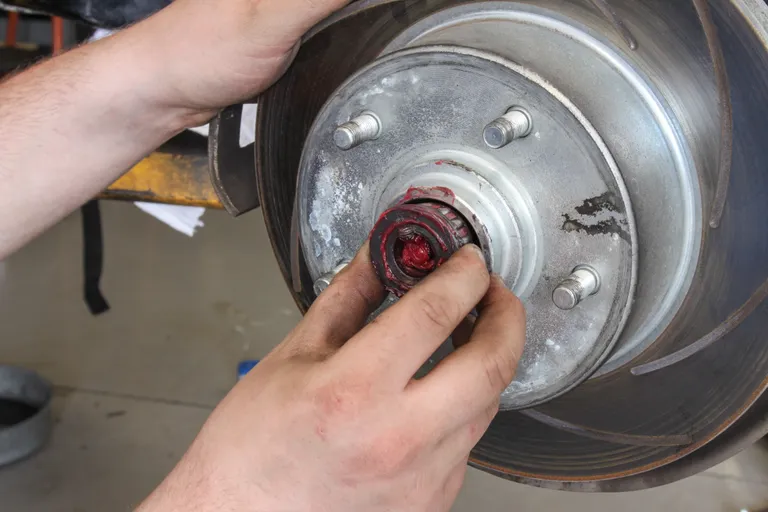
The Grease Dance: Packing Like a Pro
Now, the pièce de résistance: packing the bearing. This isn’t a task for the faint of heart. Start by selecting the right grease—NLGI #2 lithium complex is the gold standard for wheel bearings, offering a balance of high-temperature stability and water resistance. Avoid cheap, multi-purpose greases; they’re about as effective as a screen door on a submarine.
There are two primary methods for packing a bearing: the bearing packer method and the hand-packing method. The bearing packer is the cleaner, more efficient option, but if you’re old-school (or just enjoy the tactile satisfaction of manual labor), hand-packing works just as well.
For the bearing packer method, place the bearing in the packer, load the grease gun with fresh grease, and pump until the grease oozes out from the opposite side of the bearing. Rotate the bearing to ensure even distribution. For hand-packing, smear a generous amount of grease into the bearing, then work it in with your fingers, pressing firmly to fill every gap. It’s messy, it’s tactile, and it’s oddly satisfying—like sculpting with edible clay, if the clay were made of high-performance lubricant.
Reassembly: The Grand Finale
With your bearing now brimming with fresh grease, it’s time to reverse the disassembly process. Slide the bearing back onto the axle, ensuring it seats properly against the shoulder or spacer. Reinstall the axle nut, but don’t tighten it just yet. Spin the wheel by hand to ensure the bearing spins freely and without resistance. If it feels gritty or binds, you’ve got a problem—likely a misaligned race or a bearing that wasn’t seated correctly.
Once you’re satisfied, tighten the axle nut to the manufacturer’s specifications, then back it off slightly and reinstall the cotter pin or safety clip. This preloads the bearing correctly, ensuring it operates within the optimal range. Finally, reinstall the wheel, torque the lug nuts to spec, and take your chopper for a test ride. Listen for any unusual noises, and pay attention to how the wheel feels. If everything’s dialed in, you’ll know it—the ride will be smooth, the handling crisp, and your mechanical confidence soaring.
The Aftermath: Maintenance That Keeps the Wheels Turning
Packing a wheel bearing isn’t a one-and-done deal. Regular maintenance is key to longevity. Check your bearings every 10,000 miles or so, or sooner if you ride in wet or dusty conditions. Listen for telltale signs of wear—grinding, growling, or a vibration that wasn’t there yesterday. And always, always repack the bearings when you replace a tire or perform other suspension work.
Remember, a well-maintained bearing is the difference between a chopper that purrs like a kitten and one that sounds like a dying lawnmower. Treat your bearings with respect, and they’ll reward you with miles of trouble-free riding.