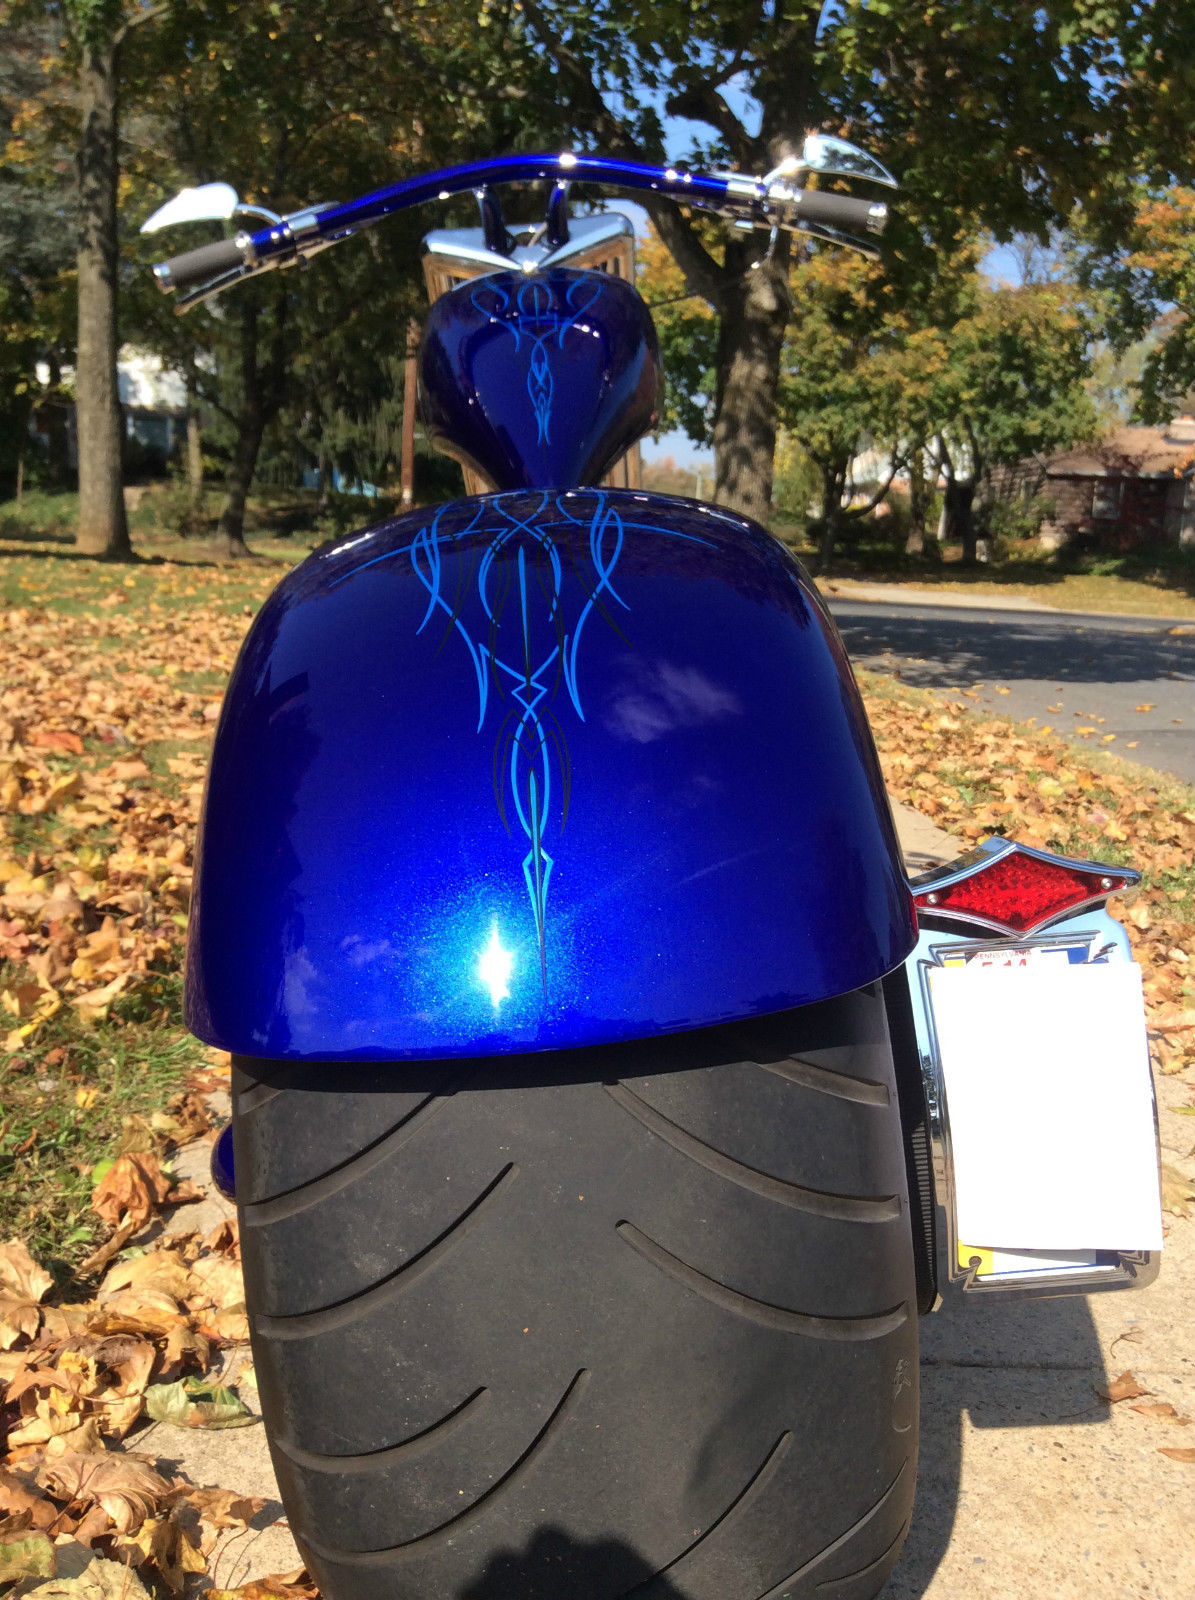
In the world of custom chopper craftsmanship, where raw power meets artistic expression, the layout of your workshop isn’t just a blueprint—it’s the foundation of your creative alchemy. A meticulously designed shop layout doesn’t just streamline production; it breathes life into the very soul of your custom motorcycles, transforming them from mere machines into rolling masterpieces. Whether you’re a seasoned builder refining your workspace or an aspiring chopper artisan carving out your first sanctuary, the right layout can elevate your craft from functional to legendary.
The Heartbeat of the Workshop: Centralized Workstations
At the core of any high-performance chopper workshop lies the principle of centralized workstations. Imagine a space where every tool, every component, and every critical process flows seamlessly from one phase to the next, like the gears of a finely tuned engine. Your primary workbench should anchor the room, flanked by modular tool storage that keeps essentials within arm’s reach yet out of the way. Consider a U-shaped or L-shaped configuration to maximize efficiency, ensuring that frame alignment, welding, and assembly stations are logically connected. This isn’t just about convenience—it’s about creating a rhythm where movement feels intuitive, almost like a dance between builder and machine.
Incorporate adjustable-height workbenches to accommodate everything from delicate wiring harnesses to the brute-force demands of frame jigging. Magnetic tool strips along the edges keep screwdrivers, wrenches, and pliers suspended in plain sight, eliminating the scourge of cluttered drawers. For larger builds, integrate a rolling cart system that can shuttle half-finished frames between stations without the need for heavy lifting. The goal? To make every action deliberate, every transition effortless, and every moment spent in the workshop a testament to precision.
Lighting: The Unsung Architect of Precision
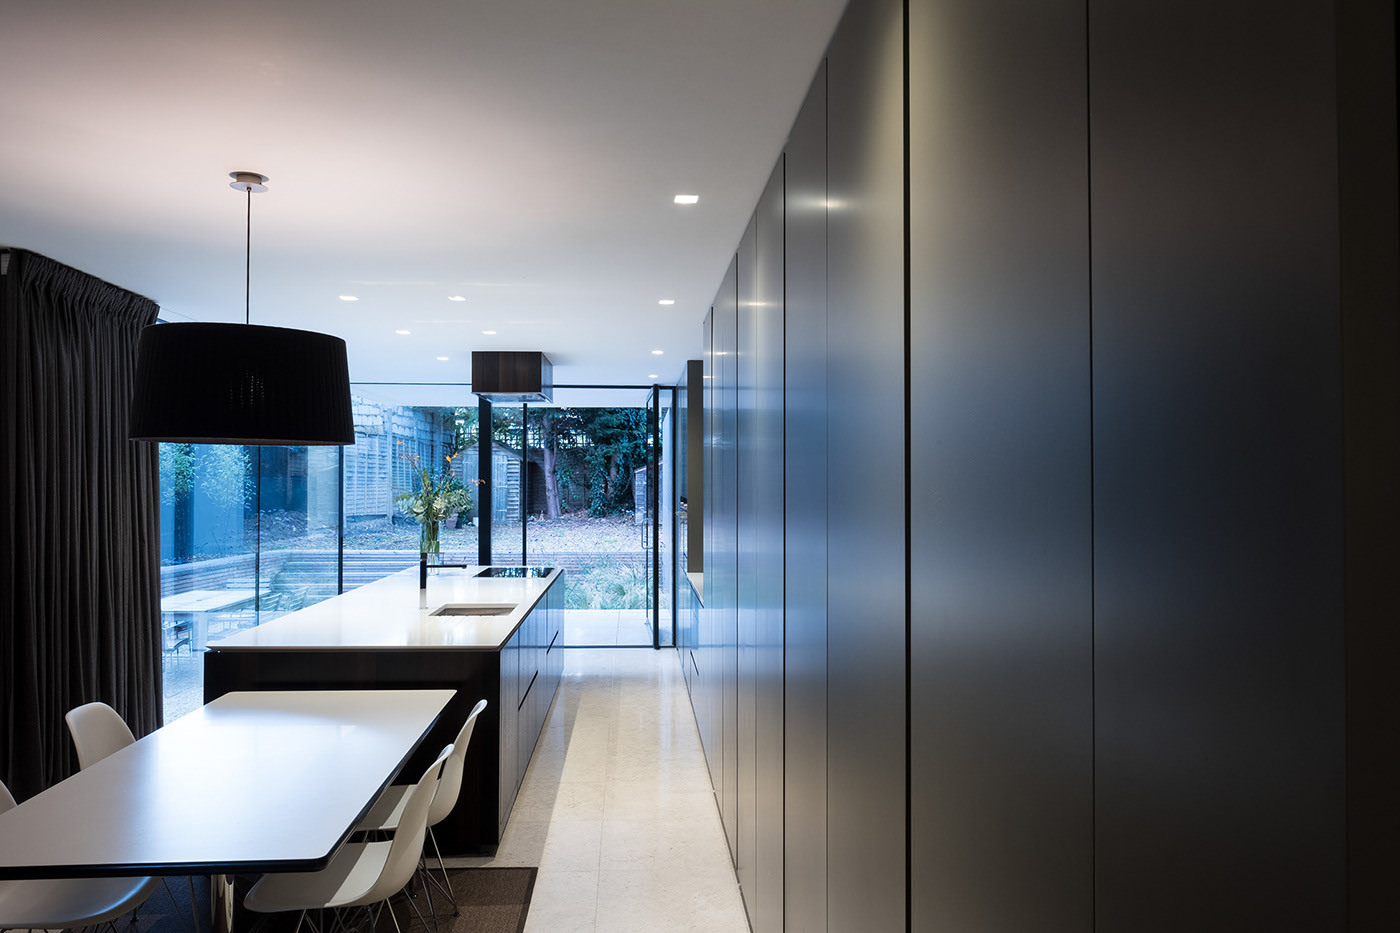
Lighting in a chopper workshop isn’t merely functional—it’s the silent sculptor of your craft. Poor illumination casts shadows that distort measurements, while harsh fluorescents can bleach out the nuanced curves of a hand-welded gas tank. Strike a balance with a layered lighting scheme: overhead LED panels for general brightness, supplemented by adjustable task lighting at each workstation. Consider pendant lights with dimmable controls, allowing you to shift from the blinding intensity needed for welding to the soft, directional glow ideal for paint touch-ups.
Don’t overlook the power of natural light. If possible, position your primary assembly area near windows, but outfit them with blackout shades to control glare during critical stages. For paint booths or detailing stations, invest in color-corrected LED strips that mimic daylight, ensuring that the finish you apply in the shop looks identical under the open sky. The right lighting doesn’t just illuminate—it reveals the hidden flaws and subtle beauties that define a truly custom chopper.
The Sacred Space: A Dedicated Design and Inspiration Zone
Every masterpiece begins as a whisper of an idea, and in the world of custom choppers, that whisper deserves a dedicated stage. Carve out a corner of your workshop—or an adjacent room—solely for design and inspiration. This isn’t just a place to sketch blueprints; it’s a sanctuary where sketches, mood boards, and 3D renderings come to life. Equip it with a large, wall-mounted whiteboard for brainstorming sessions, a drafting table for meticulous scale drawings, and a digital display for reviewing CAD models or referencing vintage chopper archives.
Surround yourself with inspiration: vintage motorcycle posters, photographs of iconic builds, and even a rotating gallery of your own past projects. A pegboard wall can hold tools, but it can also display small components—handlebars, footpegs, or tank emblems—that spark creativity. This zone should feel like the nerve center of your operation, where the abstract becomes tangible, and every line drawn is a step closer to reality.
Storage Solutions: The Art of Organized Chaos
Custom chopper building is a symphony of parts—some meticulously sourced, others salvaged from the scrapheap of forgotten dreams. The key to managing this cacophony lies in intelligent storage. Forget the generic plastic bins and cardboard boxes; instead, embrace a system that categorizes components by function, size, and frequency of use. Heavy-duty shelving units with labeled bins keep bulkier items like exhaust headers or suspension components neatly segregated. Wall-mounted racks with hooks can cradle delicate items like handlebar grips or seat upholstery, preventing them from becoming casualties of gravity.
For smaller parts—nuts, bolts, bearings—adopt a drawer system with clear, stackable trays. Color-code the trays by thread size or material type to shave seconds off the retrieval process. Consider a vertical storage wall with pegs and bins for items you reach for daily, like wrenches or drill bits. The goal isn’t just to keep things tidy; it’s to create a system where you can locate any part in seconds, even in the throes of a deadline-driven build. In this world, disorganization isn’t just an inconvenience—it’s a productivity killer.
The Power of Vertical Space: Overhead and Wall-Mounted Solutions
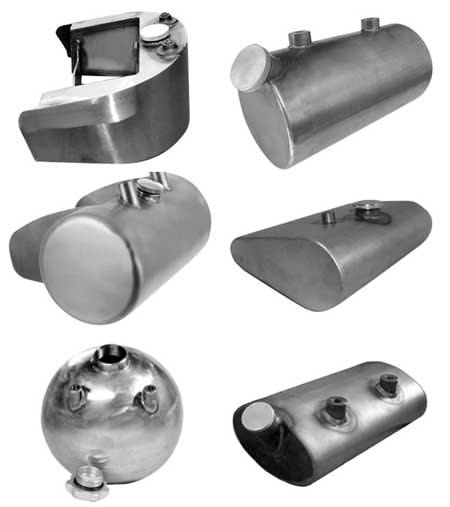
In a workshop where floor space is often at a premium, the walls and ceiling are your allies. Vertical storage isn’t just a space-saving tactic; it’s a strategic advantage. Install heavy-duty ceiling-mounted hoists for lifting engines or entire frames, freeing up floor space for other tasks. Wall-mounted tool holders, from slat walls to magnetic strips, keep your most-used tools visible and within reach without cluttering your work surface. For larger components like gas tanks or fenders, consider a wall-mounted rack with padded hooks to prevent scratches or dents.
Don’t overlook the potential of overhead shelving for storing less frequently used items, such as specialty jigs or vintage parts awaiting restoration. By elevating these pieces, you create a cleaner, more open workspace that feels less like a garage and more like a precision laboratory. The vertical dimension is often overlooked, but in a well-designed chopper workshop, it’s the difference between a cramped cubicle and a cathedral of craftsmanship.
Safety and Ergonomics: The Invisible Framework
A workshop that prioritizes safety and ergonomics isn’t just considerate—it’s a testament to the builder’s respect for their craft. Start with the basics: non-slip flooring to prevent accidents, fire extinguishers strategically placed near welding stations, and a well-ventilated area for painting or chemical work. Invest in anti-fatigue mats for standing workstations, and ensure that heavy lifting is always a two-person job—or facilitated by a hoist or dolly.
Ergonomics extends beyond physical comfort; it’s about designing a space that minimizes strain and maximizes efficiency. Position your welding table at a height that allows you to work without hunching, and angle your bench vises to reduce wrist strain during repetitive tasks. Keep frequently used tools on the dominant side of your workbench to avoid unnecessary reaching. Even the placement of your trash bin matters—locate it within arm’s reach to prevent the temptation of cluttering your workspace. In the end, a safe workshop isn’t just a legal requirement; it’s the bedrock of longevity, ensuring that you can keep building choppers for decades to come.
The Finishing Touch: A Showcase for Your Craft
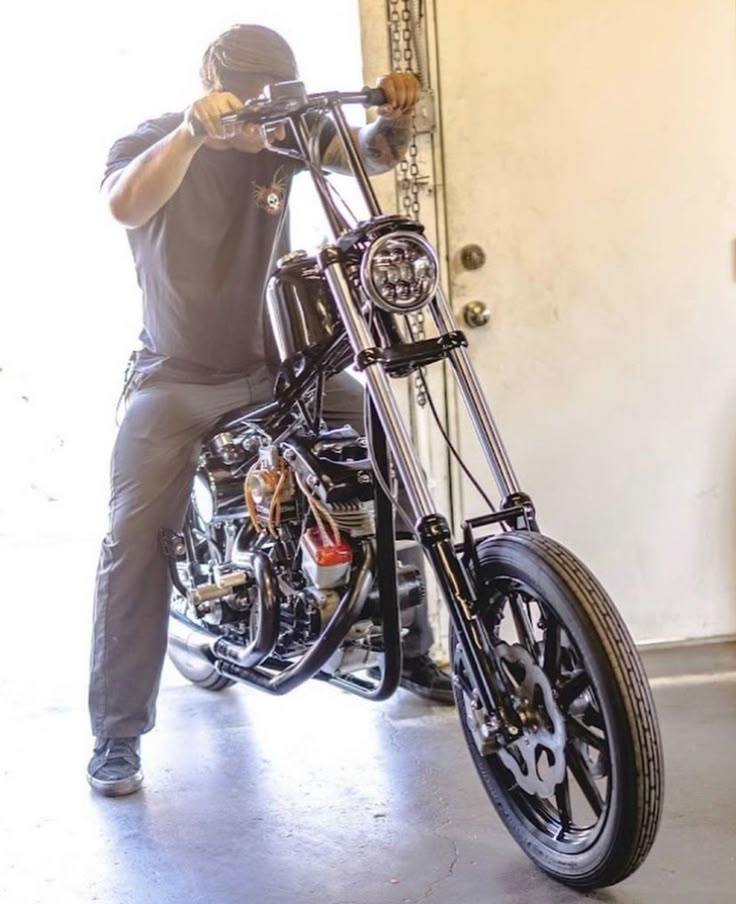
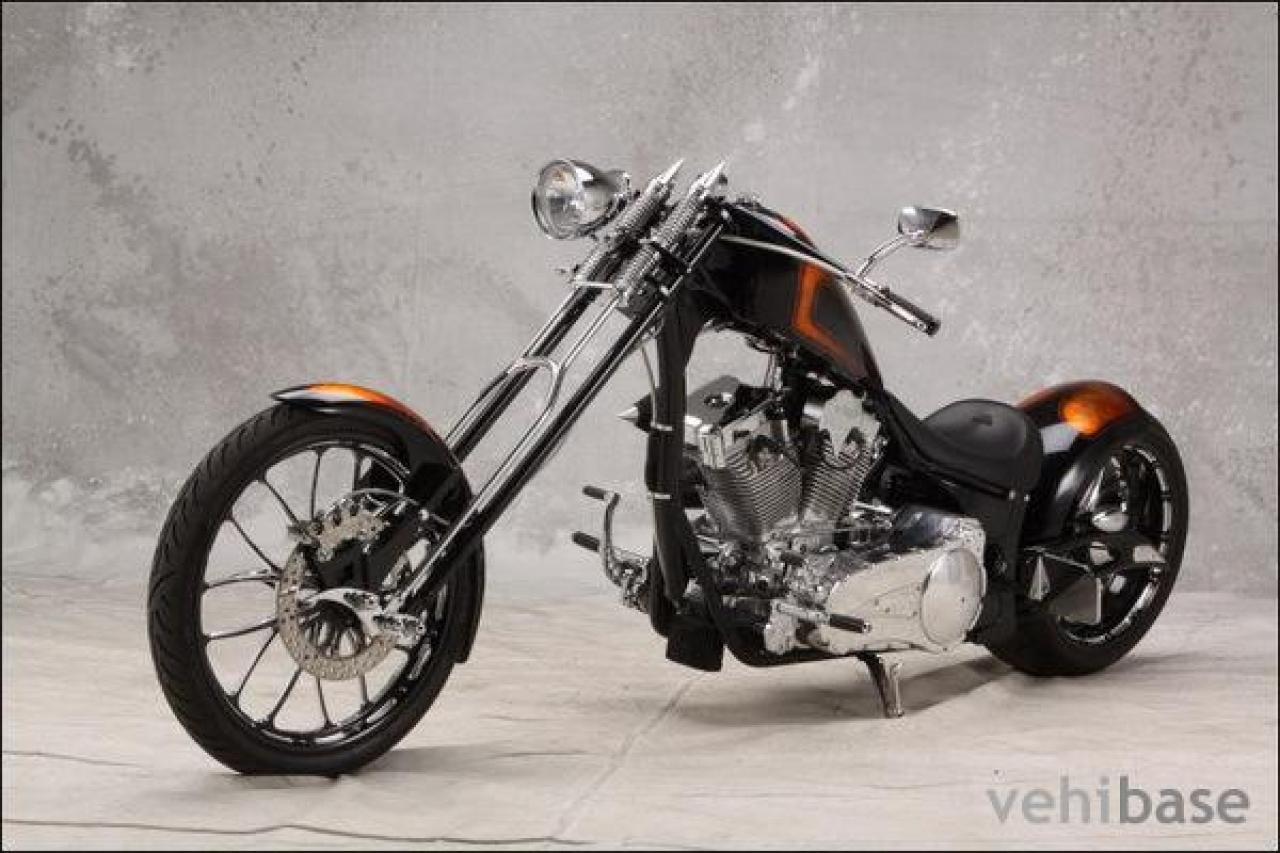
No workshop is complete without a space dedicated to the final act: the reveal. Whether it’s a rolling lift for a freshly painted frame or a dedicated display area for completed builds, this zone should be a celebration of your work. Install a hydraulic lift or a sturdy dolly to elevate bikes for final inspections, ensuring every weld, every curve, and every detail is flawless. Consider a backdrop of reclaimed wood or industrial metal for a dramatic presentation, or even a rotating platform to showcase your choppers from every angle.
This isn’t just about pride—it’s about quality control. The act of stepping back to admire your work under controlled lighting can reveal imperfections that might otherwise go unnoticed. It’s also a space to invite clients or collaborators, where the transformation from raw materials to rolling artistry becomes undeniable. In this zone, every detail matters, from the cleanliness of the floor to the organization of your tools. After all, the first impression of your workshop is often the last impression of your craft.