As the crisp autumn air begins to whisper tales of winter’s impending arrival, custom chopper enthusiasts face a pivotal ritual: the meticulous art of winterizing their prized machines. A chopper isn’t just a vehicle—it’s a rolling masterpiece of engineering, craftsmanship, and personal expression. Leaving it vulnerable to the ravages of cold, moisture, and inactivity would be akin to locking a Monet in a damp basement. Whether your chopper is a gleaming chrome beast with a 120 cubic inch engine or a vintage cruiser with a soulful rumble, proper winter storage is the key to preserving its glory for the thaw. This guide isn’t just a checklist; it’s a narrative of care, a testament to the bond between rider and machine, and a roadmap to ensuring your chopper emerges from hibernation as vibrant as the day you first rolled it out of the garage.
The Psychological Prelude: Why Winterizing Matters Beyond Mechanics
Before diving into the technicalities, pause and consider the deeper significance of winterizing. A chopper is more than metal and leather—it’s a companion on countless adventures, a symbol of freedom, and a canvas for creativity. Winterizing isn’t merely about preventing rust or stale fuel; it’s an act of reverence. The cold months are a time for reflection, and what better way to honor your machine than by ensuring it’s ready to roar back to life when the sun reclaims the sky? Neglecting this ritual risks not just mechanical degradation but the erosion of the emotional connection you’ve cultivated with your bike. Think of it as a hibernation ritual, a sacred pause where you and your chopper recharge—together.
Fuel System Fortification: The Battle Against Ethanol and Time
The fuel tank of your chopper is a battleground where ethanol-blended gasoline wages war against your machine’s longevity. Ethanol, while reducing emissions, is a hygroscopic demon—it absorbs moisture like a sponge, leading to corrosion and gumming up the fuel system. Before tucking your chopper away, drain the tank completely or fill it to the brim with fresh, high-quality fuel treated with a stabilizer. This isn’t just about quantity; it’s about quality. Add a fuel stabilizer designed for ethanol-blended gasoline, and run the engine for a few minutes to circulate the mixture through the system. For those with carbureted choppers, consider draining the carburetor bowls to prevent varnish buildup. This step is the difference between a chopper that purrs back to life and one that coughs and sputters like a reluctant dragon.

Engine and Fluids: The Lifeblood of Longevity
The heart of your chopper—its engine—demands as much care as a thoroughbred racehorse before a long rest. Begin by changing the engine oil and filter. Fresh oil is less acidic and contains fewer contaminants, reducing the risk of internal corrosion. If your chopper has a liquid-cooled engine, ensure the coolant is fresh and the system is free of air pockets. For air-cooled engines, a thorough inspection of the fins and cooling passages is crucial to prevent blockages. Don’t forget the transmission and primary drive fluids; these are the unsung heroes that keep your chopper’s power transfer smooth and silent. If your chopper has a battery tender, now’s the time to install it. A fully charged battery is the lifeline that ensures your chopper doesn’t greet spring with a dead heart.
Tire Tactics: Preventing Flat Spots and Cracks
Tires are the silent sentinels of your chopper, bearing the weight of your machine and the road’s unpredictability. Winter storage, however, is a silent assassin for tires. The weight of a stationary chopper can cause flat spots, while cold temperatures accelerate rubber degradation. To combat this, inflate the tires to the manufacturer’s recommended pressure—this reduces the risk of flat spots and maintains the tire’s structural integrity. For extra precaution, consider placing the chopper on a stand to lift the tires off the ground, distributing the weight evenly. If your storage space is climate-controlled, great; if not, a garage with minimal temperature fluctuations is your next best option. Avoid storing your chopper on concrete floors, as they can leach moisture into the tires. Instead, use a wooden pallet or a dedicated motorcycle stand.
Exterior Elegance: Protecting the Paint and Chrome
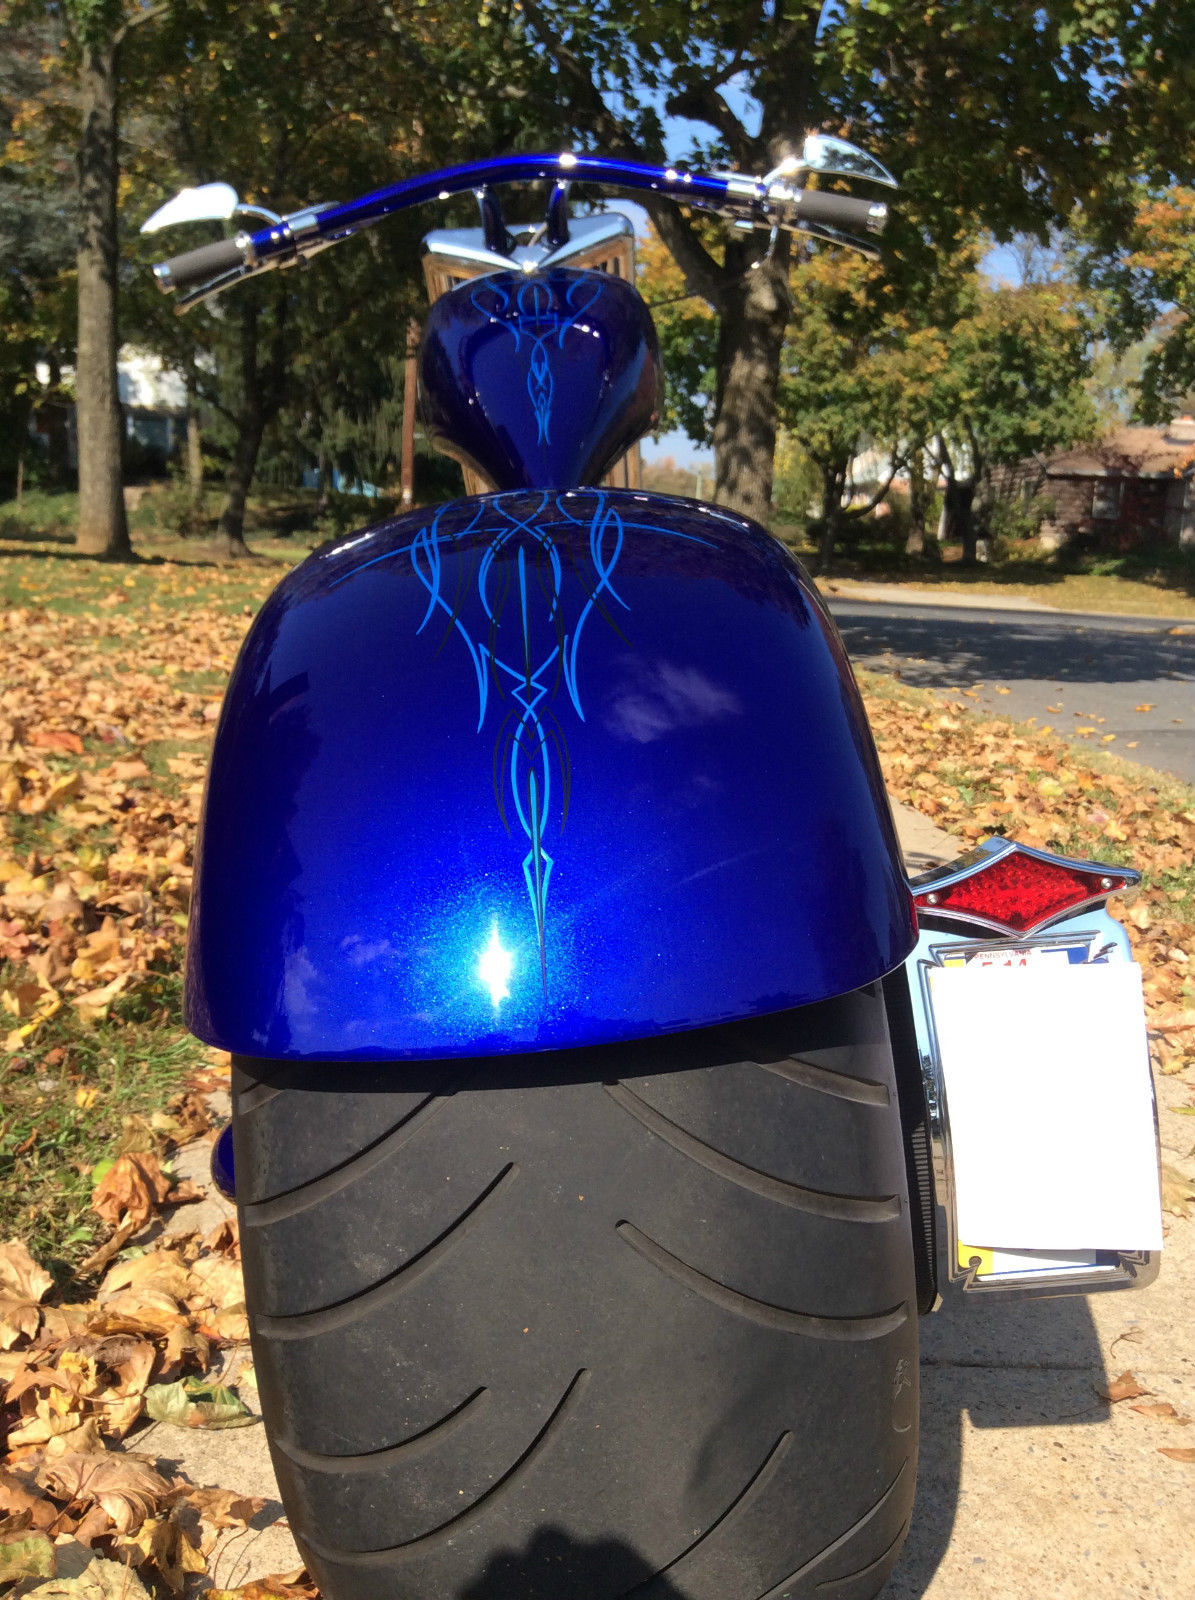
A custom chopper’s paint and chrome are its crowning glory, a reflection of the owner’s taste and the builder’s skill. Winter, however, is a master of disguise—it wears the mask of moisture, salt, and grime, all of which conspire to dull your chopper’s shine. Before storage, give your machine a thorough wash with a pH-balanced cleaner to remove road salts and contaminants. Apply a high-quality wax or sealant to create a protective barrier against the elements. For chrome accents, use a specialized chrome polish to prevent oxidation. Cover the chopper with a breathable, custom-fit cover—never use a plastic tarp, as it traps moisture and can lead to condensation damage. If your chopper is stored in a damp environment, consider placing moisture absorbers near the bike to keep the air dry.
Interior Immersion: The Cabin and Electronics
Modern choppers are more than just engines and frames; they’re rolling tech hubs with touchscreens, GPS, and heated grips. These electronics are vulnerable to cold and humidity, so take steps to protect them. Remove the seat and any sensitive components, storing them in a climate-controlled space if possible. If that’s not feasible, use silica gel packets to absorb moisture and place them strategically around the bike. Disconnect the battery and store it in a cool, dry place, charging it periodically with a smart charger. For choppers with aftermarket electronics, consult the manufacturer’s guidelines for winter storage protocols. Remember, electronics are the nervous system of your chopper—neglect them, and you risk a springtime of glitches and malfunctions.
Rodent Rebuff: The Unseen Threat
Winter storage isn’t just about protecting your chopper from the elements; it’s also about defending it from the creatures that see your garage as an all-you-can-eat buffet. Mice, squirrels, and even insects can wreak havoc on wiring, upholstery, and even the fuel tank. To deter these uninvited guests, place rodent repellents—such as peppermint oil-soaked cotton balls or commercial repellent blocks—around the storage area. Avoid mothballs, as their strong odor can linger and damage paint and rubber. Seal any gaps or holes in the storage space with steel wool or expanding foam. A little prevention now saves you from the nightmare of discovering a nest of chewed wires come spring.
The Ritual of Reawakening: Springtime Revival
When the first hints of spring thaw the earth, your chopper’s resurrection begins. But this isn’t a simple flick of the ignition switch—it’s a ritual of renewal. Start by inspecting the bike for any signs of damage or pests. Check the tires for flat spots and reinflate them to the correct pressure. Reconnect the battery and top off all fluids, including fuel, oil, and coolant. Run the engine for a few minutes to circulate the fluids and listen for any unusual noises. Test the brakes, lights, and electronics to ensure everything is in working order. If you stored the battery separately, reinstall it and charge it fully before reconnecting. This isn’t just about getting your chopper running; it’s about celebrating the bond you share, the miles you’ll conquer, and the stories you’ll tell.