There’s something undeniably primal about a chopper—its raw, unfiltered presence, the way it commands attention without uttering a word. But behind that rebellious spirit lies a symphony of craftsmanship, where every spoke, every laced joint, plays a role in the machine’s soul. Lacing and truing a 21-inch front wheel for a chopper isn’t just a mechanical task; it’s an act of devotion, a dance between precision and passion. Whether you’re a seasoned wrench-turner or a curious newcomer, this guide will walk you through the intricacies of transforming a pile of spokes and a rim into a rolling masterpiece. Buckle up—we’re about to dive deep into the art and science of wheel-building.
The Anatomy of a Chopper Wheel: Understanding the Components
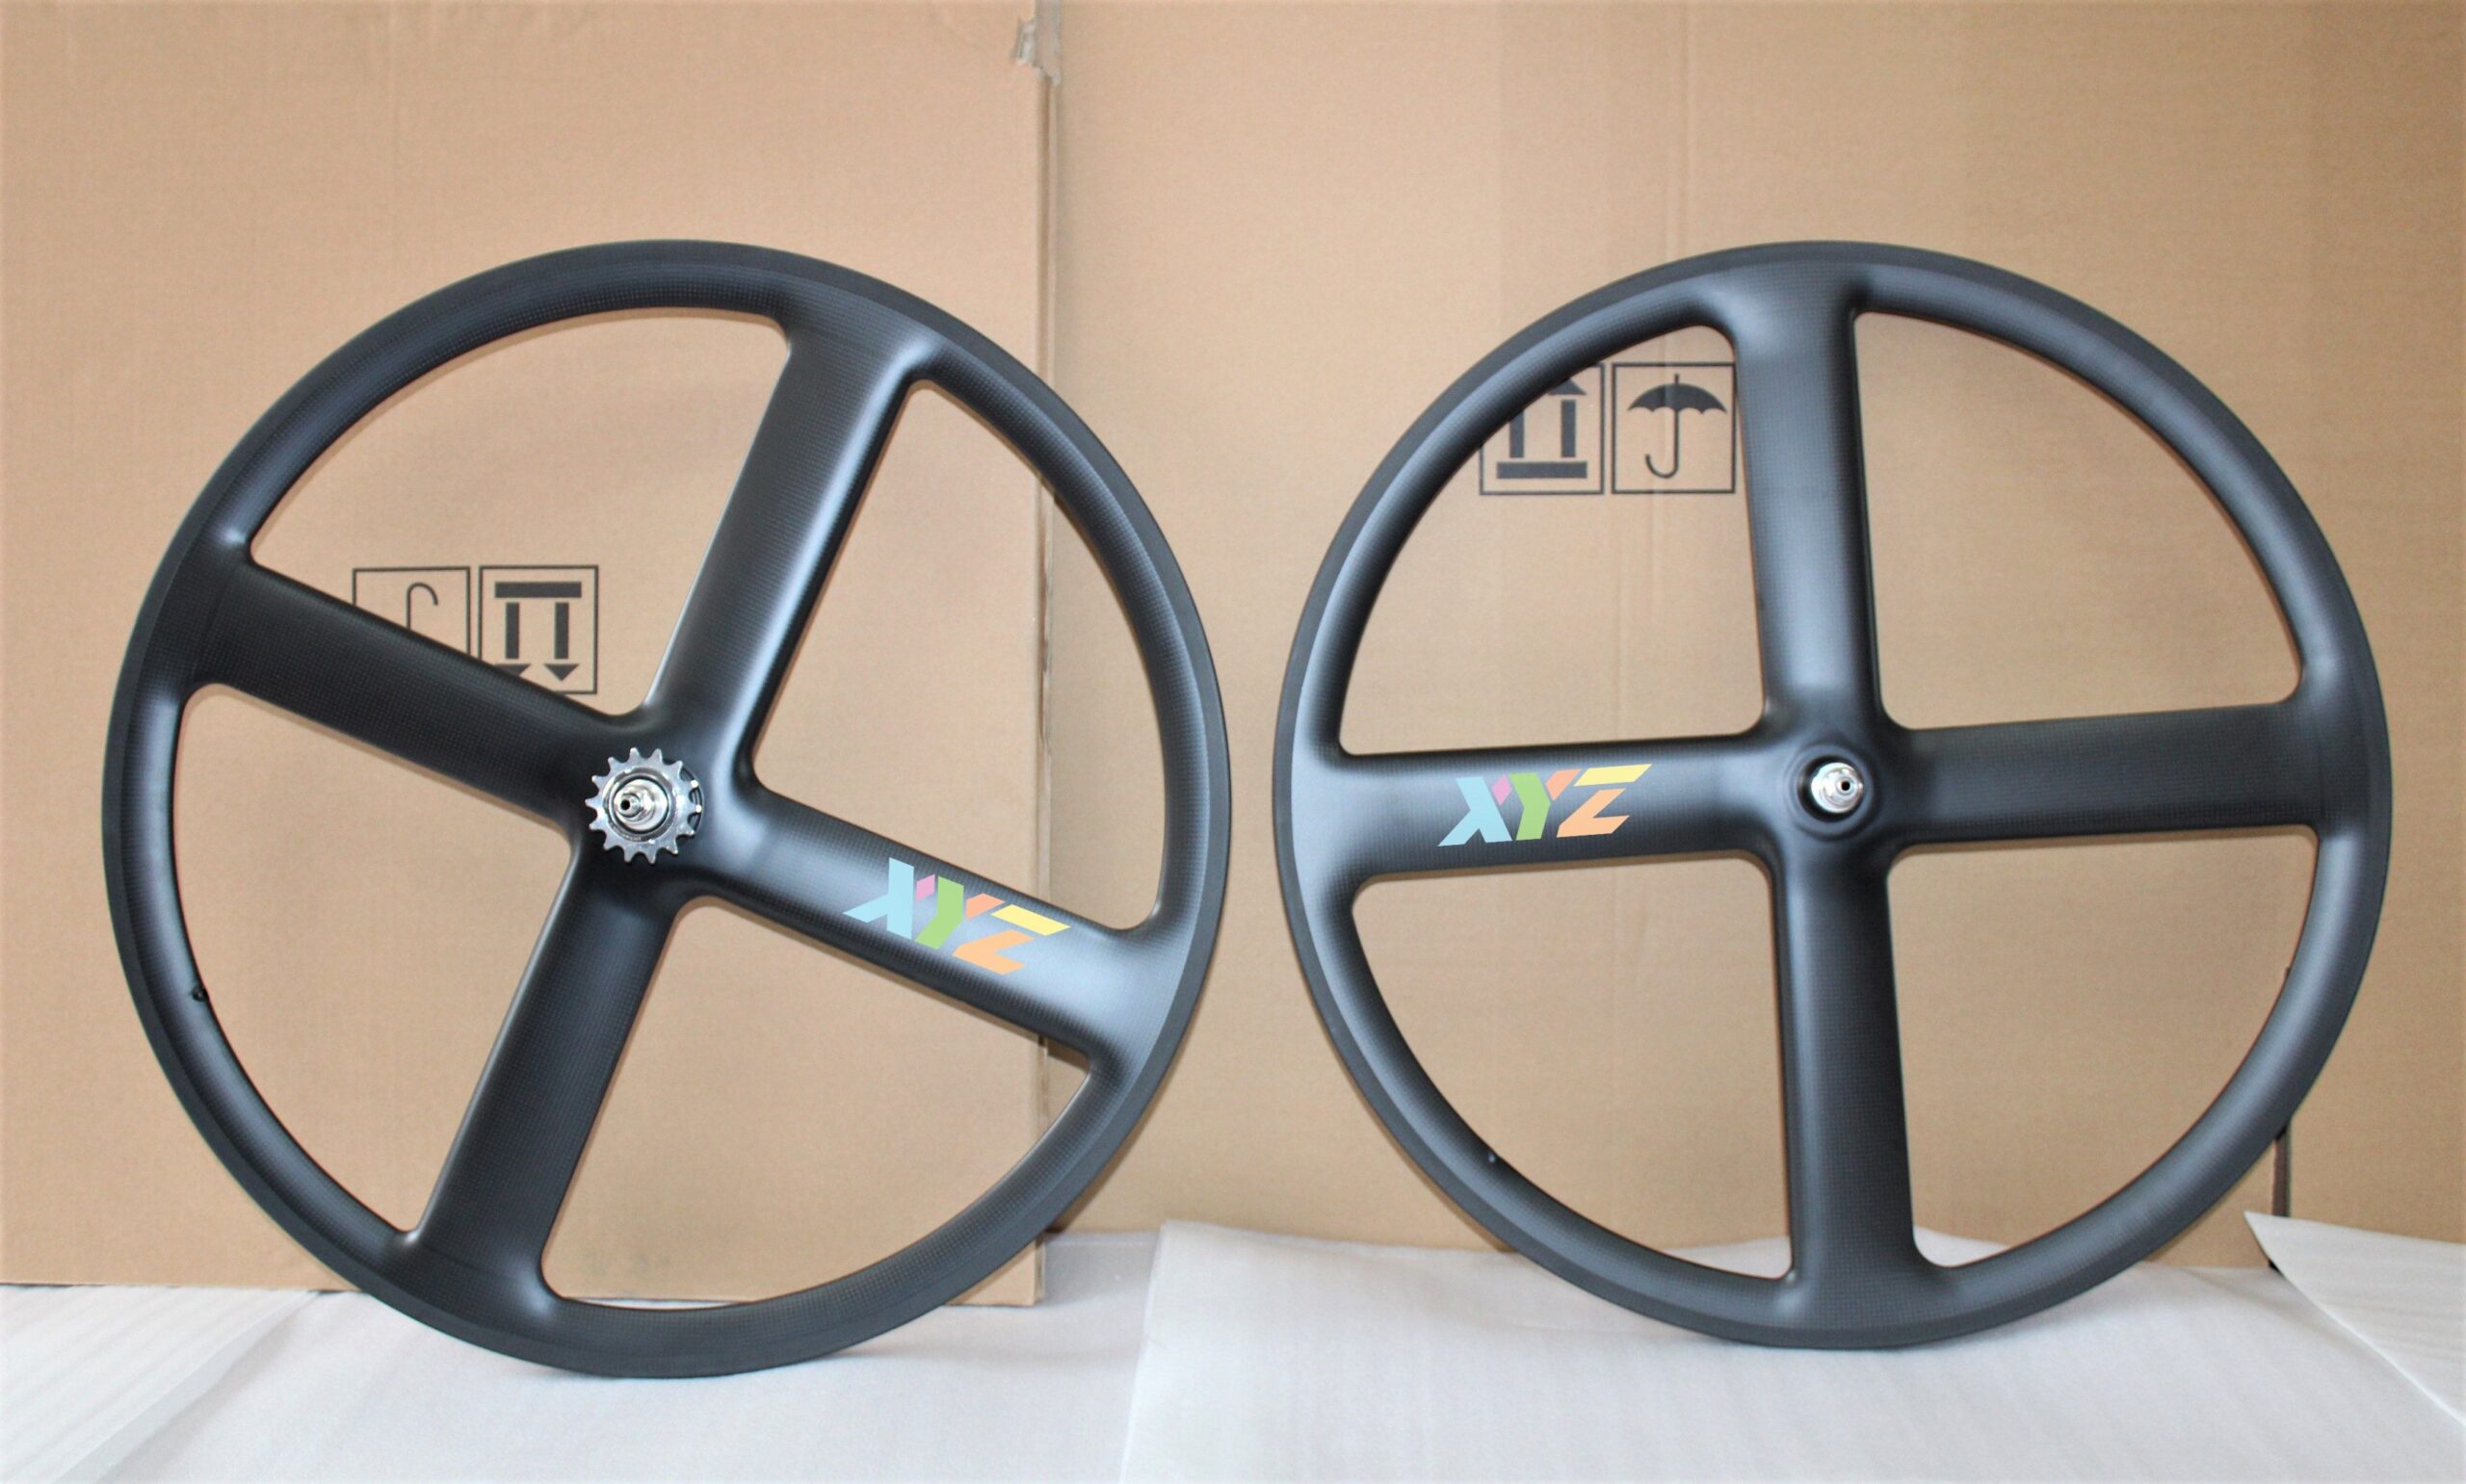
Before you even touch a spoke wrench, you need to know what you’re working with. A 21-inch front wheel for a chopper is more than just a circle of metal—it’s a carefully orchestrated assembly of components, each with its own purpose. The rim, typically a chromoly or aluminum alloy, dictates the wheel’s strength and weight. The hub, often a heavy-duty unit with sealed bearings, anchors the spokes and transfers power. And then there are the spokes themselves—thin, unassuming rods of steel that, when tensioned correctly, turn a jumbled heap into a rigid, rotating marvel.
But here’s where it gets interesting: not all spokes are created equal. In chopper builds, you’ll often encounter straight-pull spokes, which eliminate the need for traditional J-bends and offer a cleaner aesthetic. There are also double-butted spokes, thicker in the middle to save weight without sacrificing strength. The nipple, that tiny but mighty component that threads onto the spoke, can be brass or aluminum, each affecting the wheel’s durability and adjustability. Understanding these elements isn’t just academic—it’s the foundation upon which your wheel’s performance and longevity are built.
Choosing the Right Spokes and Rim: Matching Components for Optimal Performance
Selecting the right spokes and rim isn’t a guessing game—it’s a science. The first rule? Match the spoke count to the hub. A 21-inch front wheel typically uses 36 or 40 spokes, but the exact number depends on the hub’s flange dimensions and the rim’s hole count. Too few spokes, and you risk a weak wheel that flexes under load. Too many, and you’re adding unnecessary weight. The sweet spot is usually found in the middle, where strength meets efficiency.
Next, consider the spoke gauge. Thicker spokes (e.g., 12 or 13 gauge) offer superior strength, ideal for heavy-duty choppers that see rough roads or aggressive riding. Thinner spokes (e.g., 14 or 15 gauge) reduce weight but may not handle the same abuse. The rim’s ERD (Effective Rim Diameter) is another critical factor—it determines how much the spokes will stretch when tensioned, affecting the wheel’s final trueness. Measure twice, lace once.
Don’t overlook the rim’s material either. Aluminum rims are lightweight and corrosion-resistant, perfect for show-stopping choppers. Chromoly rims, on the other hand, are heavier but offer unmatched durability, especially for bikes that see frequent track days or long hauls. And let’s not forget the hub. A high-quality hub with sealed bearings will outlast a budget unit by years, ensuring your wheel spins true for miles to come.
The Lacing Process: From Chaos to Order in 10 Steps
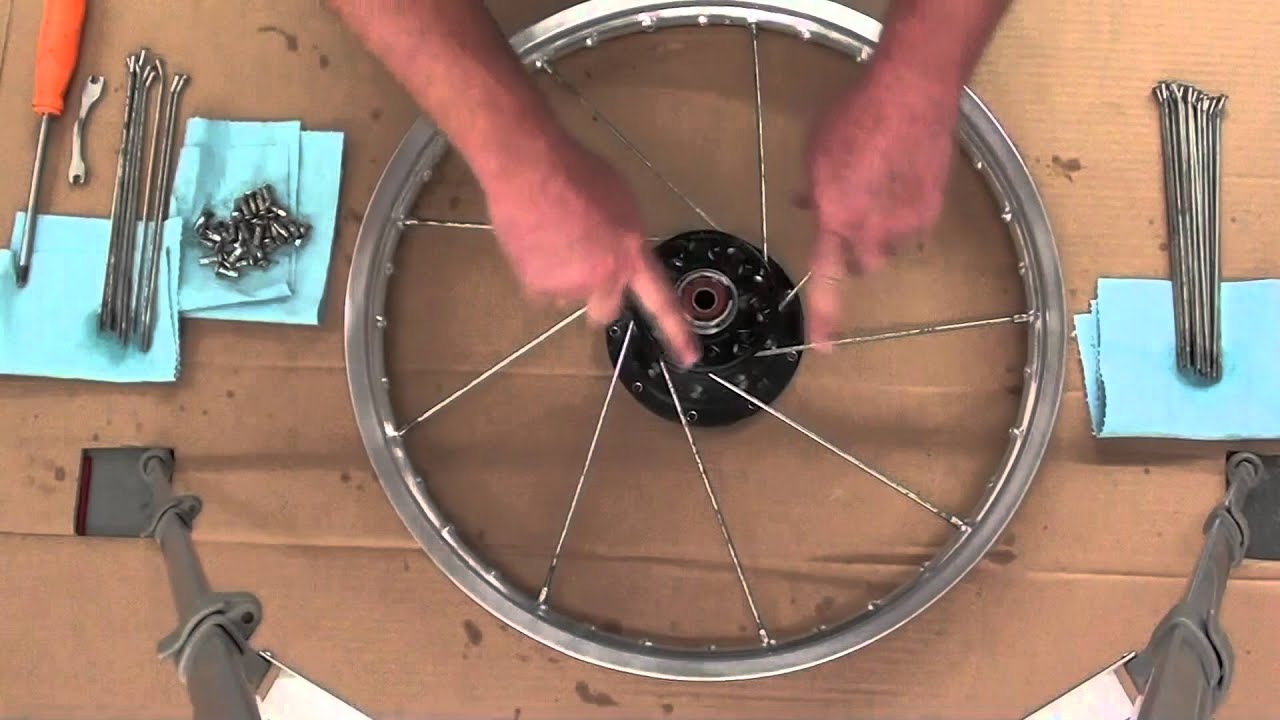
Lacing a wheel isn’t just about threading spokes through holes—it’s about creating a lattice of tension that will hold the rim in perfect harmony. Start by laying out your rim and hub, then decide on your lacing pattern. The most common for choppers is the cross-3 pattern, where each spoke crosses three others before reaching the rim. This pattern distributes stress evenly and provides a balanced ride.
Begin by inserting four spokes into the hub’s flange, spacing them 90 degrees apart. These will serve as your anchor points. Next, thread the remaining spokes through the rim holes, alternating sides to create the cross pattern. As you lace, keep the spokes loose—tension comes later. The key here is patience. Rushing the process leads to crossed threads, misaligned nipples, and a wheel that’s doomed from the start. Take your time, and let the pattern emerge organically.
Once all spokes are in place, it’s time to seat the nipples. This step ensures the spokes sit flush against the rim, preventing any gaps that could weaken the wheel. Use a nipple driver or a flathead screwdriver to gently tap each nipple into position. Then, give the spokes a preliminary tension—just enough to pull the rim into a rough circle. Don’t overdo it; the real magic happens during truing.
Truing the Wheel: The Art of Perfecting Balance and Alignment
Truing a wheel is where the rubber meets the road—or rather, where the steel meets the sky. A perfectly trued wheel doesn’t just look good; it rides smooth, handles predictably, and lasts longer. Start by mounting the wheel in a truing stand or, if you’re old-school, on your bike’s forks. Spin the wheel and watch for lateral (side-to-side) and radial (up-and-down) deviations. The goal is to eliminate any wobble, leaving a wheel that spins like a top.
For lateral truing, use a spoke wrench to tighten or loosen spokes on the side opposite the wobble. If the rim is pulling to the left, tighten the right-side spokes and loosen the left. For radial truing, focus on the high spots—tighten spokes at the top of the wobble to pull the rim down. This is where finesse comes into play. A single turn of the wrench can make a world of difference, so adjust incrementally. And remember: tension is your friend. A properly tensioned wheel should ring like a bell when plucked, a sign that the spokes are evenly loaded.
But truing isn’t just about geometry—it’s about feel. After each adjustment, spin the wheel and listen. A well-trued wheel hums with a quiet confidence, while a poorly trued one groans under stress. Don’t rush this step. Take breaks, step back, and let the wheel tell you what it needs. The difference between a good wheel and a great one often comes down to the time spent here.
Tensioning the Spokes: Achieving the Sweet Spot of Strength and Flexibility
Tension is the invisible thread that binds a wheel together. Too little, and the spokes will slacken under load, leading to a wobbly, unreliable ride. Too much, and you risk spoke breakage or rim damage. The ideal tension for a 21-inch chopper wheel typically falls between 100 and 120 pounds per square inch (PSI), though this can vary based on spoke gauge and riding style. Use a spoke tension meter to dial in the perfect balance—it’s an investment that pays dividends in wheel longevity.
Start by tensioning the spokes in stages, working your way around the wheel in small sections. This ensures even loading and prevents the rim from distorting. As you tighten, keep an eye on the rim’s alignment. If you notice any new wobbles, address them immediately before proceeding. The final tension should be consistent across all spokes, with no more than a 10% variance between them. A well-tensioned wheel will feel solid when you squeeze two spokes together—they should resist compression without flexing.
But tension isn’t just about numbers. It’s about intuition. Listen to the wheel as you work. A properly tensioned wheel should have a slight springiness, a give that absorbs road imperfections without losing its shape. If it feels too rigid, you’ve overdone it. If it feels mushy, you haven’t done enough. Trust your hands—they’ll guide you to the sweet spot.
Final Checks and Break-In: Ensuring Longevity and Performance
You’ve laced, trued, and tensioned your wheel—now it’s time to put it to the test. But before you hit the open road, perform a series of final checks to ensure everything is shipshape. First, inspect the spokes for any signs of uneven tension or misalignment. Run your fingers along the rim to feel for any high or low spots that might have been missed during truing. Then, give the wheel a thorough spin, listening for any unusual noises or vibrations.
Next, torque the axle nuts to the manufacturer’s specifications. Over-tightening can warp the hub, while under-tightening can lead to play and premature wear. If your chopper has disc brakes, check the rotor alignment—even a slight misalignment can cause brake drag or uneven wear. Finally, take the bike for a short test ride on a smooth surface. Pay attention to how the wheel handles, how it responds to bumps, and whether any wobbles reappear under load. If everything checks out, congratulations—you’ve just built a wheel that’s ready to take on the world.
But the work isn’t over yet. A new wheel needs a break-in period to settle in. Avoid aggressive riding or heavy loads for the first 50 miles, allowing the spokes to bed in and the rim to stabilize. After that, perform a final tension check and re-true if necessary. A well-broken-in wheel will reward you with years of reliable service, its spokes humming in harmony with every mile.
Common Pitfalls and How to Avoid Them: Wisdom from the Wrenching Trenches
Even the most seasoned builders make mistakes—and that’s okay. What matters is learning from them. One of the most common pitfalls is cross-threading the nipples. This happens when the nipple isn’t aligned properly with the spoke, causing it to bind and strip. Always thread the nipple onto the spoke by hand first, ensuring it’s straight before using a wrench. Another issue is uneven tension, which can lead to a wheel that’s out of true before you even hit the road. Use a tension meter religiously, and don’t skip the incremental adjustments.
Then there’s the problem of rim damage. If you’re using a chromoly rim, be especially careful when seating the nipples. Over-tightening can cause the rim to crack, especially around the spoke holes. Always follow the manufacturer’s torque specifications, and consider using a nipple driver with a built-in torque limiter if available. And let’s not forget the hub. A poorly aligned hub can cause the wheel to wobble even after truing. Double-check the hub’s dish (the distance from the centerline to each flange) to ensure it’s centered in the rim.
Finally, don’t underestimate the importance of spoke prep. New spokes often have sharp edges or burrs that can damage the rim or nipples over time. Use a file or sandpaper to smooth them out before lacing. And always store spokes in a dry place—rust is the silent killer of wheels. By avoiding these pitfalls, you’ll save yourself hours of frustration and end up with a wheel that’s as beautiful as it is functional.
The Reward: Rolling Artistry and the Joy of a Job Well Done
There’s a moment, somewhere between the final truing adjustment and the first test ride, when the wheel stops being a collection of parts and becomes something more. It’s a transformation—a metamorphosis from chaos to order, from potential to reality. That’s the magic of wheel-building. It’s not just about creating a functional component; it’s about crafting a piece of art that tells a story. Every spoke, every tensioned thread, every minute spent truing is a testament to your skill and dedication.
And when you finally roll out on your chopper, the front wheel spinning true and steady beneath you, there’s a sense of pride that’s hard to match. It’s the kind of pride that comes from knowing you didn’t just buy a wheel—you built it. You took raw materials, shaped them with your hands, and turned them into something that’s uniquely yours. That’s the essence of chopper culture: the fusion of form and function, the marriage of art and engineering.
So the next time you see a chopper cruising down the street, take a closer look at the front wheel. Behind its gleaming spokes and flawless trueness lies a world of craftsmanship, a story of patience and precision. And if you’re feeling inspired, why not try building your own? The road awaits—and your chopper is waiting to be born.